16
Speaker setup
3. CH SEL button
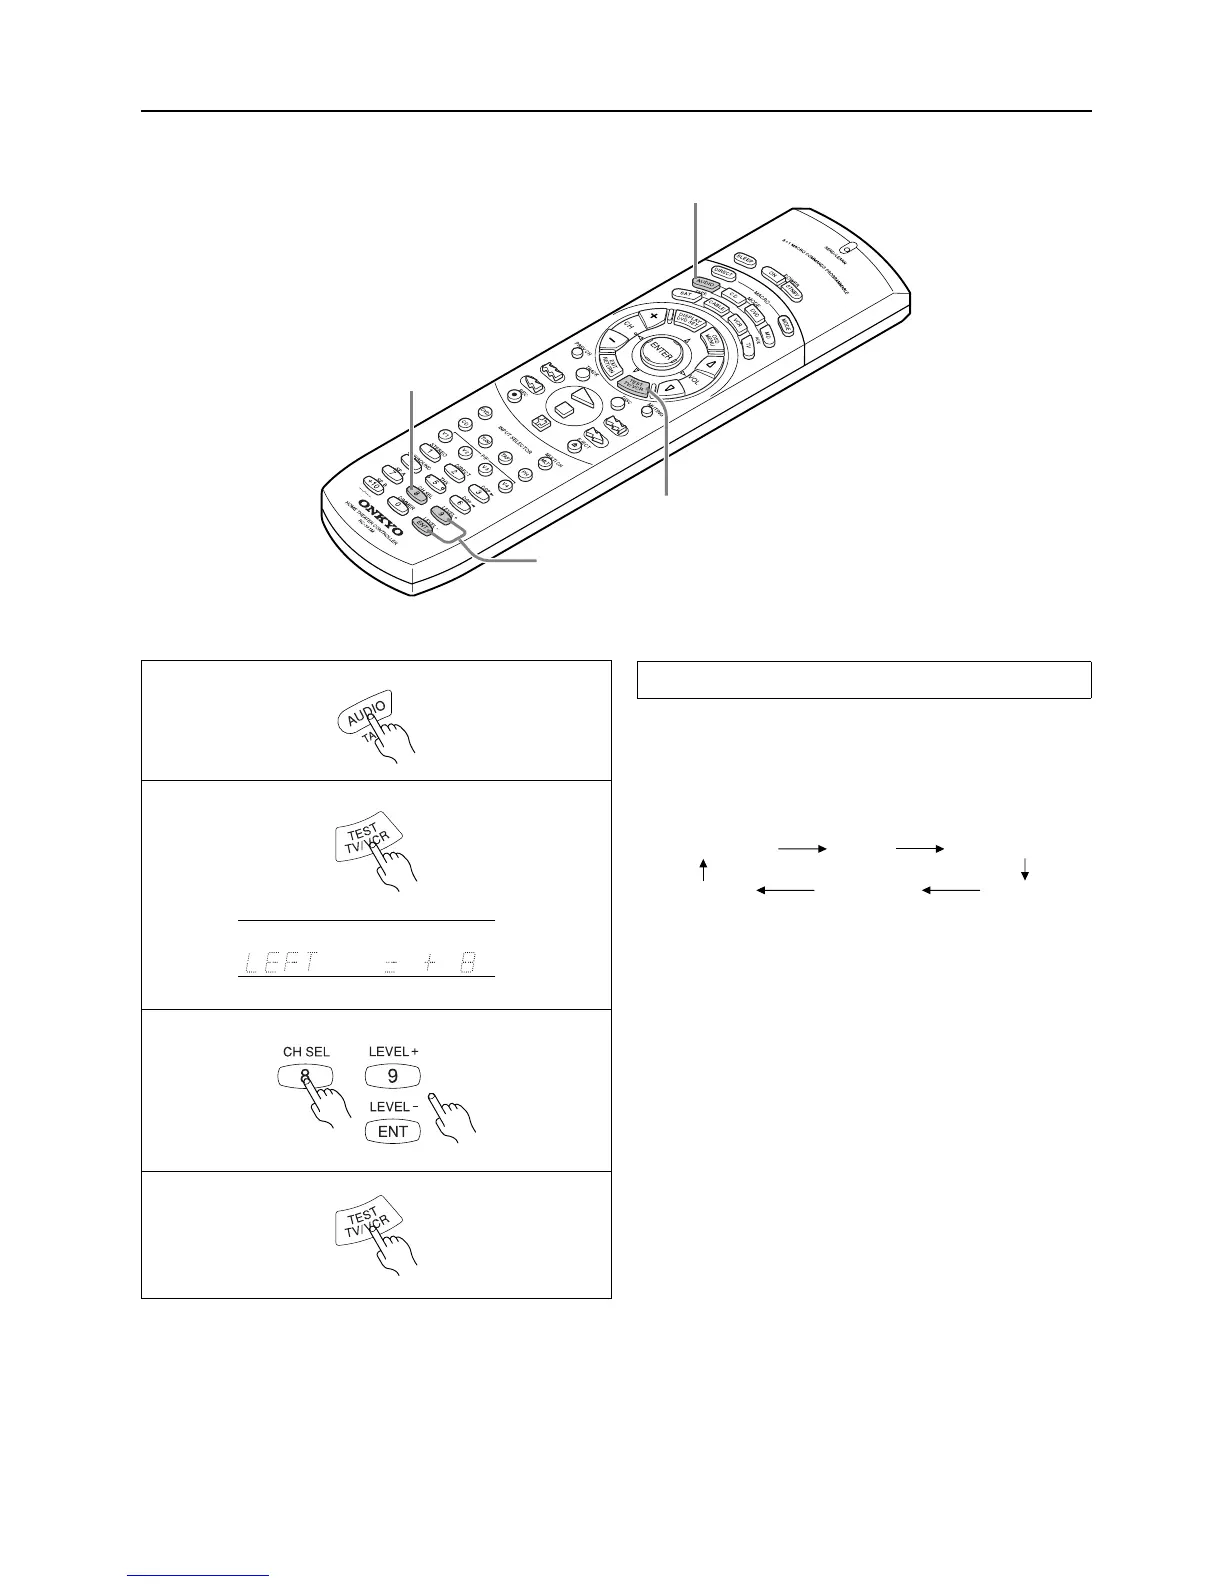
1. MODE AUDIO button
2. TEST button
3. LEVEL +/– button
Use the remote controller and produce the test tone to adjust the
level of the connected speakers.
1. Press the MODE AUDIO button.
2. Press the TEST button.
Each speaker produces the test tone (pink noise) in the follow-
ing order:
No sound will be output from the speakers for which the CON-
FIG parameters is set to NO or NONE.
3. To adjust the level of each speaker, press the CH SEL button
to select a speaker and press the LEVEL +/– buttons to raise
or lower the level.
The test tone should sound at the same level when you hear it in
your listening position. You can adjust the level in the range
between –12dB and +12dB.
If the speaker level is set to +1dB or higher, the maximum level
indicated on the display will change if you raise the volume
level. Refer to “About volume (VOLUME)” on page 20 for
more information.
4. Press the TEST button to complete adjustment.
Note
•
The Test Tone function is not available when SPEAKERS B is
selected, when the headphones are connected, or when MULTI-
CH INPUT is selected.
Test Tone
LEFT (Front L ch)
L-SURROUND
CENTER
RIGHT (Front R ch)
R-SURROUND
SUBWOOFER
(Center ch)
2
3
1
dB
4
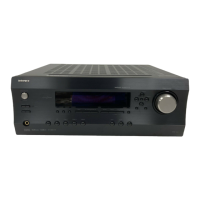
Using the Test Tone function on the main unit
1. Press the SP/SYS SETUP button.
2. Press the ENTER/SCAN button while “SPEAKER SETUP” appears on the display.
3. Press the SP/SYS SETUP button twice while “CONFIG SETUP” appears on the display.
4. Press the ENTER/SCAN button while “LEVEL SETUP” appears on the display.
Each speaker produces the test tone in the order described above.
5. Use the PRESET MODE ADJ
√
/
®
buttons to adjust the level.
6. Press the SP/SYS SETUP to complete adjustment.