Intel Desktop Board DG965MQ Product Guide
70
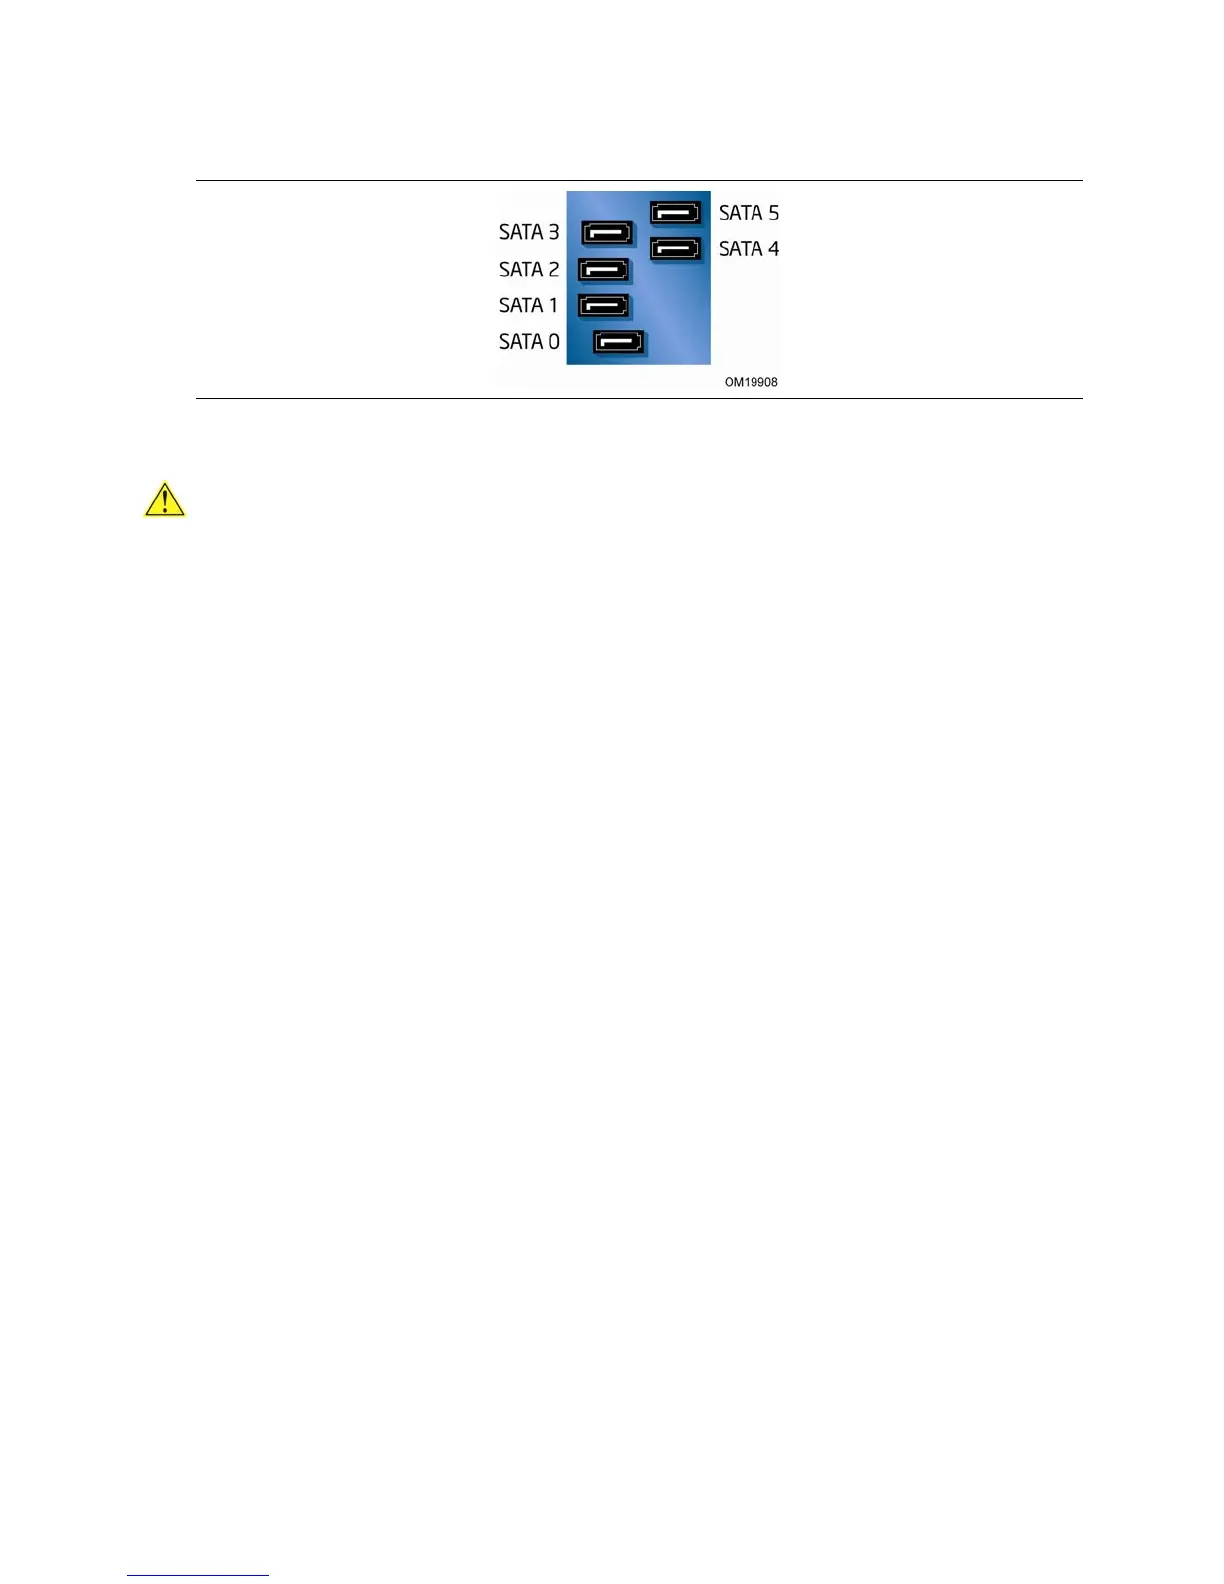
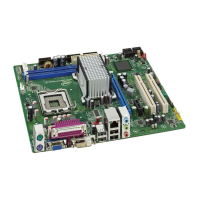
Figure 34. SATA Port Mapping for Desktop Board DG965MQ
After RAID is Enabled
CAUTION
Exercise caution when replacing a failed drive within a RAID storage array. Do not
replace the failed drive based on the original SATA port mapping; use the new
mapping shown in Figure 34.
The SATA port mapping shown in Figure 34 is consistent with the SATA port
assignment in the Intel
®
Matrix Storage Configuration Utility (Ctrl+I) and the
Intel
®
Matrix Storage Console software.
Creating Your RAID Set
1.Upon re-boot, you will see the following Intel
®
Matrix Storage Manager option ROM
status message on the screen: Press <Ctrl-I> to enter the RAID
Configuration Utility. Press <Ctrl-I> and enter the RAID Configuration Utility.
2.In the Intel Matrix Storage Manager option ROM Main Menu, select option #1:
Create RAID Volume. Enter a volume name and press <Enter>.
NOTE: The RAID Volume name must be in English alphanumeric ASCII characters.
3.Use the arrow keys to select RAID 0 or RAID 1 (if only two SATA drives are
available), RAID 5 and RAID 10 (these options will only appear if three or four
SATA drives are installed respectively). Press <Enter> once you have selected the
RAID LEVEL.
NOTE: The maximum number of SATA drives configurable for a single RAID array
is four. However, you can create more than one RAID array on a single system.
4.Select the drives to be used in the RAID array (only if there are more than two
drives available) and press <Enter>.
5.Select the strip size, if necessary, and press <Enter>.
6.Enter the size of the volume (if you enter less than the maximum volume size, you
can then create a second RAID array on the remaining portion of your volume) and
press <Enter>.
7.Finally, press <Enter> to Create Volume.
8.Exit the Option ROM user interface by pressing <Esc> or going to the EXIT option
in the MAIN MENU.