CK71 Service Work Instructions
The camera windows in the bottom housing can be replaced as needed. These will also need to be installed anytime a
bottom housing assembly is replaced. There are two identical windows covered by a single trim overlay. The
windows can be replaced individually or both at the same time. Anytime a window is replaced a new trim overlay
will need to be installed. The windows and overlay used on a unit with a camera installed are different than the
windows and overlay used on a unit with no camera.
Tools Required
Isopropyl alcohol solution
Small straight blade screwdriver or Xacto knife
Parts Required
LENS, CAMERA FLASH ASSEMBLY
NOTE: Parts shown are for a CK71 with a camera
Removal
1. Remove the bottom housing assembly (refer to Bottom Housing operation).
2. Using a blunt tip tool push out the camera window.
Installation
1. Select the appropriate camera window (actual window or blank overlay for units without a camera).
2. Ensure that the contact surface area of the bottom housing is clean and free of any adhesive residue left over from
the window that was removed.
3. Remove the adhesive release liner from the new window and place into the window opening in the bottom
housing. Note the correct orientation of the square and round masked areas in the window as shown in the photo
above. Once in place press thoroughly around the edge to ensure adequate adhesion.
4. Re-install bottom housing assembly.
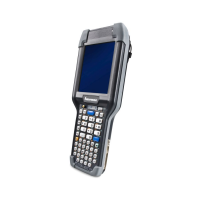
Location of camera
window
square opening
over camera