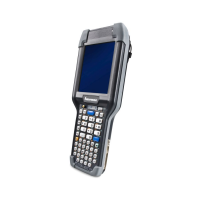
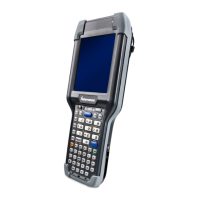
CK71 Service Work Instructions
The camera is located on the scan bracket assembly. To service the camera you will need to remove the scan bracket
assembly.
Tools Required
Phillips screwdriver with #0 tip
Parts Required
CAMERA, GLUE, PROCESS CK71
SCREW,M1.4x0.45x2.3mm,TAPPING,PH PD,RoHS
Removal
1. Remove the bottom housing assembly (refer to Bottom Housing operation).
2. Remove the scan bracket assembly (refer to Scan Bracket Assembly operation).
3. Remove the foam pad that surrounds the camera assembly.
4. Using a #0 Phillips screwdriver remove four screws that secure the camera to the scan bracket assembly.
The camera shield and camera can now be removed.
Installation
1. Position the camera and shield onto the scan bracket assembly.
2. Using a #0 Phillips screwdriver install 4 screws and secure the camera to the scan bracket assembly with 1.2+/-0.2
in-lbs of torque.
3. Install the foam pad the surrounds the camera assembly.
5. Re-install the scan bracket assembly.
6. Re-install the bottom housing assembly.