CK71 Service Work Instructions
Installation
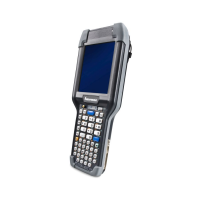
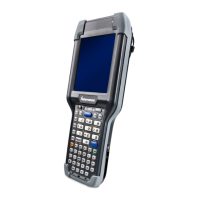
1. Position the keyboard PCB assembly over the magnesium frame lining its connector up with mating connector on
the main logic board.
2. Press down over the connector to secure the keyboard PCB assembly into position on the magnesium frame.
3. Using a T7 torx driver install 4 screws and secure the keyboard PCB to the magnesium frame with 2.5+/-0.2 in-lbs
of torque.
4. If this is a replacement keyboard PCB install a new microphone cover over the new keyboard PCB’s microphone.
If you are re-installing the existing keyboard PCB assembly inspect the microphone cover and replace as needed.
Make sure the microphone cover hole is lined up with the hole in the microphone as shown in the picture below.
5. Re-install the core assembly
6. Re-install the bottom housing assembly.
Microphone cover correctly
installed with holes lined up
Connection to
main logic board