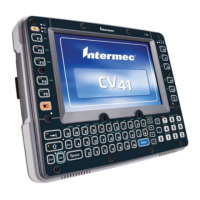
Chapter 1 — About the Computer
6 CV41 Vehicle Mount Computer (Windows CE) User Guide
Connect the Smart Dock to a AC/DC Power Supply
To provide power to the CV41, you must first provide power to the
smart dock. If you are going to use the CV41 at a desk, use the AC/DC
power supply. The AC/DC power supply must be connected to a 120
V, 60 Hz supply in North America, or to a 230 V, 50 Hz power supply
outside of North America (appropriate AC cable not included). Make
sure that the external AC power is properly grounded and provides a
maximum of 15 A of overcurrent protection (10 A for 230 V circuits).
For more information on installing the AC/DC power supply,see the
CV41 Vehicle Mounting Kit Reference Guide.
Connect Cables to the Smart Dock
To use a USB drive or an audio headset, you need to purchase the
appropriate cable and connect it to the smart dock. For more
information on available cables, see “CV41 Accessories” on page 11.
Connect the CV41 to the Smart Dock
After you have secured the smart dock and connected it to power,
attach the CV41 to the smart dock.
1 Press and hold the Power button on the CV41 until the computer
turns off.
2 Locate the protruding lip on the rear of the CV41.
3 Place the lip of the CV41 over the top of the dock.
4 Slide the CV41 from side-to-side until the CV41 is seated into the
smart dock.
5 Push down onto the smart dock until you hear click.
Note: In North America, the AC power supply is intended for use with
a UL Listed ITE power supply with an output rating of 12 to 48 VDC,
minimum 15 W. Outside of North America, the power supply is
inteded for use with an IEC certified ITE power supply with an output
rating of 12 to 48 VDC, minimum 15 W.
Make sure the smart dock is powered off before you connect any cables
to it.