TIGER Instrument User Manual V3.10
Unrivalled Gas Detection. Page 36 of 72 ionscience.com
Select the calibration gas using the drop-down list.
If no gases are shown in the drop-down list, click Browse and go to the location where the TigerPC
software files are saved:
<Installation folder>/IonScience/Tiger/software/instruments/<instrument number>/gas table
Find the appropriate gas table and open it.
If required, tick Zero on Carbon Canister to ensure a near Zero reading after calibration. The fixed
Zero option should also be selected.
TigerPC offers two-point (Zero + SPAN 1) and three-point (Zero + SPAN 1 + SPAN 2) calibration
options:
• For two-point calibration, enter the SPAN 1 concentration and ensure that the SPAN 2
checkbox is unticked.
• For three-point calibration, tick the checkbox and enter the SPAN 1 and SPAN 2
concentrations.
In applications where the detected gas levels are expected to be below 100 ppm
then only a two point calibration (i.e. Zero and 100 ppm) is necessary. However, in
applications that require measurement above 100 ppm a three point calibration
(i.e. Zero, 100 ppm and 1,000 ppm) should be carried out.
Select Send to instrument to save these settings to your TIGER.
The calibration procedure is detailed in Calibration.
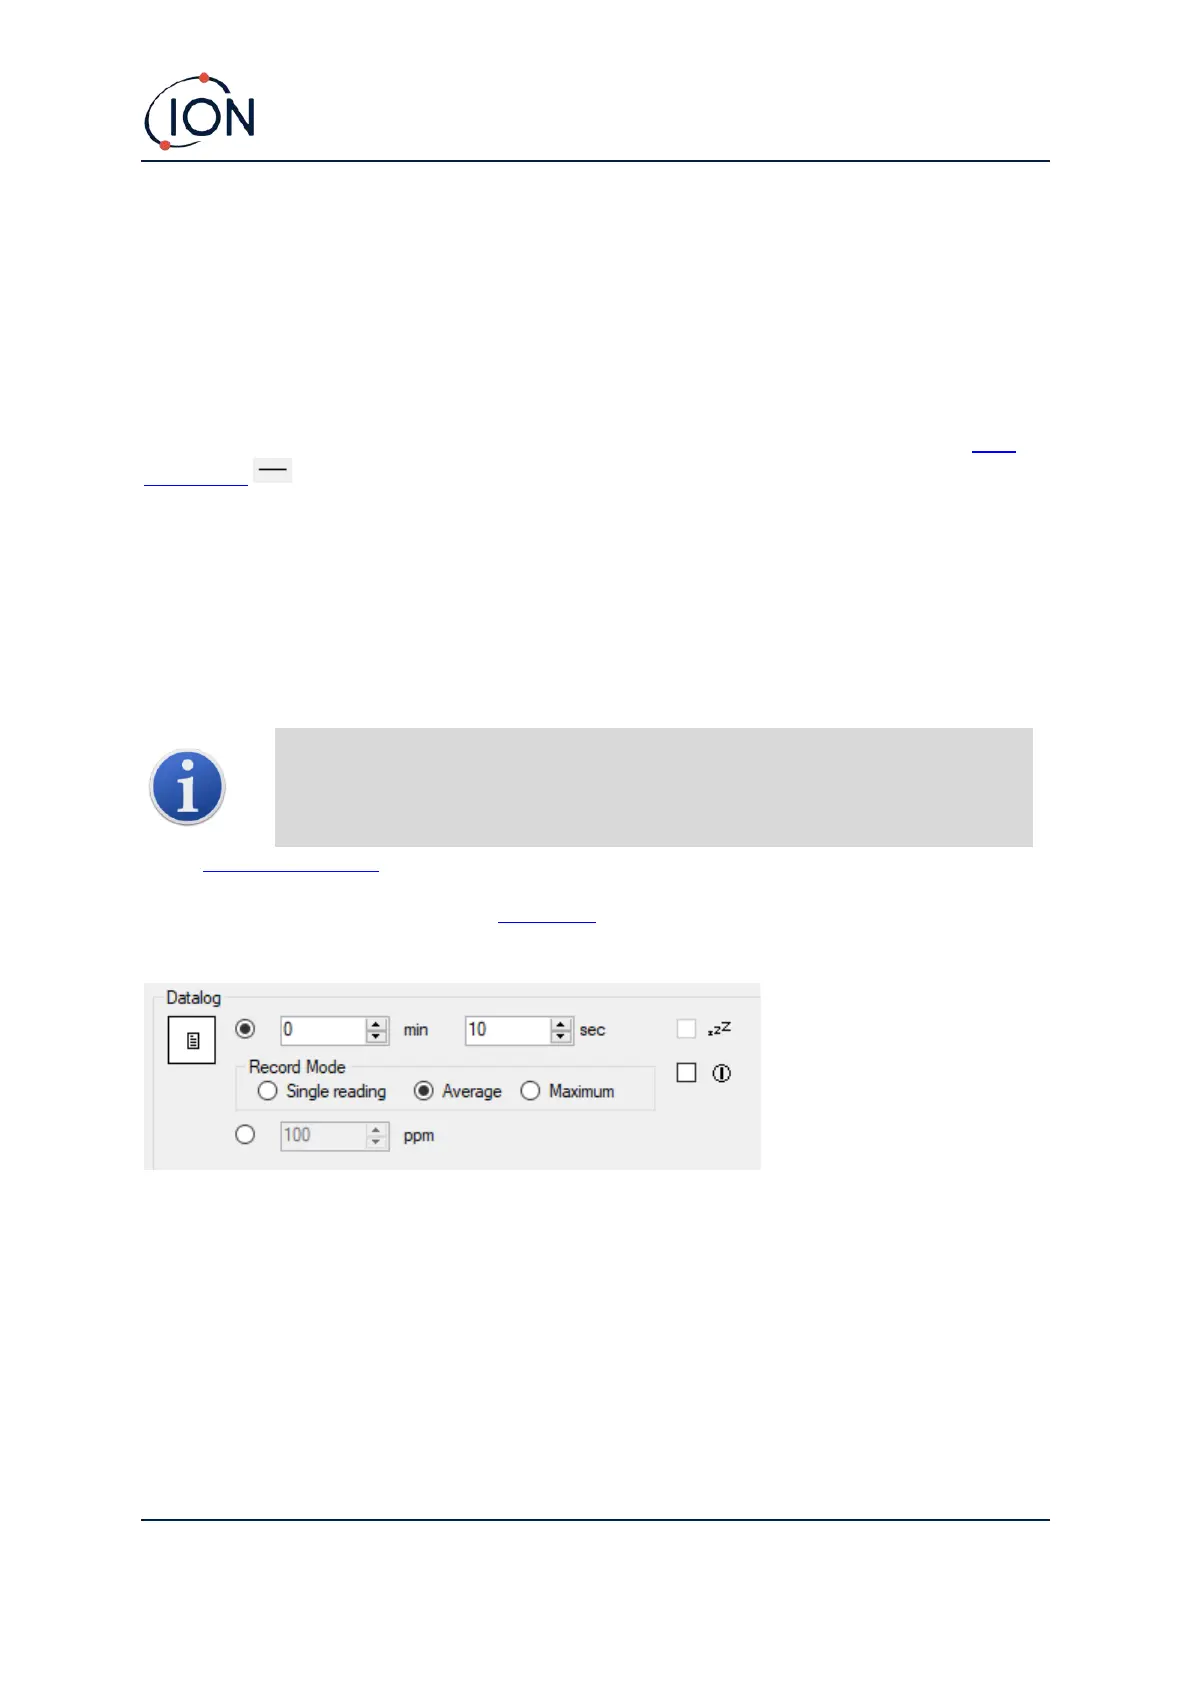
Datalog
Select one of the following:
• min and sec: set the interval between readings. Users can select to record each live data
points (single), or the average or maximum value between the desired sampling frequency.
Must be at least 1 second.
• ppm: the instrument starts data logging at 1 second intervals for as long as the ppm gas level
is exceeded.