CHAPTER 3. ENGINE ACCESSORIES
29
3
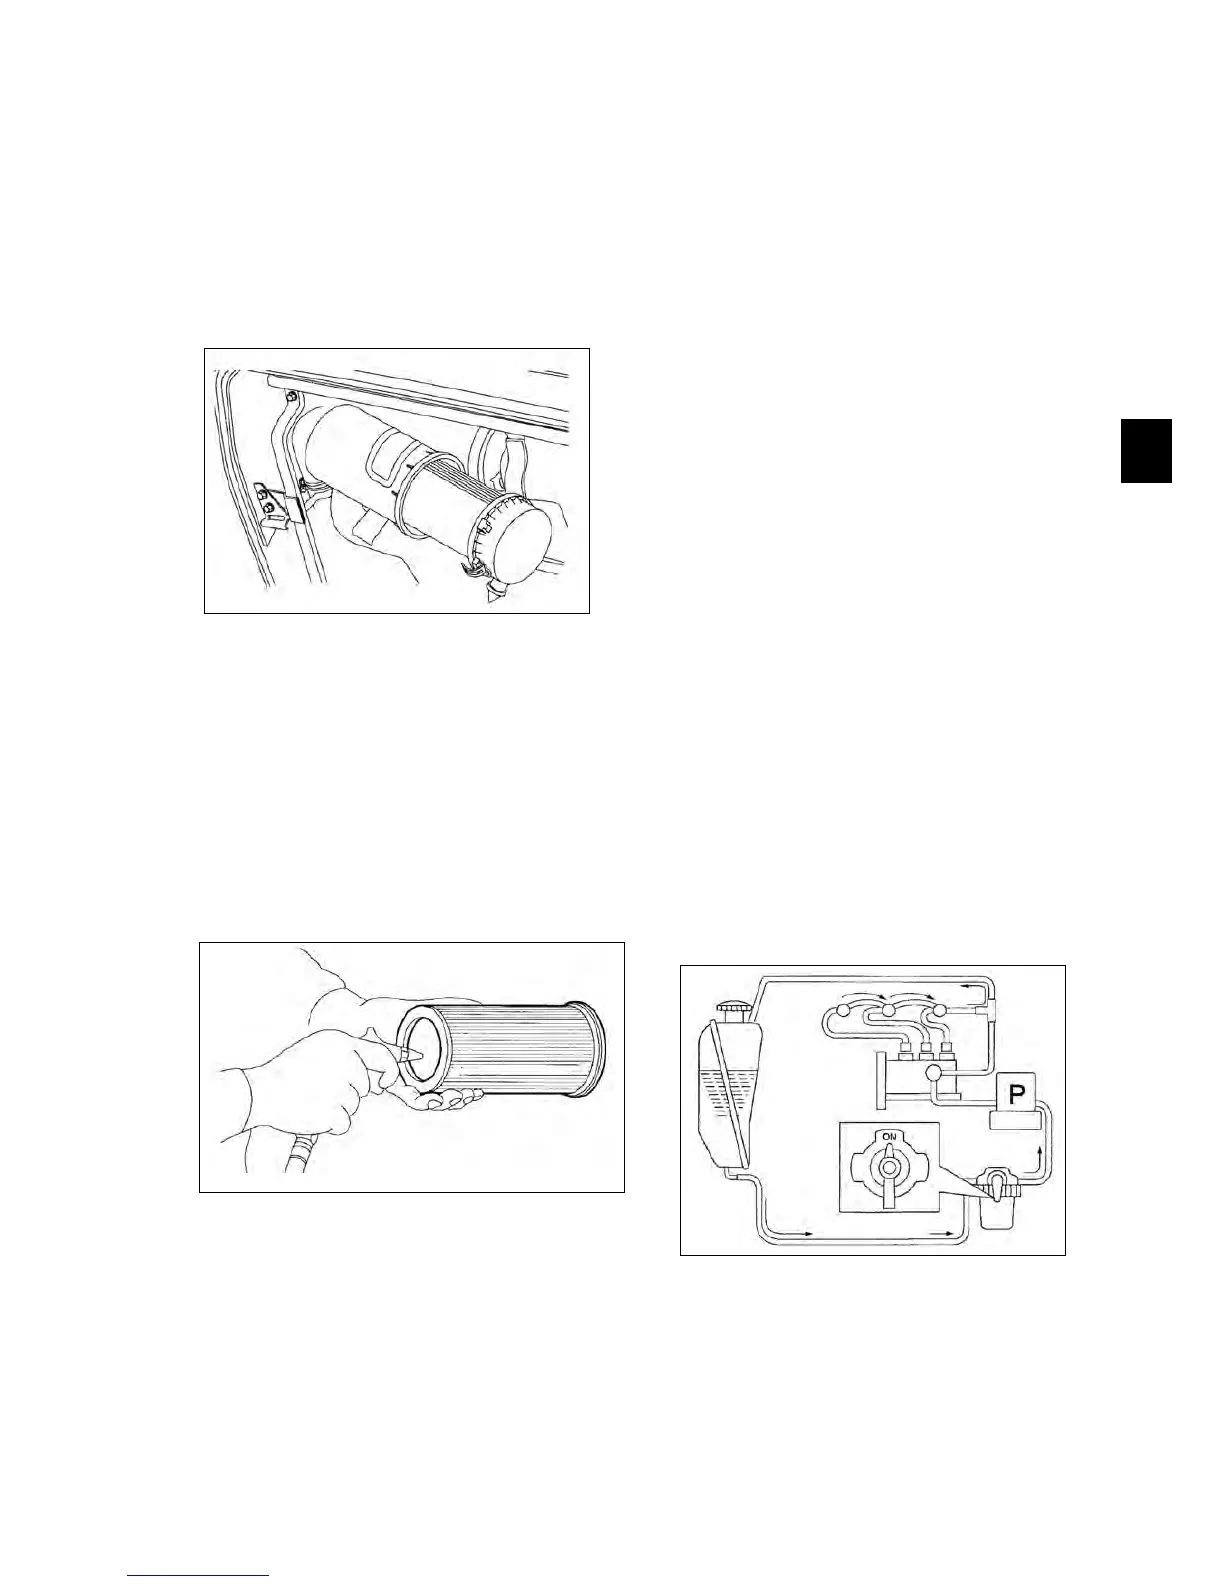
3. AIR CLEANER
(1) REMOVAL AND REASSEMBLY
Release clips on the cover. Remove the element.
Examine the element and seals for damage and brit-
tleness. If the element is damaged in any way, it must
be replaced. Reassemble in reverse order of removal
and clip securely.
(2) INSPECTION
Inspect the air cleaner visually for cracks, deforma-
tion, or other damage.
Check the rubber packing at each joint, rubber pipes
and the evacuator valve.
Inspect the paper element.
(3) CLEANING ELEMENT
The element may be cleaned (if in serviceable condi-
tion) using the following procedures.
Using compressed air [not exceeding 200 kPa (30
psi)] from the inside of the element, remove loose
dirt, grass, chaff, etc.
Be careful not to damage element pleats with air
flow.
If the element is coated with oil or soot:
a. Prepare solution of warm water and nonfoam-
ing detergent.
b. Soak the element for thirty minutes.
c. Agitate the element in solution until oil and
soot are loosened.
d. Rinse the element until rinse water is clear.
e. Allow the element to completely dry. Do not
dry by using compressed air or heat.
After cleaning (or washing) the element examine for
pinholes, punctures, or tears. If the element paper,
canister or seal show any signs of physical damage,
the element must be replaced.
Note:
Replace an element, which has already been
washed five times.
4. FUEL SYSTEM
(1) FUEL CIRCUIT
Fig. 3-6
Fig. 3-7
Fig. 3-8
 Loading...