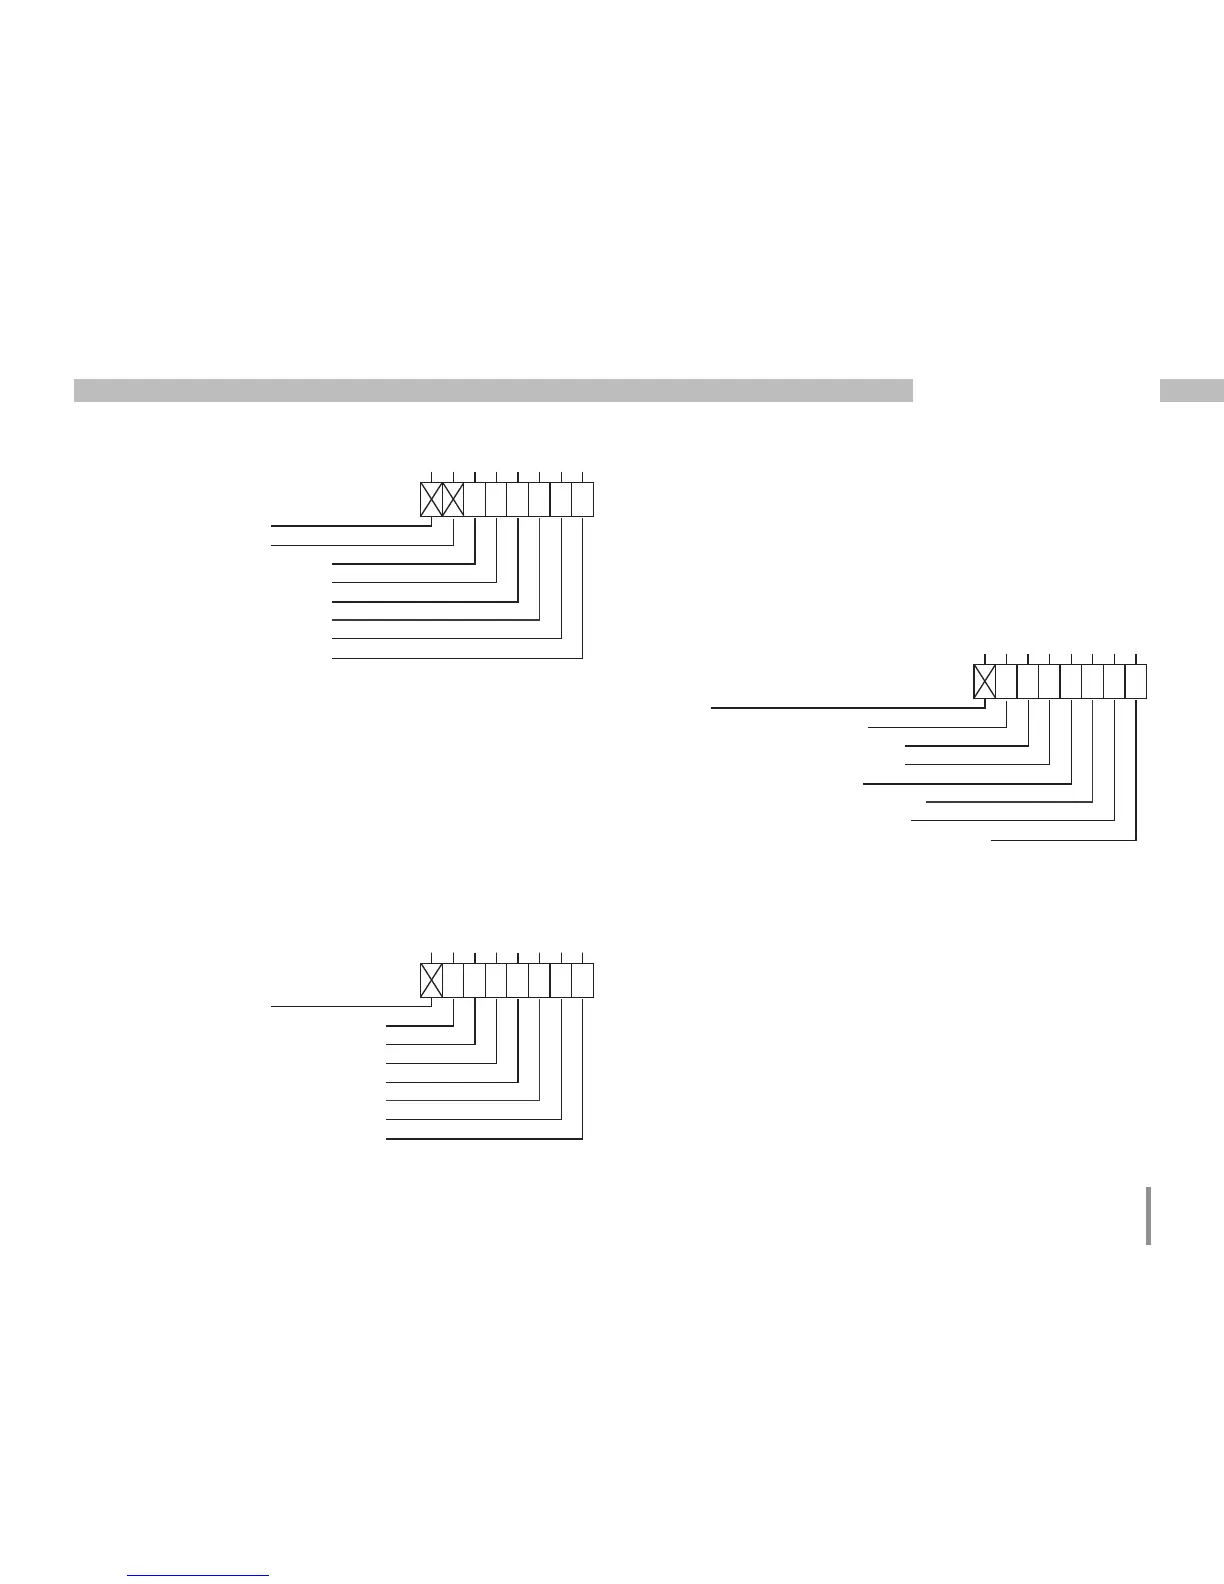
Example:
Output 1-3 set
Unused
Unused
Digital output 6
Digital output 5
Digital output 4
Digital output 3
Digital output 2
Digital output 1
Bit:
0
7
0
6
0
0
5
0
0
4
0
0
3
0
1
2
0
1
1
0
1
0
Control tariffs (3rd byte):
Setting or clearing the bits enables the selection
of tariffs 1-7. Bit 7 is not used. If several tariffs are set
in the byte then the tariff with the least significant bit
is selected. If byte 3 is used, then byte 4 should be set!
Example:
Tariff 3 selected
Unused
Tariff 7 (0=inactive, 1=active)
Tariff 6 (0=inactive, 1=active)
Tariff 5 (0=inactive, 1=active)
Tariff 4 (0=inactive, 1=active)
Tariff 3 (0=inactive, 1=active)
Tariff 2 (0=inactive, 1=active)
Tariff 1 (0=inactive, 1=active)
Bit:
0
7 6
0
0
5
0
0
4
0
0
3
0
1
2
0
0
1
0
0
0
0
Control tariffs (4th byte):
Setting or clearing bits 0 to 6 of byte 4 enables a selection
of energy meters for the tariff set. Each tariff can have
up to 7 energy meters allocated to it.
Example:
Apparent energy
selected
Unused
Energy meter for apparent energy
Energy meter for reactive energy (cap.)
Energy meter for reactive energy (ind.)
Energy meter for reactive energy
Energy meter for active energy (delivered)
Energy meter for active energy (drawn)
Energy meter for active energy (without backstop)
Bit:
0
7 6
0
0
5
0
0
4
0
0
3
0
0
2
0
0
1
0
0
0
1
 Loading...