81
(2) Selection of the sewing pattern and the sewing width
Selection of the sewing pattern is the same as that of the LK-1900B.
When the distance between holes of the button used does not t the standard sewing width of the sew-
ing pattern No., adjust the sewing width by enlarging/reducing the sewing width.
The way of enlarging/reducing is the same as that of the LK-1900B. Refer to the table given below for
the scale for enlargement/reduction in terms of the sewing width.
After changing the sewing pattern No. and the sewing width, make sure of the needle entry point.
As for the way of conrmation, refer to the
"I.5-4. Checking the contour of a sewing pattern" p.20
in the
instruction manual for the LK-1900B.
Table of XY scale in terms of the sewing width
3-1. Position of the button clamp jaw lever
X•Y
(mm)
% 71 76 82 88 94 100 106 118 126 132 138 153 165 176 182 188
2.4 2.6 2.8 3.0 3.2 3.4 3.6 4.0 4.3 4.5 4.7 5.2 5.6 6.0 6.2 6.4
WARNING :
When change of the shape of button, change of the sewing pattern or enlargement/reduction of the
sewing width is performed, make sure the needle entry point. If the needle extends outside the button
hole or the sewing pattern extends outside the button clamp unit, the needle interferes with the button
hole or the button clamp unit, resulting in the danger of the needle breakage or the like.
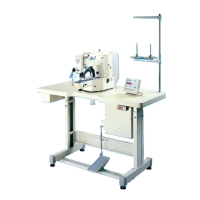
3. ADJUSTMENT OF THE SEWING MACHINE
1) Press MODE key
in the state where
sewing LED
goes out on the operation panel.
2) Put "08 Work clamp adjustment" in the selected
state with ITEM SELECT key
.
3) Press EDIT key
. The button clamp unit
travels to the origin and goes up.

 Loading...