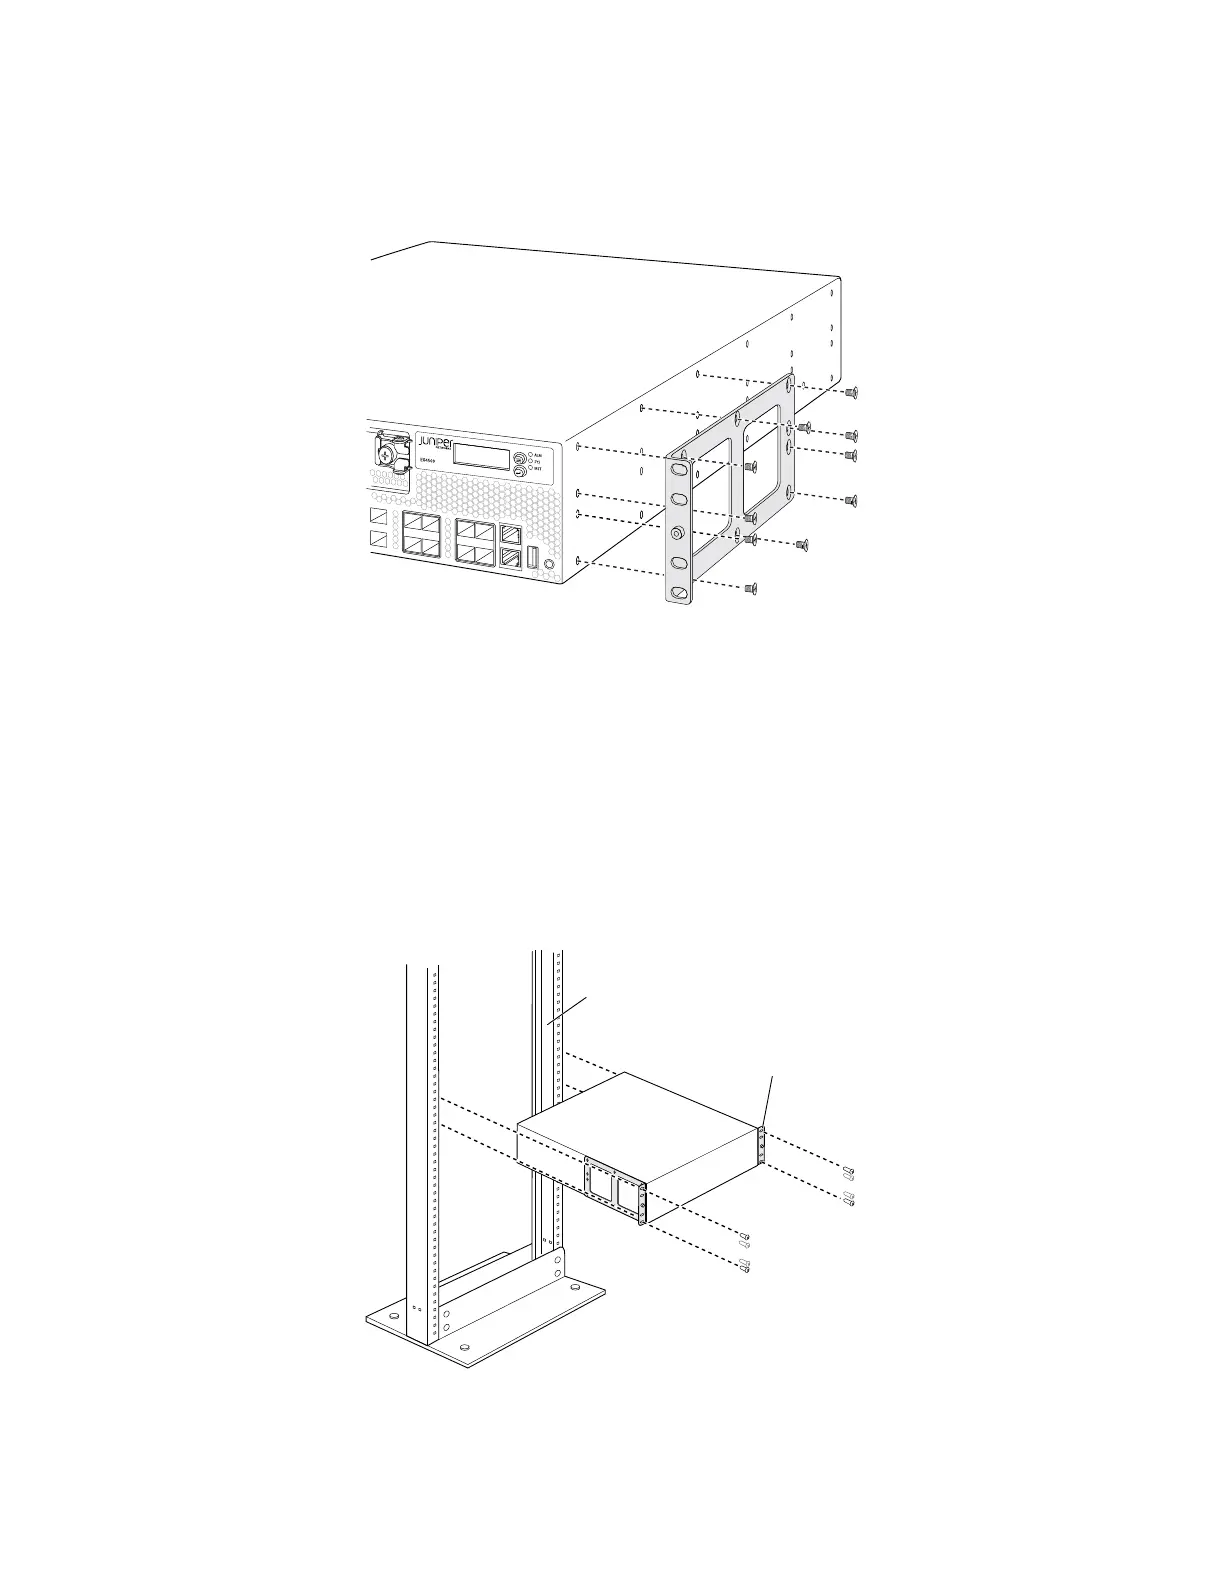
Figure 23: Attaching the Mounting Bracket Along the Front of the Switch
3. Align the bottom holes in the mounting brackets with holes on the side panels
of the switch chassis.
4. Insert mounting screws into the aligned holes. Tighten the screws.
5. Ensure that the other holes in the mounting brackets are aligned with the holes
in the side panels. Insert a screw in each hole and tighten the screws.
6. Have one person grasp both sides of the switch, lift the switch, and position it
in the rack, aligning the mounting bracket holes with the threaded holes in the
rack or cabinet rail. Align the bottom hole in both the mounting brackets with a
hole in each rack rail, making sure the chassis is level. See Figure 24 on page 67.
Figure 24: Mounting the Switch on Two Posts in a Rack
Mounting rack
Mounting bracket
g020819
Mounting an EX4500 Switch on Two Posts in a Rack or Cabinet ■ 67
Chapter 8: Installing the Switch