Installation
Page 27 © JVA Technologies www.jva-fence.com
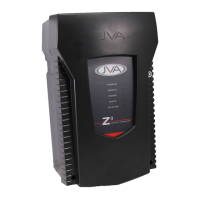
6 INSTALLATION
6.1 INSTALLATION STEPS
1.
2. Design and build the fence. (Beyond the scope of this manual.) Ask your
3.
not in direct sunlight.
4.
5. Mount the housing using 4 screws through the rear of the box.
6. Replace the PCB chassis.
7.
the wall.
8. Wire the low voltage cables to the PCB terminals*.
9. Wire the high voltage cable to the PCB terminals*.
10. If earth monitoring is not going to be used on the fence, connect a
bridge wire from earth out to earth return.
11.
12.
13. Mount the 230 – 16V transformer and connect the 16V side to the
terminal on the PCB.
14. Replace the front cover.
15. Turn AC power on.
16. Arm the unit.
17. Check to ensure that a short anywhere on the fence triggers the alarm.
Ensure that the user understands how to change the User PIN and is in
possession of this Installer/User Manual and the installer’s contact details.
* NOTE: Keep high voltage and low voltage cables at least 30mm apart. Do
not run high and low voltage cables in the same conduit.