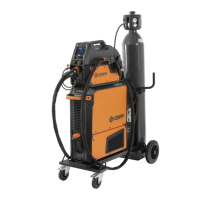
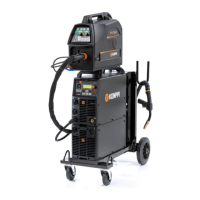
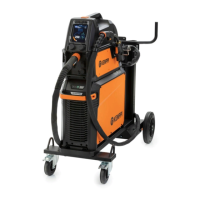
4.2 Controlling the welding system
4.2.1 Setup panel
Use the Setup panel on the X3 Power Source to change
the settings of your welding system.
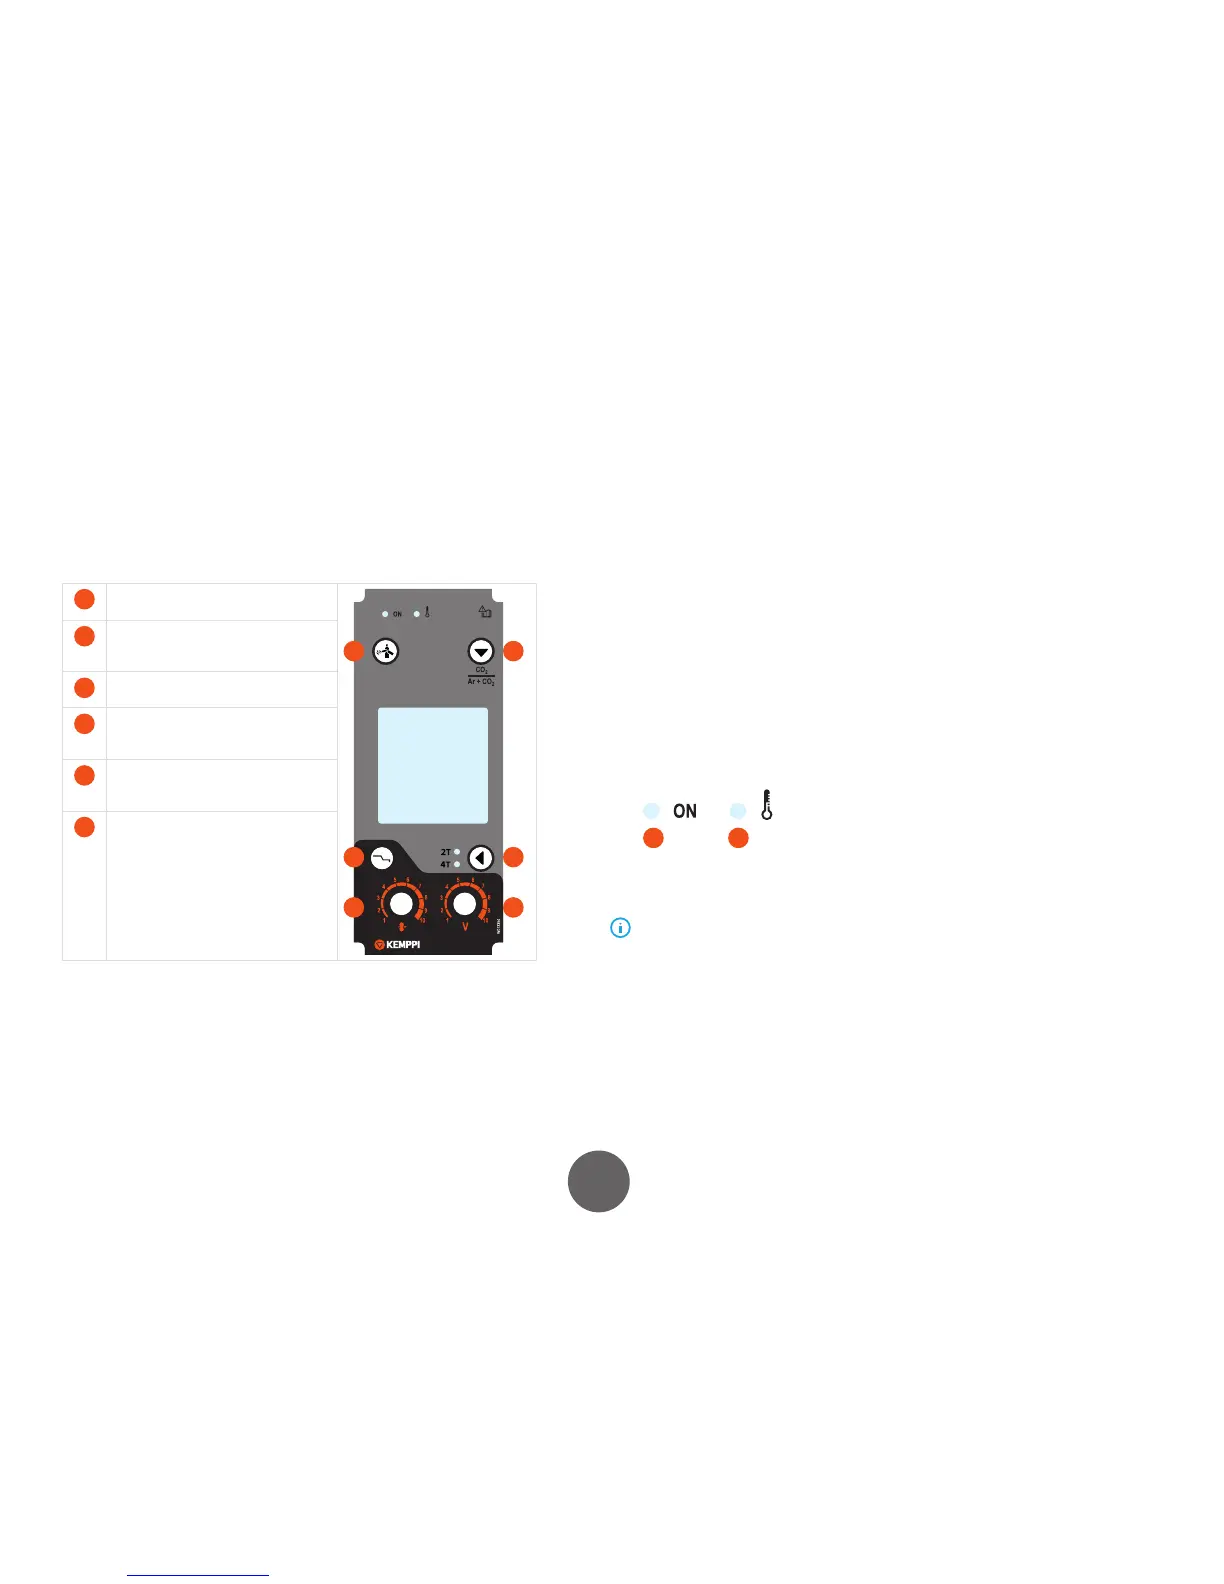
1
Gas test button
Press to test the shielding gas ow.
X3
MIG
Welder
1
4
5
2
3
6
2
Gas select button
Press to select either CO₂ or mixed
shielding gas (MAG).
3
Press to select between 2T and 4T gun
trigger modes.
4
Crater ll button
Press to select the Crater ll mode ON
or OFF.
5
Wire feed speed adjustment knob
Turn to set the wire feed speed value for
the Crater ll mode.
6
Voltage adjustment knob
Turn to set the welding voltage value for
the Crater ll mode.
4.2.2 Starting the power source
To start the power source, turn the main switch to posi-
tion ‘I’. Initially, the rmware version number is displayed
in the LCD display. After that, the rmware number is re-
placed with the parameter display, and the machine is
ready for setup.
4.2.3 LCD display
The X3 MIG Power Source is equipped with an LCD display. Welding parameter settings
are made through the X3 Wire Feeder control panel for wire feed speed (A) and voltage
(V). During welding the display always shows the welding current (A) used.
The average welding values remain on display for 10 seconds after you stop welding.
The upper part of the display shows wire feed speed, the selected welding voltage and
gas type selection. The lower part of display shows the Crater ll values.
4.2.4 LED indicators
There are two LED indicator lights on the top of the control panel.
1 2
1. The ON light indicates that the power source is turned on.
2. The second light indicates that the machine is over heated.
The machine stops automatically when it reaches its maximum operating tempera-
ture. If the heat indicator led is on, the machine has exceeded its normal maximum operat-
ing temperature. Stop welding and wait until the led turns o. The machine is then ready
for welding to continue.

 Loading...