Buttonholes [] _ [] (Continued)
5_DrS_m ?0
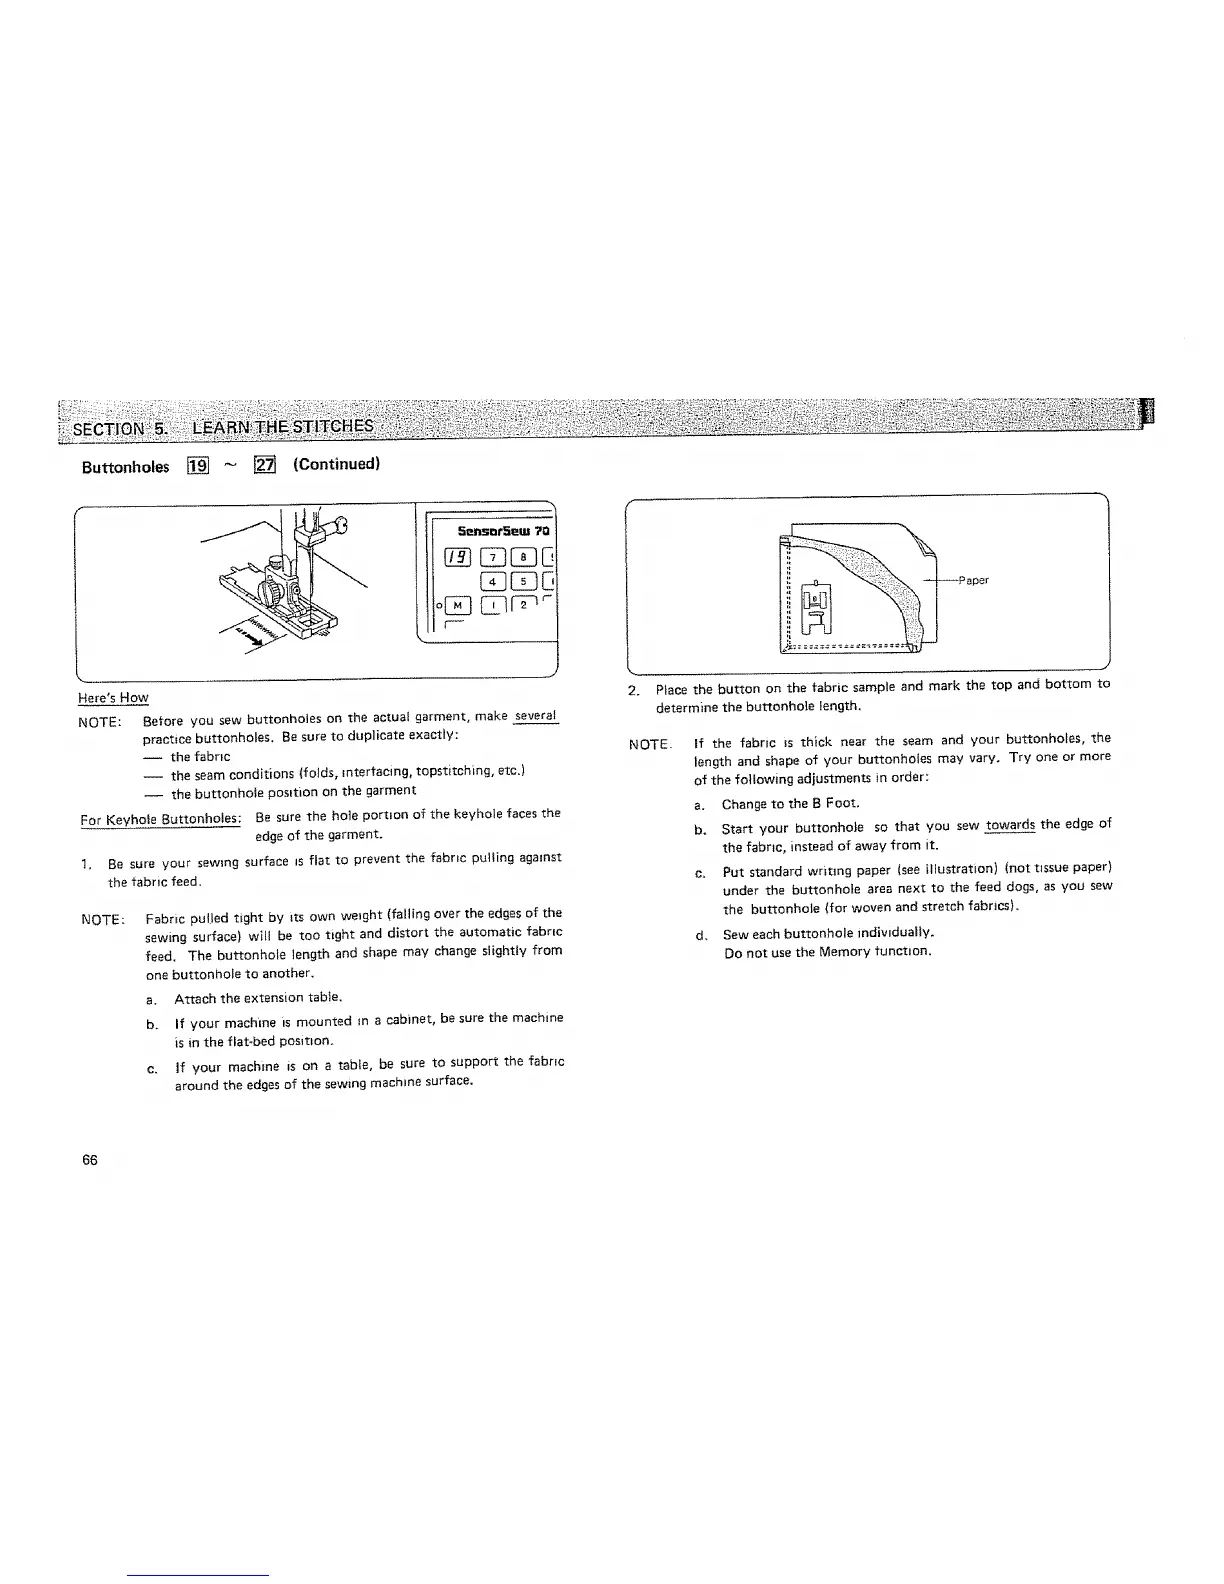
Here's How
NOTE: Before you sew buttonholes on the actual garment, make several
practice buttonholes. Be sure to duplicate exactly:
-- the fabric
-- the seam conditions (fo_ds, interfacing, topstitching, etc.)
the buttonhole position on the garment
For Keyhole Buttonholes: Be sure the ho_e port,on of the keyhole faces the
edge of the garment.
1. Be sure your sewing surface _s flat to prevent the fabric pulling against
the fabric feed.
NOTE: Fabric pulled tight by its own weight (falling over the edges of the
sewing surface) will be too tight and distort the automatic fabric
feed. The buttonhole length and shape may change slightly from
one buttonhole to another.
a. Attach the extension table.
b. If your machine is mounted m a cabinet, be sure the machine
is in the flat-bed position.
c. If your machine is on a table, be sure to support the fabric
around the edges of the sewing machine surface.
66
2. Place the button on the fabric sample and mark the top and bottom to
determine the buttonhole length.
NOTE:
If the fabric is thick near the seam and your buttonholes, the
tength and shape of your buttonho{es may vary. Try one or more
of the foiJowing adjustments in order:
a. Change to the B Foot.
b. Start your buttonhole so that you sew towards the edge of
the fabric, instead of away from it.
c. Put standard writing paper (see illustration) (nottissue paper)
under the buttonhole area next to the feed dogs, as you sew
the buttonhole (for woven and stretch fabrics).
d. Sew each buttonhole individually.
Do not use the Memory function.
 Loading...