Remote Interface Configurations 6
Keysight J7211A/B/C Operating and Service Manual 57
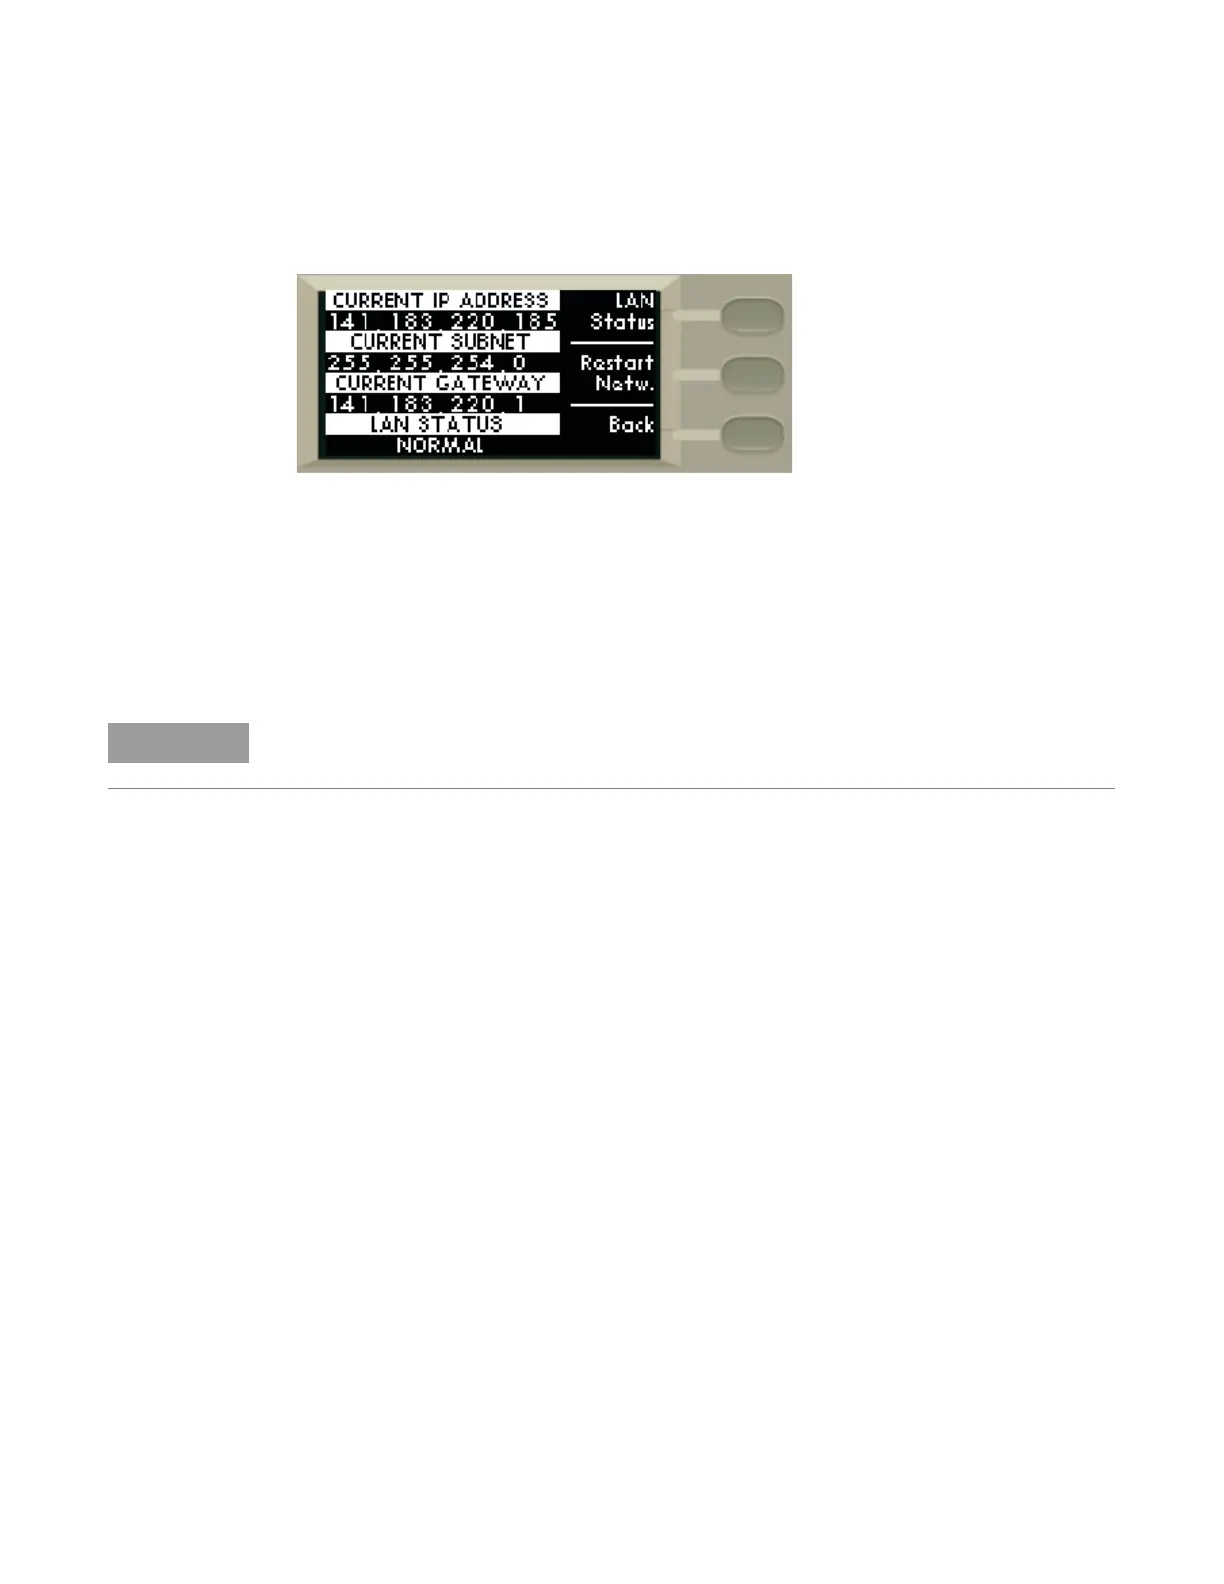
2 Check and confirm again the auto mode setting in View IP Address.
3 To check current LAN status, click once on LAN Status softkey.
4 Restart Netw. is use for you to start again on the network.
Now you can use the J7211A/B/C Web Browser Interface to access and control the instrument.
See “Exploring the J7211A/B/C Web Interface Over LAN” on page 60.
If you plan to program the instrument over LAN or use such programs, make sure you have
installed the required I/O software on your computer.
Use the Connectivity Expert utility of the Keysight IO Libraries Suite to add the J7211A/B/C and
verify a connection. When identifying the instrument, it is easiest if you use the IP address noted in
above table.
Now you can use various programming environments to control the J7211A/B/C. For an overview
on programming instructions via USB, refer to the Connectivity Guide.
Manual mode
In a manual mode, you must set up the IP Address, Subnet Mask and Default Gateway that is
compatible with your network infrastructure. If it is not correctly setup, J7211A/B/C will not be
visible on your network.
1 Firstly, connect your computer to J7211A/B/C using LAN cable.
2 Make sure power is applied to your computer and verify that the operating system is fully
booted.
3 Apply power to J7211A/B/C and background LED color turns red, indicating standby mode.
4 Press once on the ON button and LED color turns from red to green.
5 After several minutes, LAN indicator will turns green which means LAN connection is
established.
6 Then, the LCD screen displays 6 submenus.
If you have installed any other I/O software, refer to documentation included in that software.