TM0024 Page 18 of 33 Issue 2.01
Single Device
To isolate a single device the display will request an entry of a loop number which will
be via the appropriate numeric key(s) and accepted by operation of the Enter key.
Operation of the Enter key will then request selection of the Device number which will
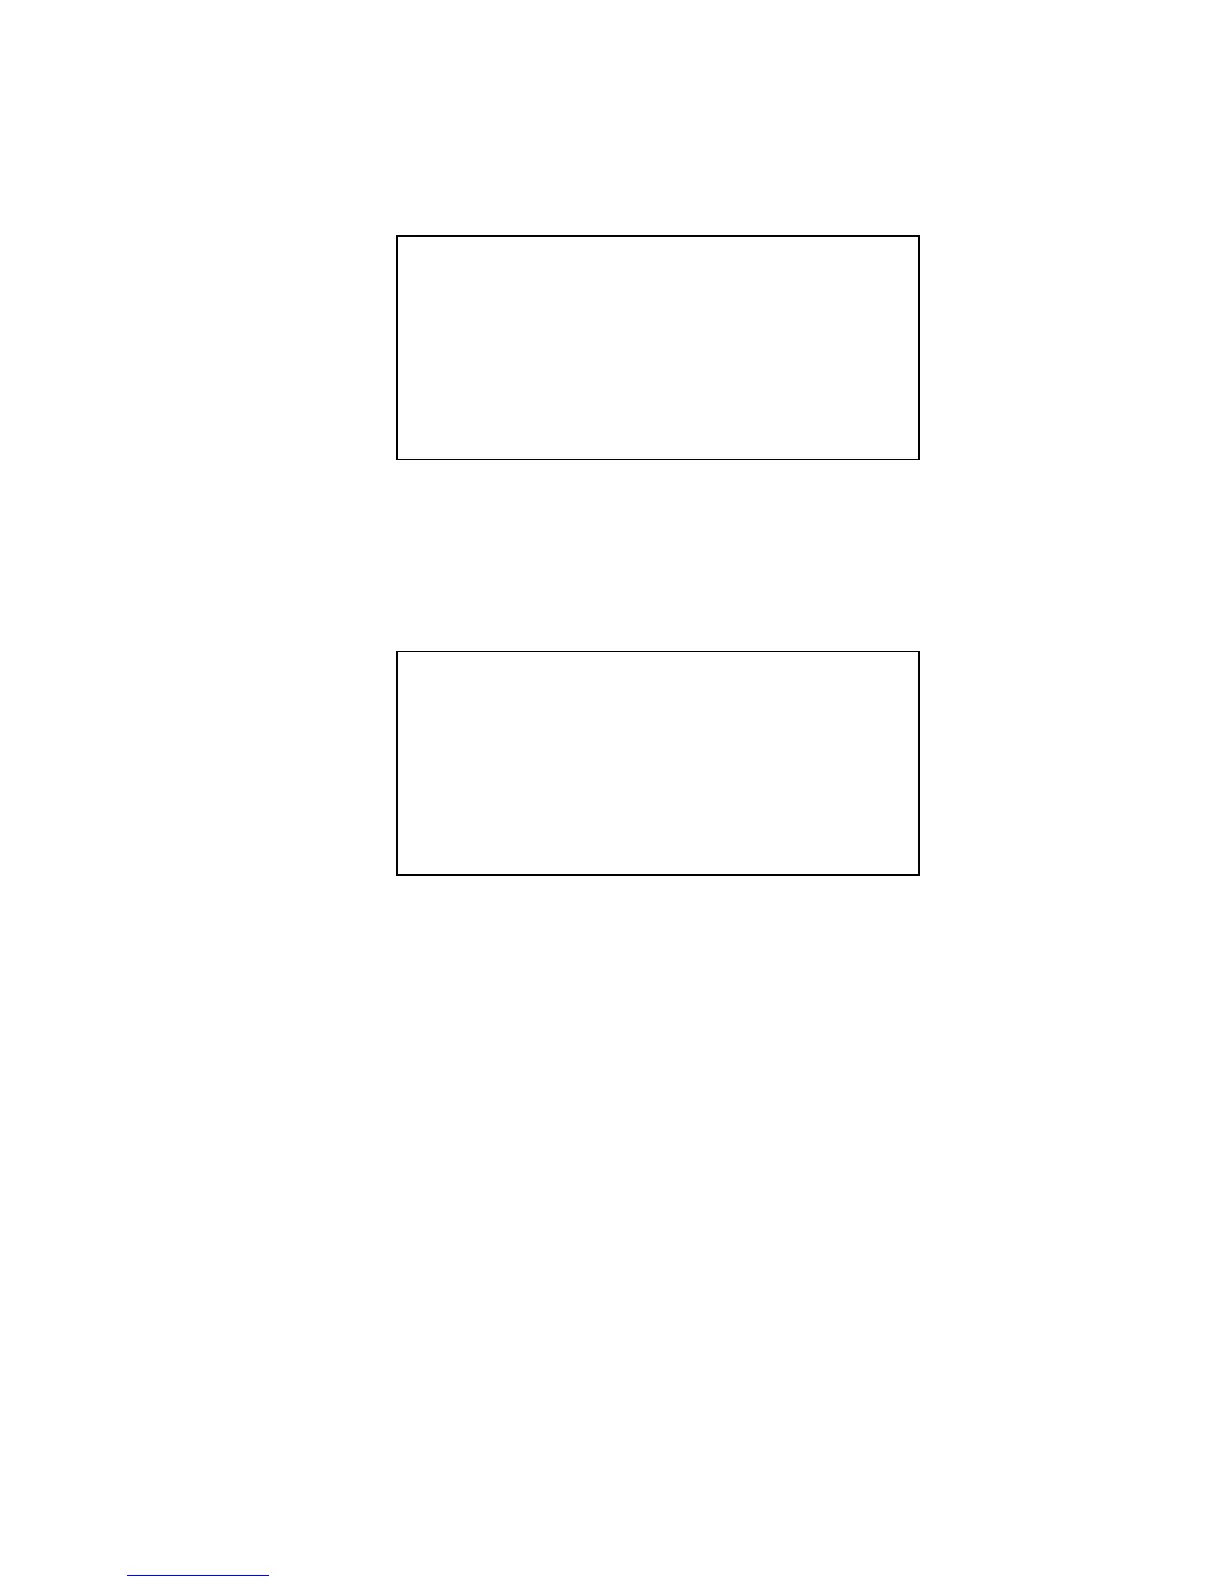
also be entered by use of the appropriate numeric key as shown in figure 3.5.
Access level 2 Isolate
Loop _1 address _ _ _
Select loop and address &
↵
Figure 3.5
When the device has been selected operation of the Enter key will cause a list of
device information to appear starting with the selected device number. By use of the
arrow keys the required device maybe highlighted as shown in figure 3.6.
Access level 2 Isolate
Dev 021.1 Loop 01 Norm
I/O Unit Emergency Door Closer
Dev 022.1 Loop 01 Norm
I/O Unit Emergency Door Closer
Dev 023.1 Loop 01 Norm
I/O Unit Emergency Door Closer
↑ to select,
↵
to (De-) isolate
Figure 3.6
Operation of Enter key will cause the highlighted device to be “ISOLATED” which will
be displayed for a short time period as confirmation, after which the display will allow
the next device to be selected. Operation of the Cancel key will cause this selection
to be cancelled and another operation of the cancel key will revert to the menu
selection.
Upon Isolation of the device the common Isolate and device isolate LEDs will be
illuminated. To reinstate a device from isolation the procedure has to be repeated.
The on screen message will show “De-Isolate?” when the Enter key is operated upon
an existing isolated device.