27
INSTALLATION
OPERATION
Adjusting Hard Top Limit (Cassette)
Attempt a calibration reset first, as explained above. If the bottom rail does not stop at the desired top limit on its way to the top,
you will need to adjust the hard stop top limit.
NOTE: These instructions are for adjusting the hard stop limit for roller shades with Cassette only.
■
Raise the shade fully.
■
Disconnect power and remove the shade from the window.
See “Removing the Shade” on page 40.
■
Gently remove the end cap from the non-control (idle) side of the cassette headrail. The metal cassette endplate will be
exposed with a hole in the middle.Insert a
3
⁄
16
” Allen wrench into the hole in the cassette endplate. Turn ¼” clockwise for
standard roll, counterclockwise for reverse role.
NOTE: A ¼” turn raises the upper limit approximately 2” to 3”. Reassemble the end cap of the cassette rail.
■
Re-install the shade in the window. Gently pull on shade to ensure it is secure.
See “STEP 3: Install the Shade” on page 20.
■
Reconnect the power and raise the shade to check the new raised position for the bottom bar.
■
Check and adjust the bottom limit, as needed. See“Electronic Limit Adjustments” on page 26.
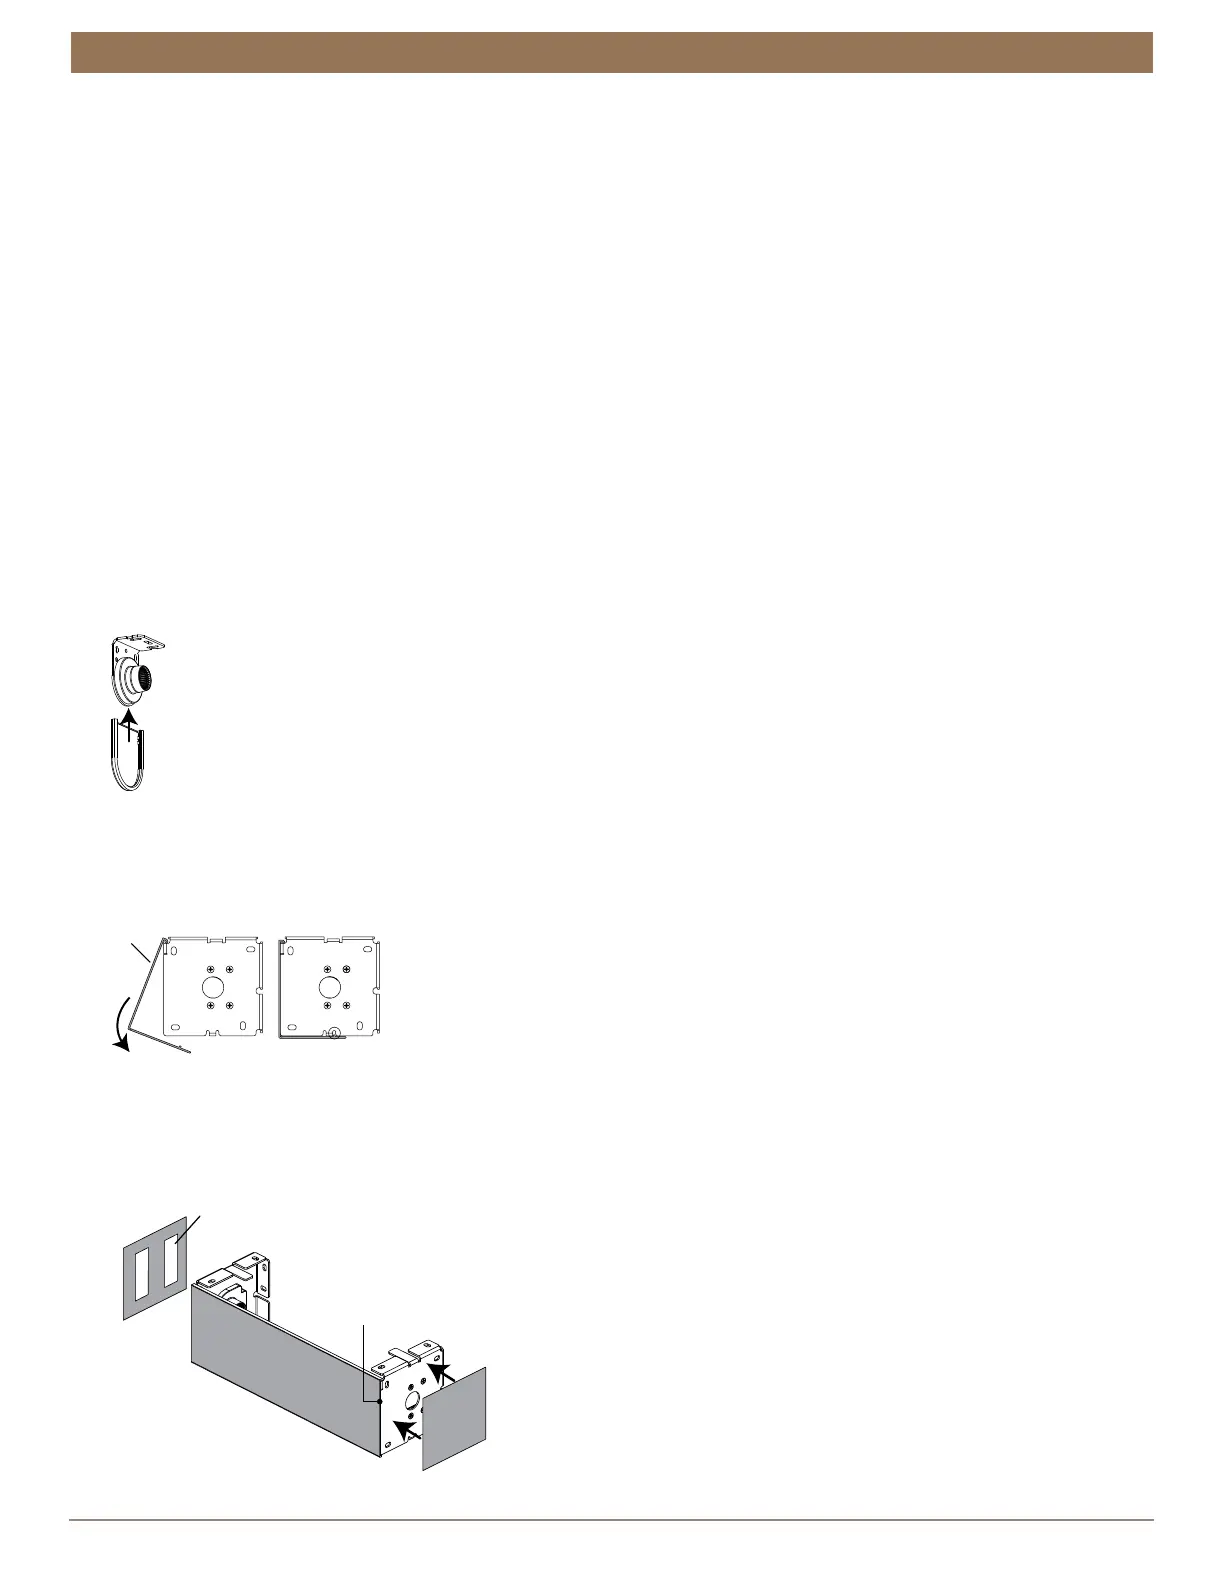
Install the Standard Bracket Cover (If Applicable)
■
If you ordered standard bracket covers. Install the bracket covers by aligning the bracket with the channels in the bracket
cover and sliding it onto the bracket.
Install the Fascia Panel
■
Place the top of the fascia panel into the top indention of the brackets. Rotate the panel down and snap it into place.
■
Optional. Remove the backing from the tape on the end caps and press onto the brackets.
➤
Check that the outer surfaces of the brackets are flush with the ends of the panel. If not flush, loosen the brackets and move
the bracket over to make it flush with the panel.
Cover
Panel
Remove
End Cap
Tape
End Cap
Outer Surface
of the Bracket
Flush with the
Ends of the Panel