16
INSTALLATION
INSTALLATION
STEP 2: Install the Battery Wand (If Applicable)
For the headrail-mounted battery wand, battery wand clips and battery wand mounts are installed before the shade is installed.
Any other power options, the power source will be connected aer the shade is installed.
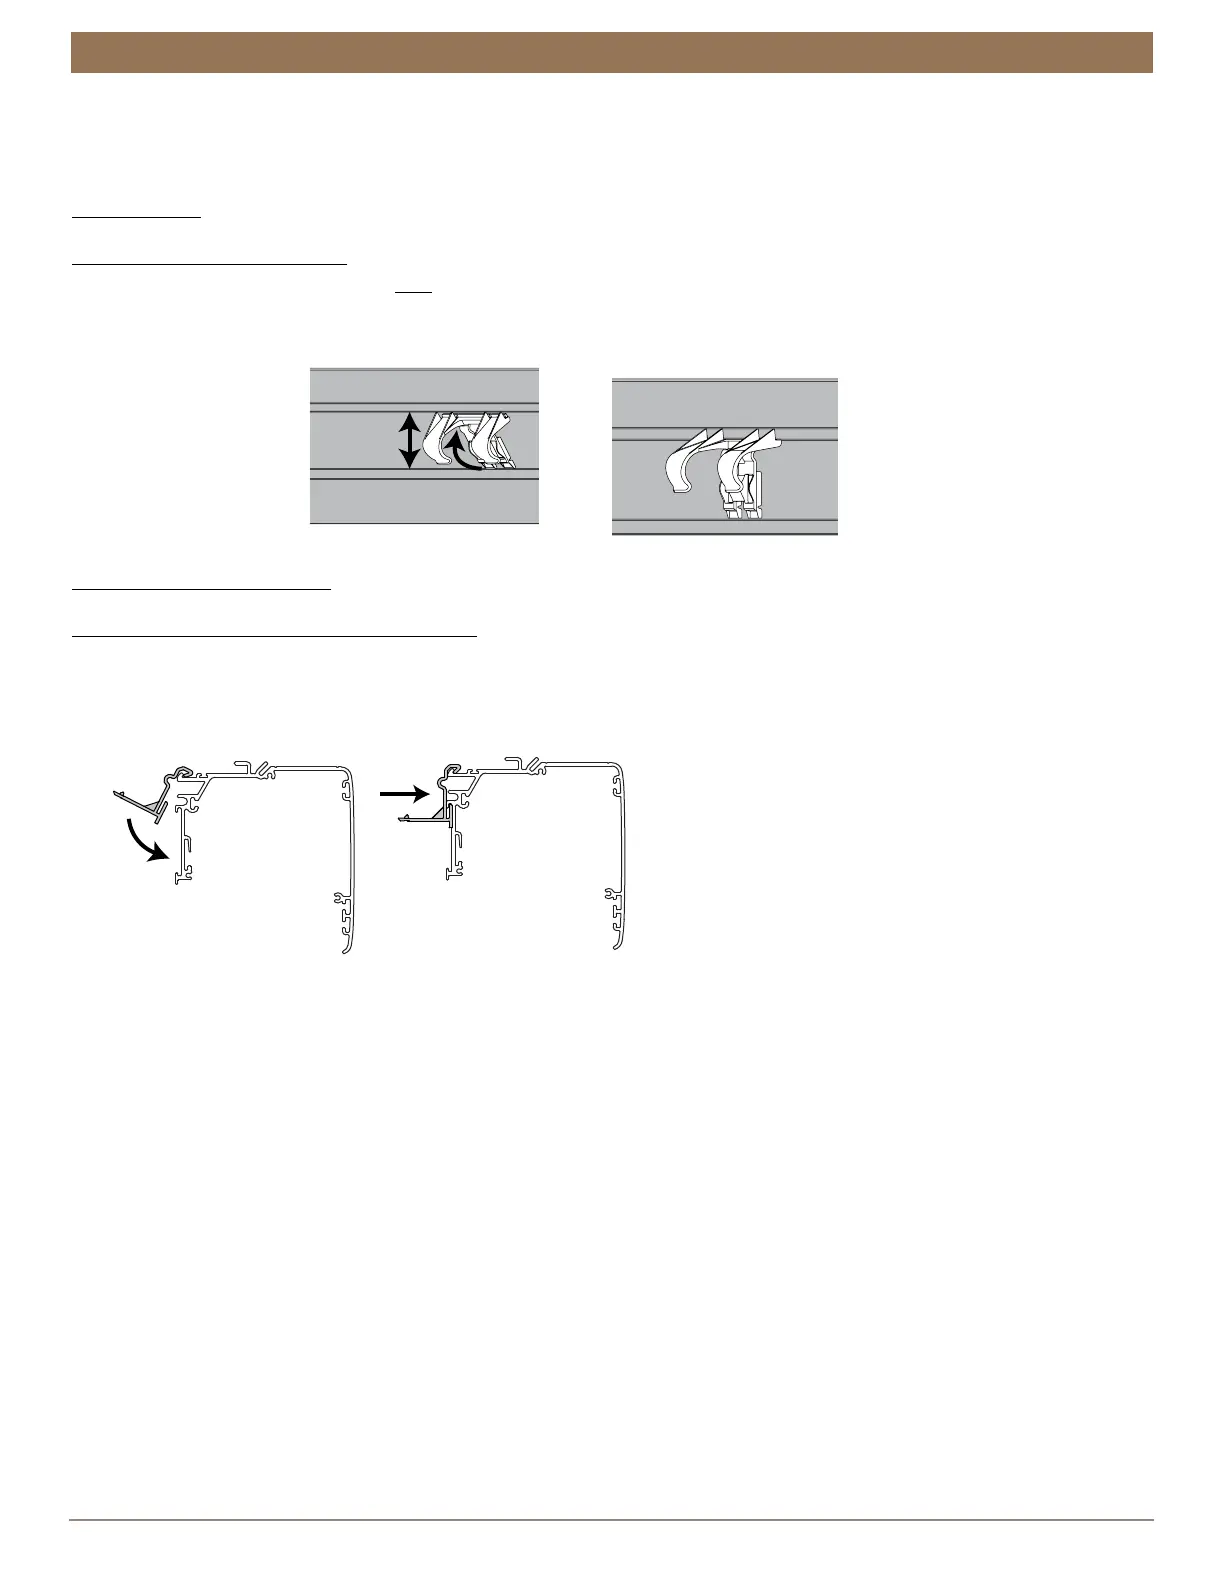
Battery Wand
Install the Battery Wand Clips
■
Attach the battery wand clip to the back of the cassette approximately 10” from the
motor side.
➤
Place the bottom of the clip into the lip, squeeze to compress the clip then rotate it up and hook it into the top channel.
Rechargeable Battery Wand
Install the Rechargeable Battery Wand Clips
IMPORTANT: Position the clips so the battery wand is between the installation brackets.
■
Attach the rechargeable battery wand clip to the back channel of the cassette.
➤
Rotate the clip down until it snaps into place.
Squeeze to
Compress
Clip Installed
Correctly
Front of
Cassette
Rechargeable
Clip