21
INSTALLATION
INSTALLATION
STEP 4: Connect the Power Source
NOTE: When power is connected to the motor, a blue LED inside the control button housing will flash to indicate the shade is
ready for operation.
■
Refer to the appropriate page based on your order.
➤
For an optional attached battery wand, see below.
➤
For an optional satellite battery pack, see below.
➤
For an optional headrail-mounted rechargeable battery wand, see page 22.
➤
For an optional satellite-mounted rechargeable battery wand, see page 22.
➤
For an optional 18V DC Power Supply, see page 23.
➤
For an optional 18V DC Power Supply with daisy-chain connections, see page 24.
➤
For any other Kirsch® power options, see the instructions that came with the unit.
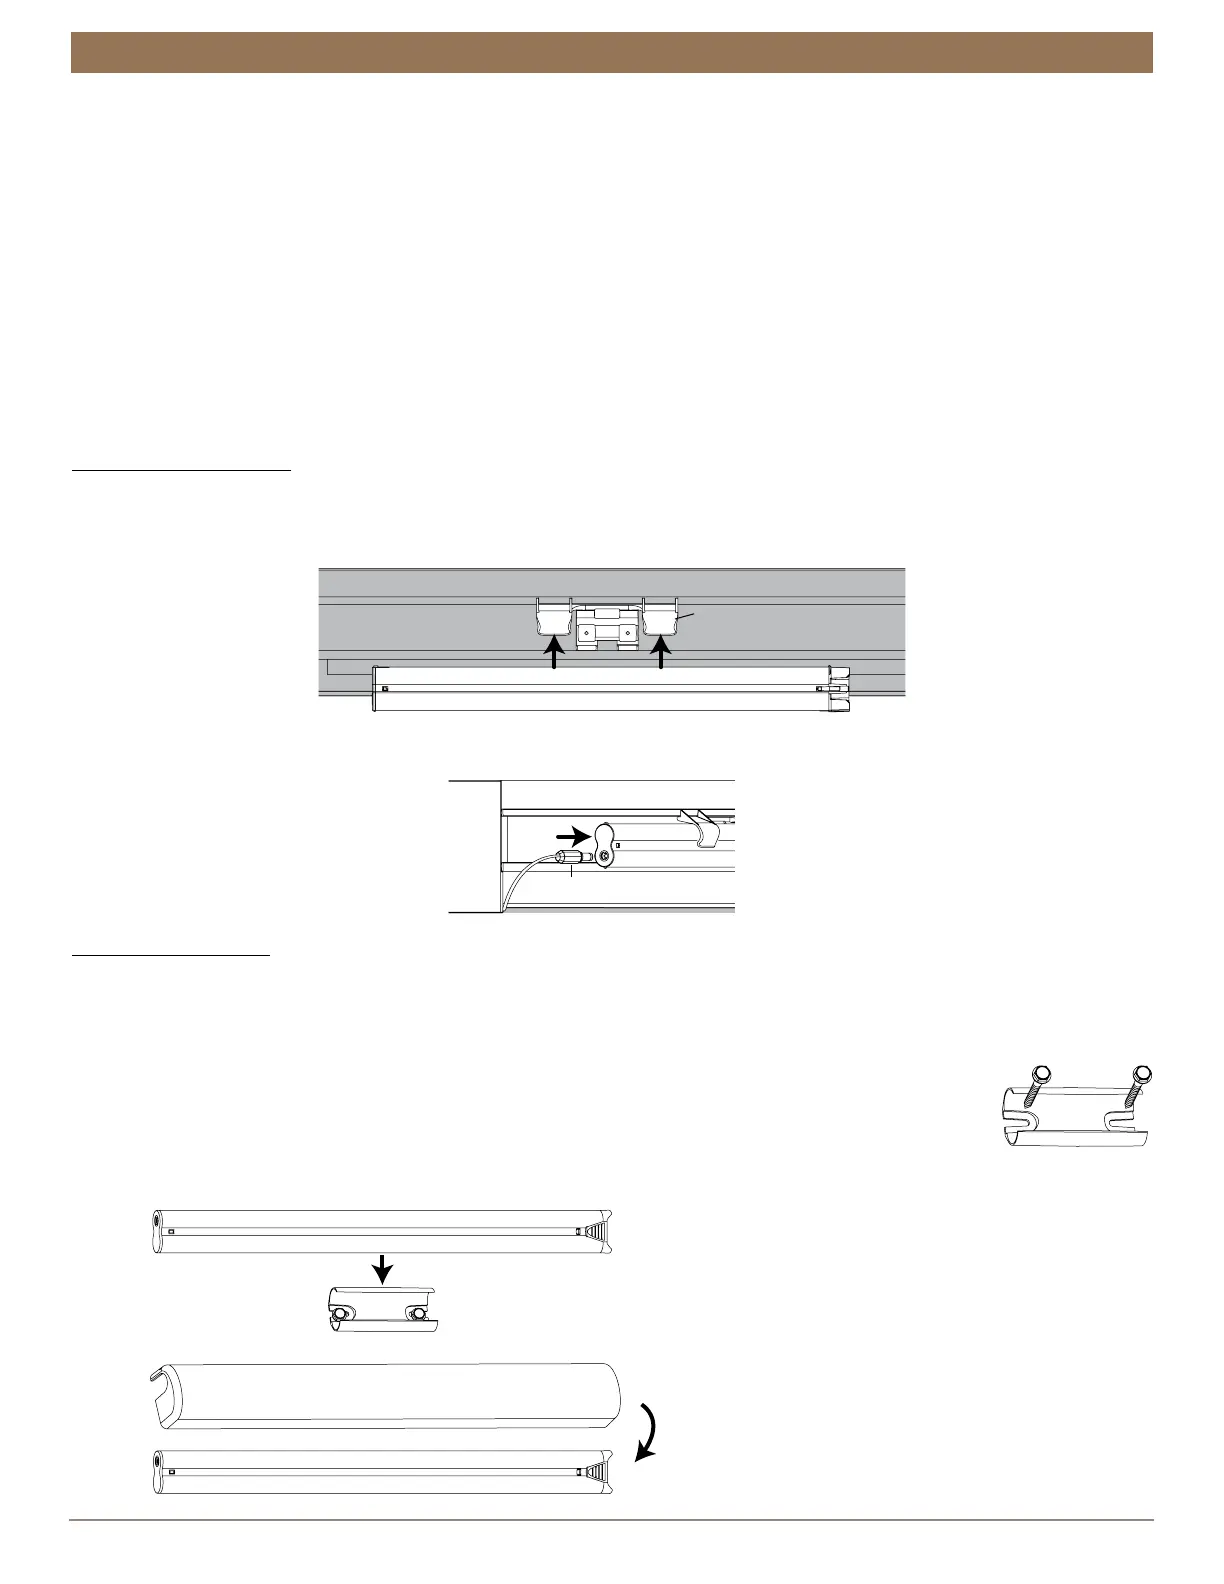
Attached Battery Wand
Plug the Power Cable into the Battery Wand
■
Snap the battery wand into the battery wand clip on the back of the cassette.
■
Connect the power cable from the motor to the battery wand.
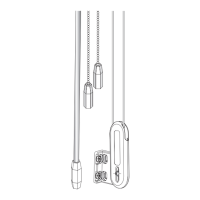
Satellite Battery Pack
Mount the Satellite Battery Pack
■
Decide where you want to mount the satellite battery pack. A satellite battery pack may be mounted in any orientation.
■
Mark the screw holes for the wall mount bracket.
■
Drill the screw holes using a
3
⁄
32
” drill bit.
■
Remove the backing from the double-sided tape. Press the bracket into place.
■
Attach the bracket using the screws provided.
■
Position the battery wand so the power cable is easily connected to the socket.
■
Snap the battery wand into the wall mount bracket.
■
Install the cover with the slot aligned to the socket in the battery wand.
Brackets removed for clarity.
Battery Wand
Battery Wand Clip
Power Cable
Battery Wand Cover
Slot