22
INSTALLATION
INSTALLATION
■
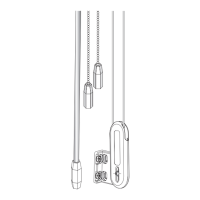
Plug the power cable from the shade into the extension cable.
■
Plug the other end of the extension cable into the socket in the battery wand.
Proceed to “Testing the Shade” on page 24.
Headrail-Mounted Rechargeable Battery Wand
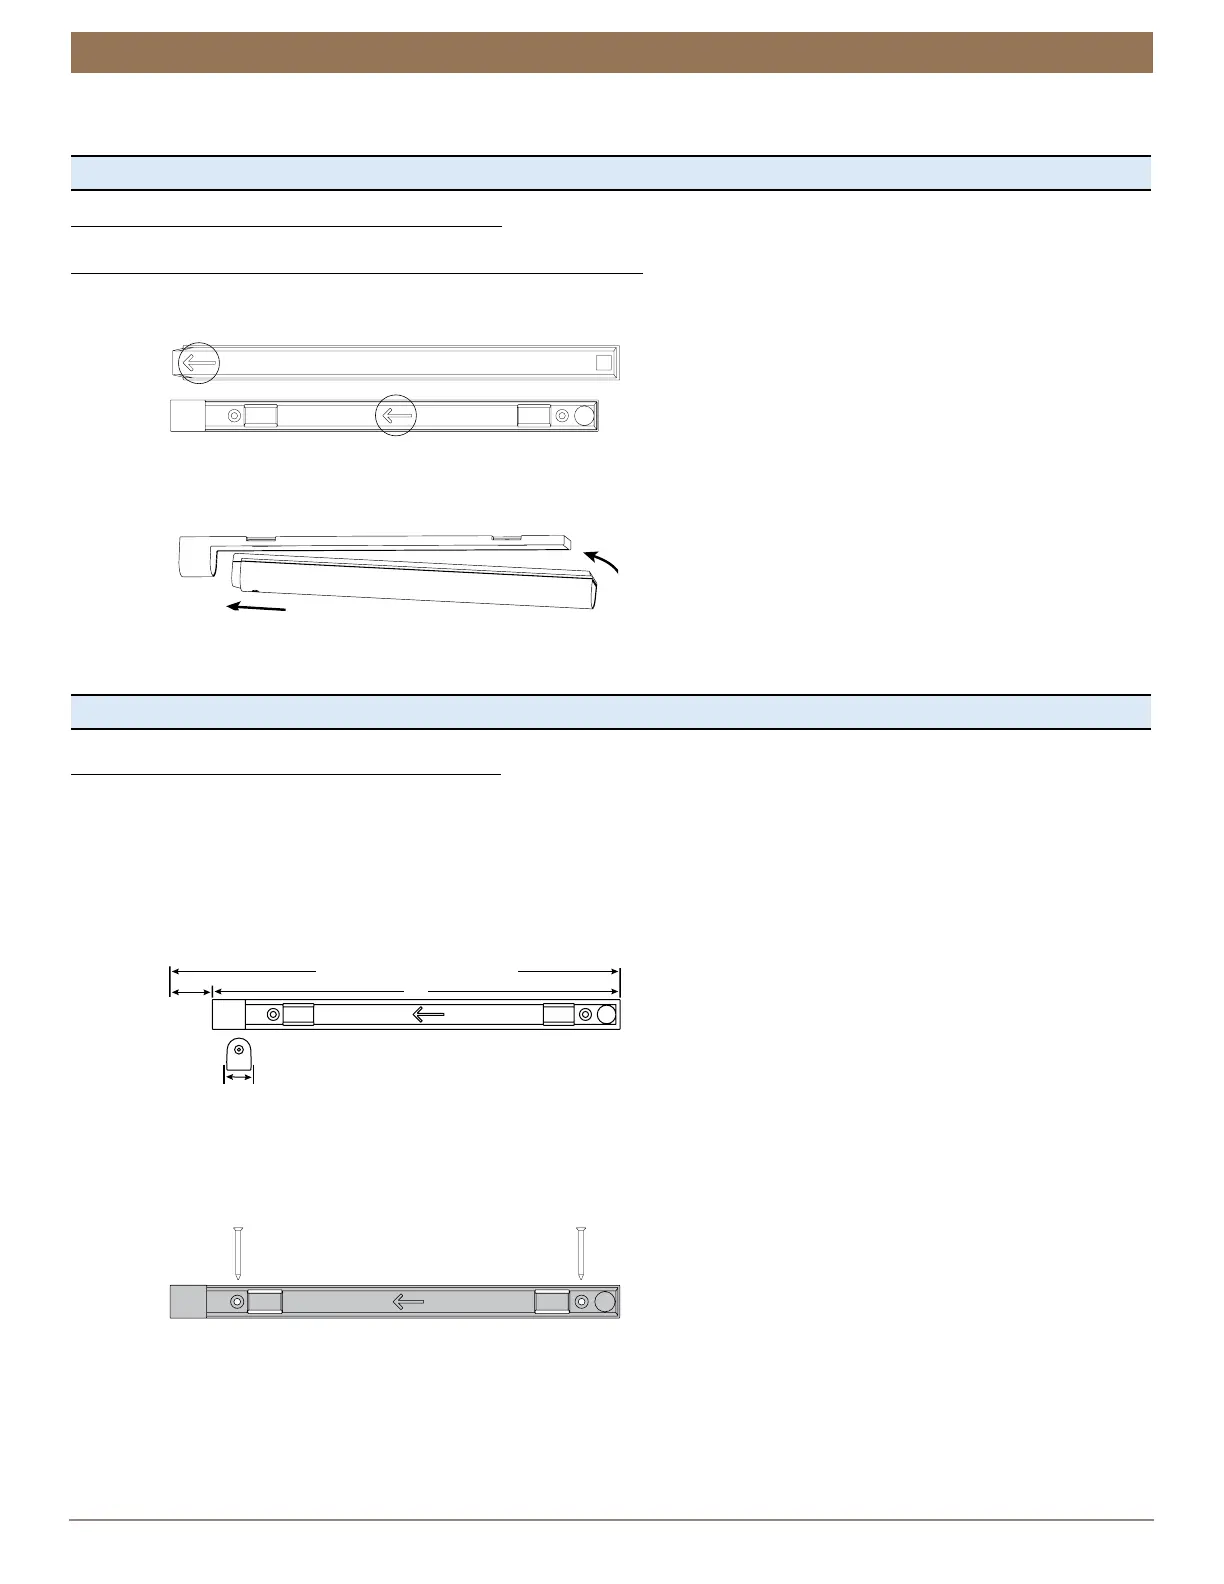
Insert the Rechargeable Battery Wand into the Battery Mount
NOTE: The rechargeable battery wand ships fully charged, so it is ready to install out of the package.
■
Match the direction of the arrow on the underside of the battery wand with the arrow on the battery mount.
■
Insert the nose of the battery wand into the cavity of the battery mount.
■
Push the battery wand flush into the mount until the battery snaps into place.
CAUTION: Failing to insert wand properly may cause it to fall out of the mount, posing an injury risk and potentially damaging
the wand. Additionally, when mounting on a door, closing the door with excess force may cause battery wand to dislodge from the
mount, also posing an injury risk and possibly damaging the wand.
Proceed to “Testing the Shade” on page 24.
Satellite-Mounted Rechargeable Battery Wand
■
Determine the location to mount the rechargeable battery wand.
CAUTION: To prevent overheating, do not install the rechargeable battery wand in direct sunlight.
➤
The battery mount may be installed in any orientation.
➤
Plan placement of the battery mount so that the cable can be plugged into the power socket. Allow at least 2” at the power
socket end.
➤
Ensure the socket is within range of the cable.
CAUTION: Install the battery mount on a flat surface only. Installing on a round or other non-flat surface may result in the
battery wand not attaching into the mount properly. This can result in either a failure to connect the shade to power or the
wand falling out of the mount.
■
Mark the screw holes for the rechargeable battery mount.
■
Drill the screw holes using a
3
⁄
32
” drill bit.
■
Align the holes in the battery mount to the marks. Ensure that you position the battery mount so that the power socket side is
closest to the shade’s power cable.
■
Attach the battery mount using the screws provided.
CAUTION: Only use the screws provided with the battery mount, designed so that the screws will install flush with the mount.
Protrusion of the screws could result in either the battery wand not attaching properly causing a failure to connect, or the
wand falling out of the mount. Do not over-tighten.
2"
Power
Socket
End
Allow 2" at power socket end for the extension
cable jack.
Minimum flat mounting area = 15" x 1"
13"
15" Minimum Mounting Length
1"