4-5
REMOVING THE HUMIDITY SENSOR &
THE CAVITY THERMOSTAT
1. Unplug microwave oven or disconnect
power.
2. Remove the microwave oven from its
mounting location.
3. Remove the top cover from the microwave
(see steps 3 and 4 on page 4-2 for the
procedure).
4. Remove the user interface board from its
holder (see page 4-2 for the procedure).
5. Remove the user interface board holder
(see step 4 on page 4-3 for the procedure).
6. To remove the humidity sensor:
a) Remove the lower T20 Torx screw from
the left and right sides of the subpanel.
Electrical Shock Hazard
Disconnect power before servicing.
Replace all parts and panels before
operating.
Failure to do so can result in death or
electrical shock.
WARNING
Lower Right
Subpanel Screw
b) Remove the two screws from the hu-
midity sensor. Rotate the subpanel out
at the bottom just far enough to access
the back screw.
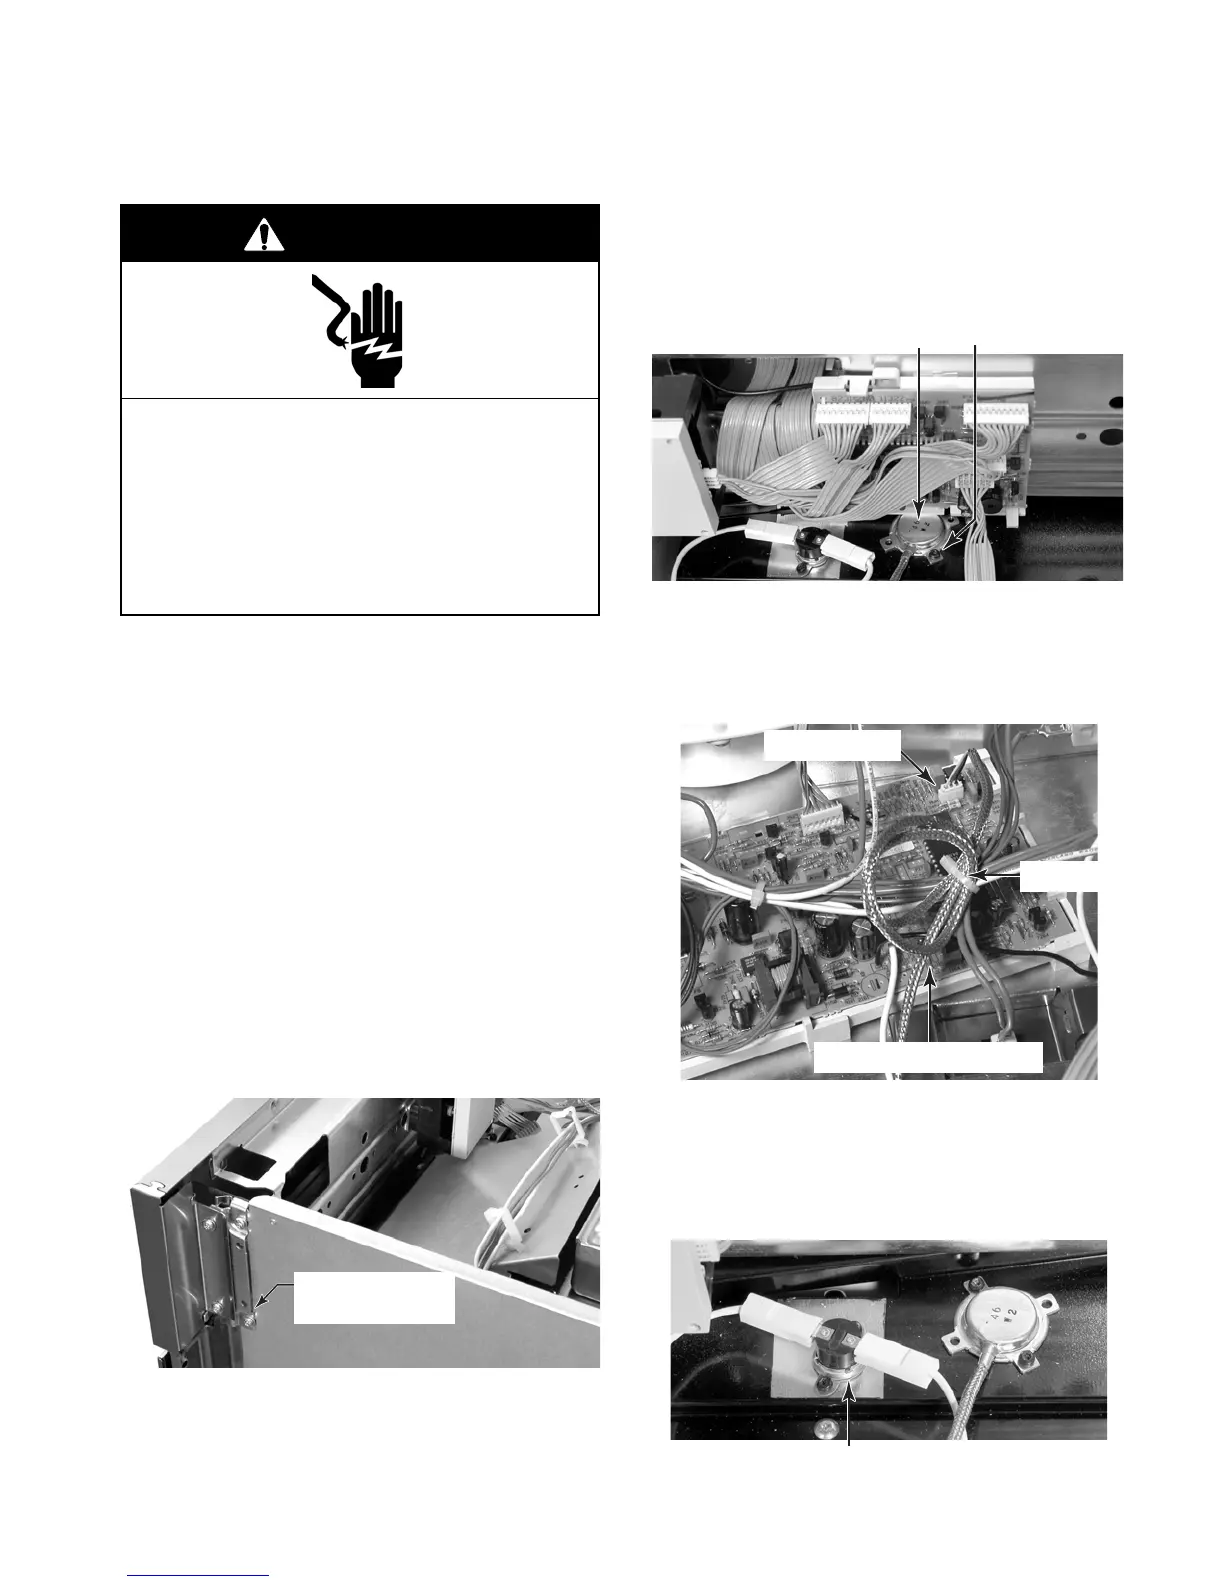
Humidity Sensor & 2 Screws
c) Cut the humidity sensor wire tie.
d) Disconnect the humidity sensor con-
nector from electronic control board
connector P4.
Wire Tie
Connector P4
Electronic Control Board
Cavity Thermostat & Screws
7. To remove the cavity thermostat:
a) Disconnect the two wire connectors
from the terminals.
b) Remove the two T10 Torx screws.