TP-6461 1/0888 Section 6 Component Replacement, Model KSS
6.2 Microswitch Replacement
Required tools and equipment:
Basic electricians hand tools
Microswitch
Required protective equipment:
Rubber insulating gloves class 0
Safety glasses
Electrical hazard safety shoes
6.2.1 40--260 Amp
Microswitch Replacement Procedure
1. Prevent all connected generator sets from starting.
a. Place the generator set master switch in the
OFF position.
b. Disconnect the power to the battery charger, if
equipped.
c. Disconnect the generator set engine starting
battery(ies), negative (--) lead first.
Note: On systems with multiple transfer
switches connected to a single
generator set, disconnect all power
sources to the generator set before
proceeding.
2. Disconnect power to the transfer switch.
3. Open the transfer switch enclosure.
4. Verify zero volts across each phase.
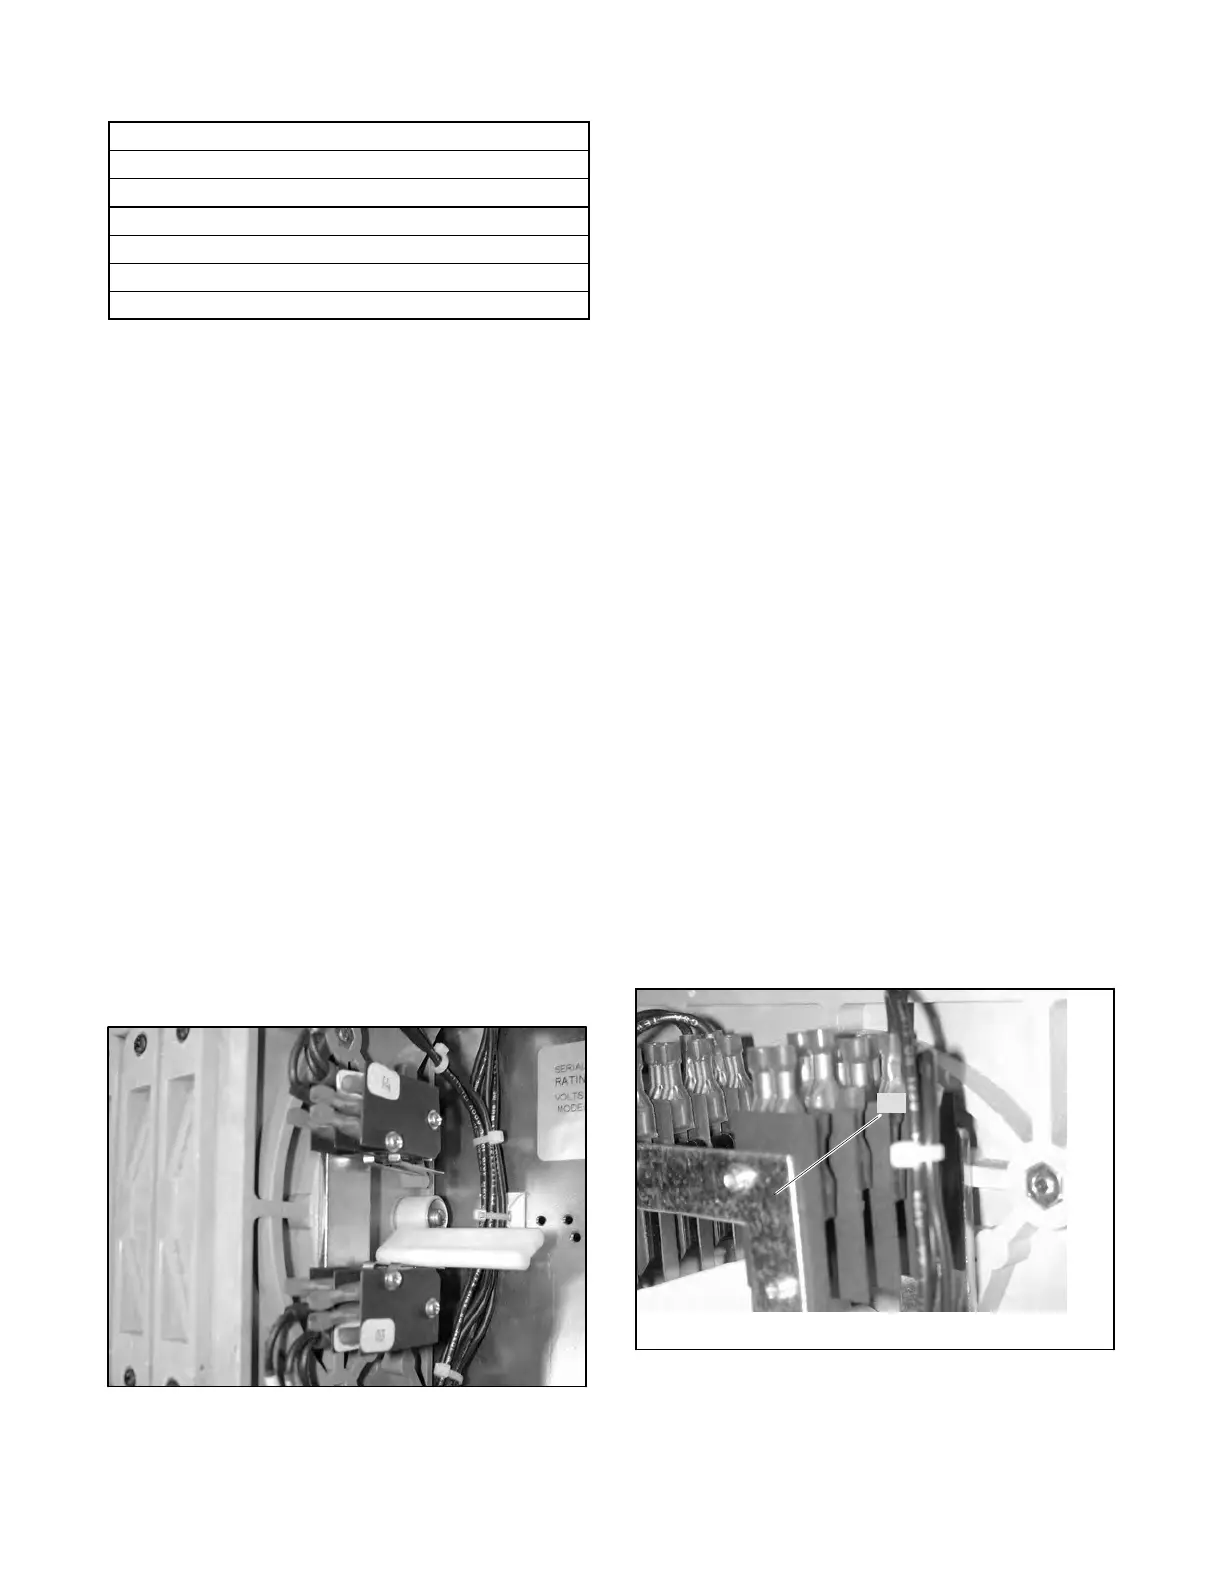
5. Note the location of the fast-on connectors to the
microswitch terminals. See Figure 6-1.
Figure 6-1 Microswitches
6. Disconnect the fast-on connectors.
7. Remove the holding screws.
8. Remove the suspect microswitch.
Note: For SN/SE assemblies that have four
microswitches, you must remove the end
plate to access the microswitches. See
Figure 6-2.
9. Install the new microswitch.
Note: For SN/SE assemblies that have four
microswitches, you must install an end plate
for stability. See Figure 6-2.
10. Install the holding screws.
11. Tighten the holding screws to 0.3 Nm (3 in. lb.).
12. Connect the fast-on connections to the
microswitch terminals. See Figure 6-1.
Note: The terminals used were noted in step 5.
13. Close the ATS enclosure.
14. Connect power to the ATS.
15. Enable the generator set.
a. Check that the generator set master switch is in
the OFF position.
b. Reconnect the generator set engine starting
battery, negative (--) lead last.
c. Reconnect power to the battery charger, if
equipped.
1
1. End plate
Figure 6-2 End Plate (required for assemblies with
four microswitches)

 Loading...


