Front and rear panels Front panel
3
If you hold down the EXIT button and press this button, the
audio input settings page will appear; there you can adjust
the input gain and level, and specify how the sound will be
routed to the effects.
Note: This will be off (unlit) when you turn on the power.
If you’re not using the input from the MIC IN or LINE
IN jacks, leave this off (unlit).
9. Audio recorder
Here is where you can control the audio recorder, which lets
you record and play back your KROSS performance or
signal from an external audio input. You can execute
functions such as play, stop, or record, and adjust various
settings for the recorder.
You’ll control the recorder by using the following two
buttons in conjunction with the four buttons that are located
below the audio recorder setup window that appears when
you press the SETUP button.
In order to use the audio recorder, you’ll need a SD card
(separately sold).
SETUP button
This button opens the audio setup window, where you can
select a song for the audio recorder and execute functions
such as record-standby, fast-forward, and rewind.
Note: Use the AUDIO IN button to adjust settings for the
external audio input.
Note: If you press this button once again, you’ll return to the
page that had been displayed in the previously-selected
mode.
PLAY/PAUSE ( ) button
This is a dedicated button that executes the recorder
playback (or record) and pause functions. In any mode, this
button lets you immediately play (or record) or pause. The
state of the light and color of the button indicates the
operating status of the recorder.
10. Display
Display
This shows the parameters and settings of the KROSS, as
well as a variety of other information.
Pages: Each screen of parameters or information is called a
“page.” To edit or adjust the settings of the KROSS, you’ll
access the page that contains the desired parameter, and then
change its value.
Dialog box: The screen that appears when you need to
perform a command function, confirm a result, or recall a
temporary function is called a “dialog box.”
For more about various objects that you’ll see in pages and
dialog boxes, please see page 7.
Adjusting the display contrast
To adjust the contrast of the display, hold down the EXIT
button and turn the value dial. You can also adjust the
display contrast in the Global mode PREF page. (see
page 98)
11. Functions, Page +/–, Menu
You’ll use these buttons to access pages in the display, and to
select or execute functions that provide convenient
commands in each page. The functions of the four buttons
will change according to the page or dialog box that’s
currently shown.
FUNCTION button
This button shows a function list containing convenient
commands on each page.
PAGE– button
PAGE+ button
Use these two buttons to move between pages in order to
select the page that you want to see. The page name or tab
that’s displayed on the upper part of the page indicates the
currently shown page.
MENU button
This button displays the page menu for each mode, allowing
you to select a page.
Operations while a dialog box is shown
While a dialog box is shown, the function of these four
buttons will change so that you can perform tasks that are
appropriate for that dialog box. The functions assigned to the
buttons are shown in the bottom of the display.
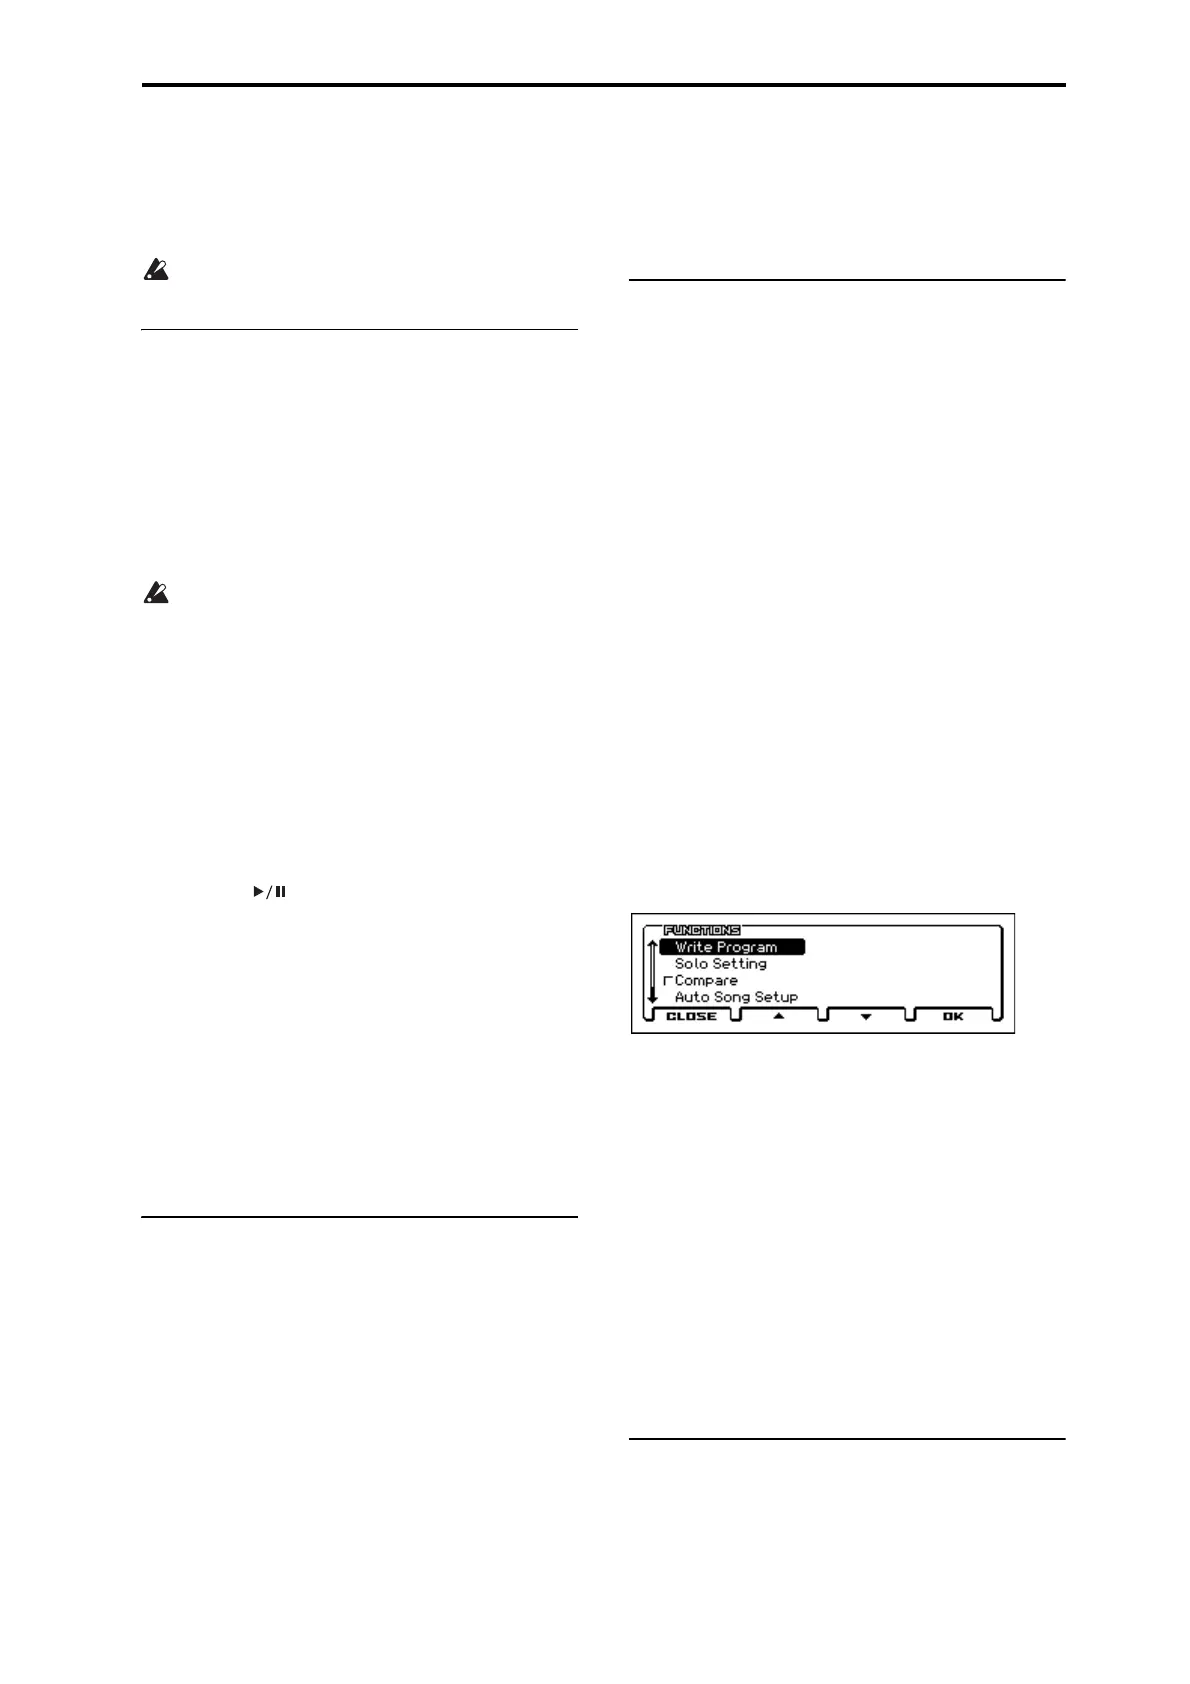
For example, suppose that you’re in Program mode and
press the FUNCTION button to access the function list.
The functions that are assigned to the four buttons are shown
in the bottom of the dialog box.
If you press the CLOSE (actually FUNCTION) button, the
dialog box will close and you’ll return to the previous page.
Press the ▲ (actually PAGE–) button or ▼ (actually
PAGE+) button to select a function.
Press the OK (actually MENU) button to open or execute the
selected function.
For example if you select Write Program and press the OK
(MENU) button, the WRITE PROGRAM dialog box will
appear.
Here, the CANCEL (FUNCTION) and OK (MENU)
functions are assigned to the two buttons.
12. Value controller
Use these to edit in the display. You’ll use these to move the
cursor and select parameters, to edit values, and also to
execute or cancel commands.
Unlit: Stopped
Lit green: Playing
Blinking green: Playback is paused
Lit red: Recording
Blinking red: Recording is paused
Blinking orange: Recording is paused
(waiting for Auto input)