8 Commissioning
8.1 Checking the electronic unit
8 Commissioning
8.1 Checking the electronic unit
Some basic checks must be performed before commissioning the electronic unit.
Test Procedure
Installation
1. Check that the electronic unit is seated firmly.
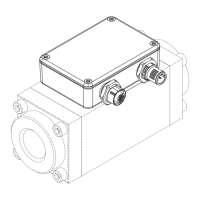
2. During wall mounting/ pipe mounting or assembly on flowmeter: ensure
that the rear device cover and cable entries seal properly.
Electrical installation
1. Ensure that the system is deenergized.
2. Remove the rear device cover.
3. Check that the wiring of the power supply at the termination panel is firm.
4. Check the connection of the power supply to the system.
5. Check the numbering of the pick ups.
6. Check the assignment of the sensors.
7. Check the connections of the sensors, see wiring diagram.
Function test Temperature sensor:
1. Disconnect the cables at Connections 3, 4 and 5 or 36, 37 and 38 of the
electronic unit.
2. Check the resistance of the Ä Connection,Page18 and observe the re-
marks in the wiring plan.
Electronic unit:
1. Switch on the power supply.
ð The start message is displayed on the display unit.
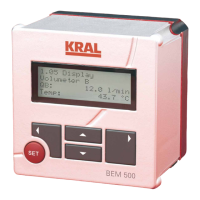
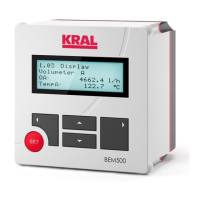
ð The following is displayed at the latest after 3 seconds
1.01Consumption Display.
2. Write down any alarm messages and acknowledge with key .
3. Check the values in the menus 1.01–1.06 for plausibility.
9 Decommissioning
9.1 Taking the electronic unit out of operation
DANGER
Risk of death resulting from electric shock.
► The electronic unit may only be separated from the power supply by an authorized electrician.
Switch off the power supply of the system.
Notice All the settings and total values are retained when the electronic unit is switched off or the power sup-
ply fails. After recommissioning, instantaneous values (Q, Temp.) can be recalculated.
Operating instructions
OIE 12en-GB Edition 2020-03
21
 Loading...