KT-2010 / KT-2010WM – Contents
Mounting KT-2010WM on a Wall
Install KT-2010WM safely on a wall using a standard single Gang in-wall junction box. The cables
are passed inside the wall and then connected to the rear side of the on-wall mount unit.
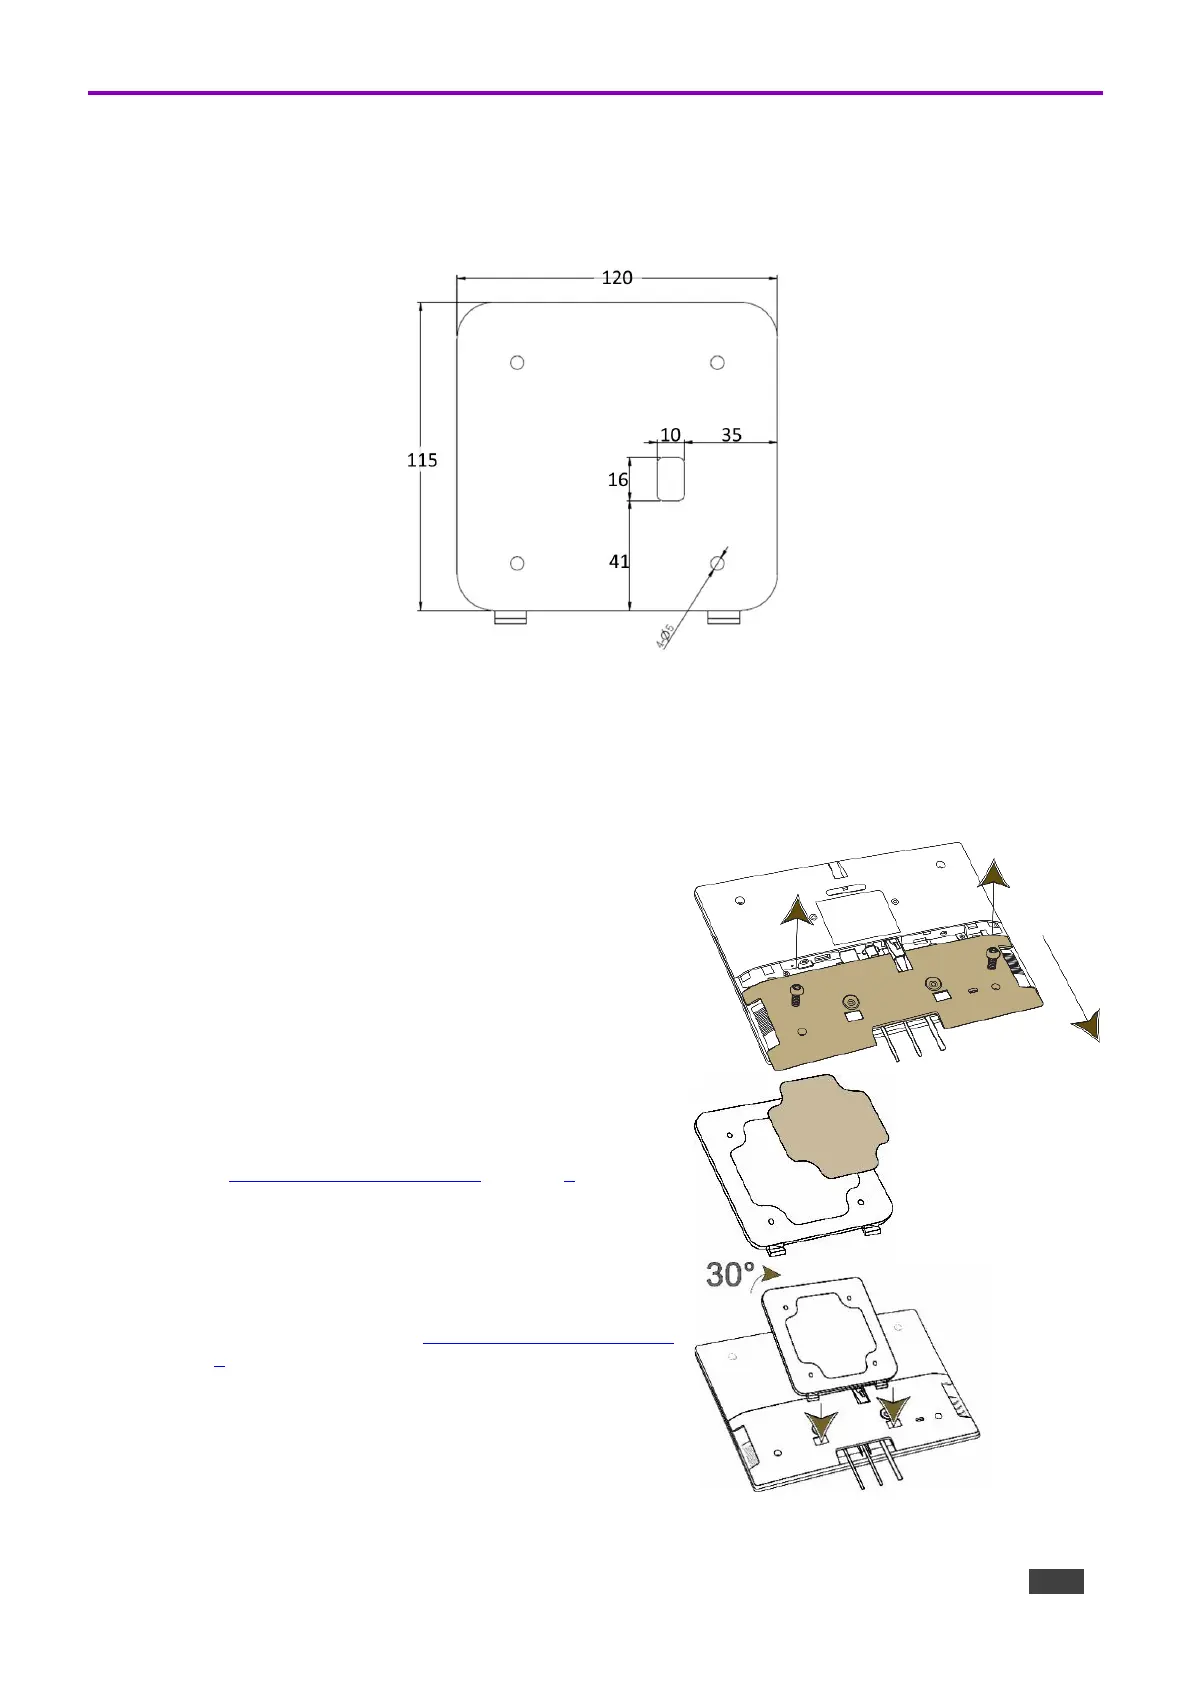
Figure 4: The on-wall mount’s measurements
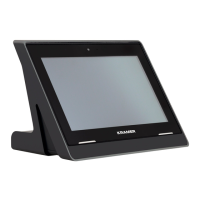
Inserting the On-Wall Mount Unit
To mount the device using double-sided tape (for example on a glass surface):
1. Remove the I/O cover:
▪ Take out the 2 M2 screws.
▪ Insert fingers into the two slots and slide the cover down.
2. Connect any necessary cables to the KT-2010WM.
3. Replace the I/O cover, and close with the 2 M2 screws.
4. Attach the double-sided tape to the back of the wall bracket
(see 16 in KT-2010WM On-Wall Mount on page 7).
5. Click the wall bracket (see 15 in KT-2010WM On-Wall Mount
on page 7) onto the back of the I/O cover (push the bracket
into place while holding its top slightly outward).