Setup and Registration
6-20 OPERATION GUIDE
2
Press [FAX/i-FAX], [Next] of TX/RX Restriction and then [Register/Edit] of
Reject No. List.
3
Press [Add].
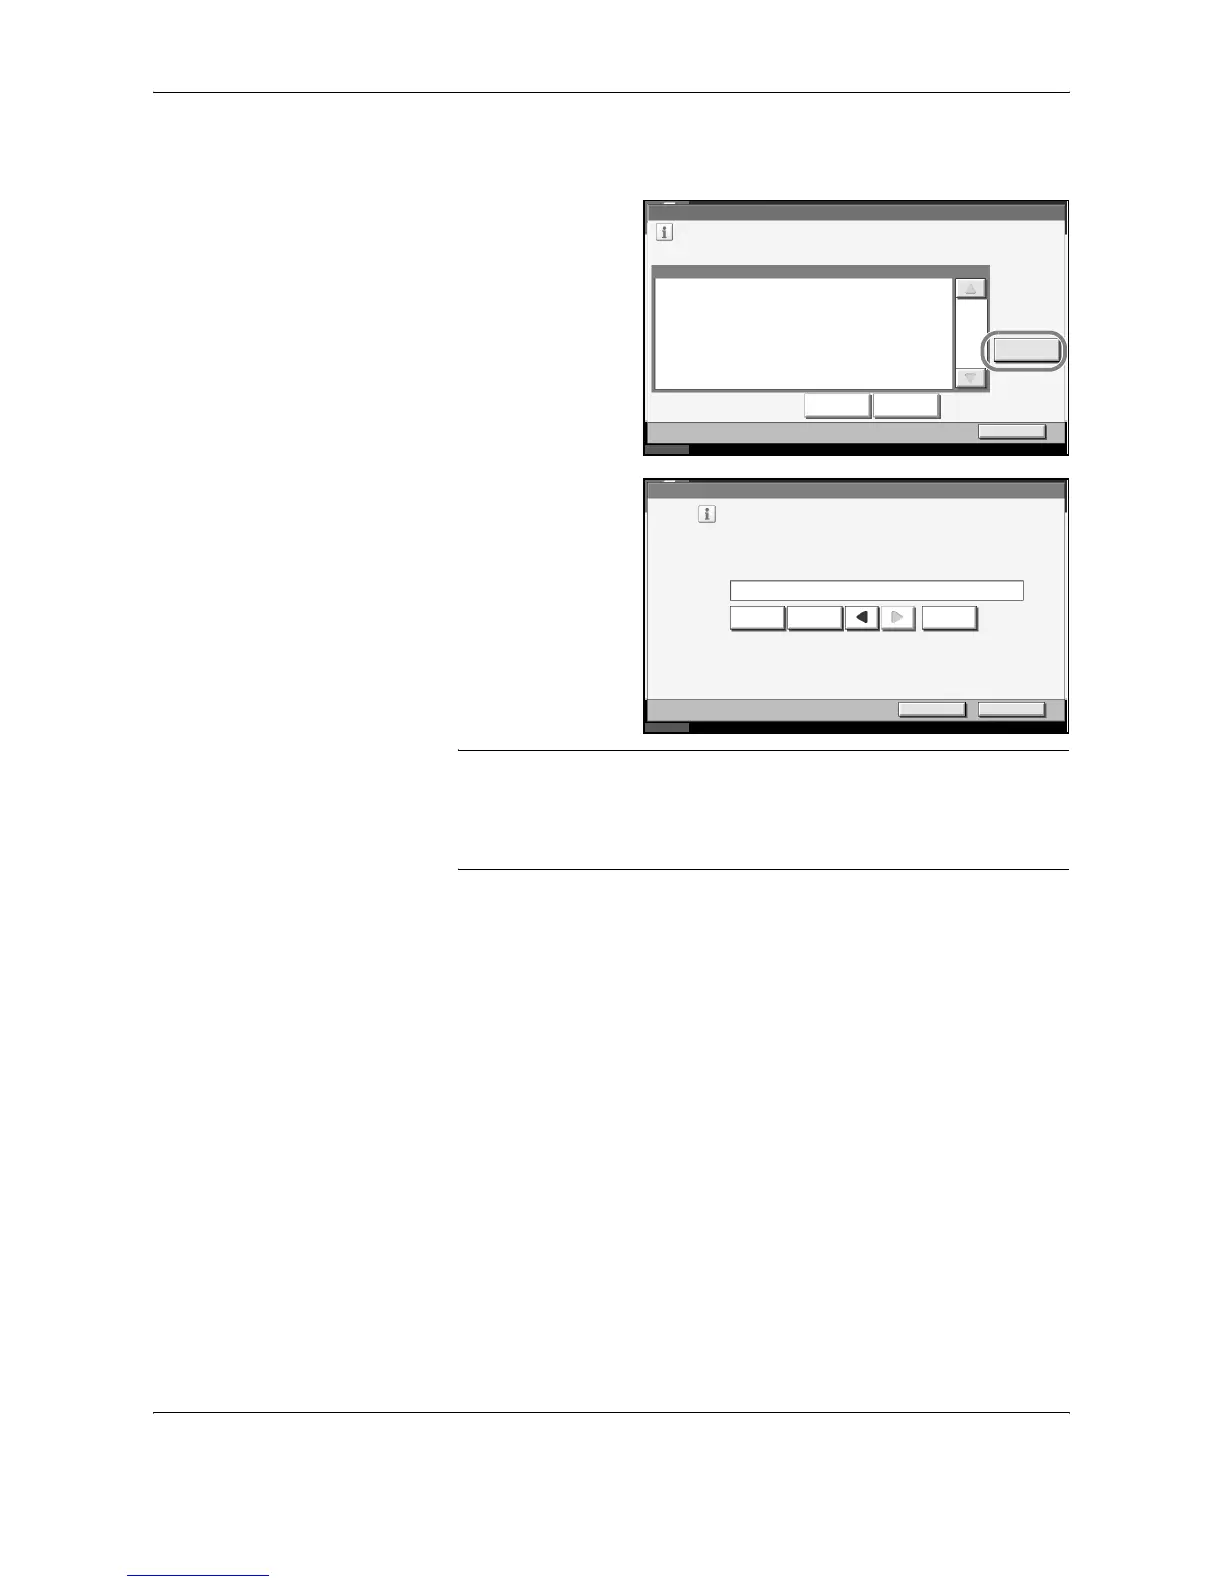
4
Use the numeric
keys to enter Reject
FAX No. Up to 20
digits can be
entered.
NOTE: Press [Pause] to insert a pause (-) between numbers.
Press [Space] to enter a space.
Use [W] or [X] to move the cursor.
Pressing [Back Space] deletes the character to the left of the cursor.
5
Press [OK].
6
To register other Reject FAX numbers, repeat steps 3 to 5.
7
Press [Close].
8
To exit from this setup, press [Close] several times until the System Menu
default screen is displayed.
Changing and Deleting Reject FAX No.
1
Follow steps 1 to 2 of Registering Reject FAX No. on page 6-19.
Status
FAX - Reject No. List
10/10/2007 10:00
TEL Number
Register a number from which faxes will be rejected. (Up to 50 numbers can be r egis tered .)
Add
Detail Delete
Close
1/1
Status
FAX/i-FAX - Reject No.
Regis ter or edit reject number.
Use the numeric keys to enter a number.
Cancel OK
10/10/2007 10:00
987654321
Back SpaceSpacePause

 Loading...


