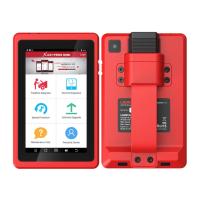
Safety & Accessory
Initial Use
Diagnostics
FAQ & Care
Product Prole
8
www.x431.com +86 755 8455 7891
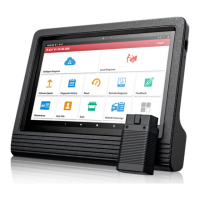
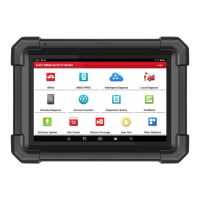
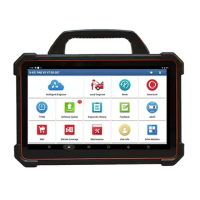
LAUNCH
PAD VII
User Manual
3 Preparations
3.1 Charging the Tablet
Warnings:
• Only use the included power adaptor to recharge the tablet. Use of any other adaptor will damage the tool. We
assume no responsibility for damage or loss resulng from using other similar adaptors other than the specied
one.
• Always charge on a non-ammable surface in a well-venlated area.
1. To check the battery power level, press and hold the
Power button about 3 seconds to turn on the tablet.
2. Power level is indicated as a percentage in the
level drops below 10% while the tablet is on,
a Connect Charger
the screen.
1. Connect one end of the power adaptor to Type C
charging port of the tablet, and the other end to the
AC outlet.
2. The charging LED illuminates solid red and the
charging symbol
will appear on the screen.
3. Once it illuminates solid green, it indicates that
the battery is fully charged and the charging
complete symbol
replaces the charging sym-
bol. Disconnect the power adaptor from the AC
outlet.
3.2 Power ON/OFF
Note: If it is the rst me you use the tablet or the tablet keeps idle for a long me, it could fail to be turned on.
It results from low baery. In this case, please recharge it for a while and try to turn it on.
1. Press and hold the POWER button for about 3 sec-
onds to turn on the tablet. The system starts initial-
izing and then enters the Home screen.
2. To turn the tablet off, press and hold the
POWER button until an option menu appears.
Tap Power O.
3.3 Locator & Navigation Buttons
1
2
3
4 5 6
On-screen keys and status bar are as follows:
1 Tap
2
Tap
to capture the current screen and all captured screenshots are stored in the
Screenshots folder.
3
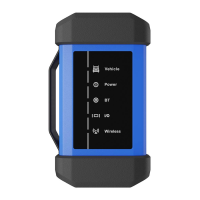
: Shows whether the SmartLink C device is properly connected or not.
4
Tap
to display a list of applications that are currently running or recently used. To open
an application, tap it. To remove an application, swipe it upwards.
5 Tap
6 Tap
to return to the previous screen or exit the application.
 Loading...