20
Positioning the device
• Check that the upper and lower sides of the material to be welded are
clean between the edges of the overlap.
• Then check that the welding nozzle (8), the drive roller / contact
pressure roller (6) and the round belt (16) are clean.
• Now use the material lifting device (5) to lift the hot-air welder and
move the device to the desired welding position.
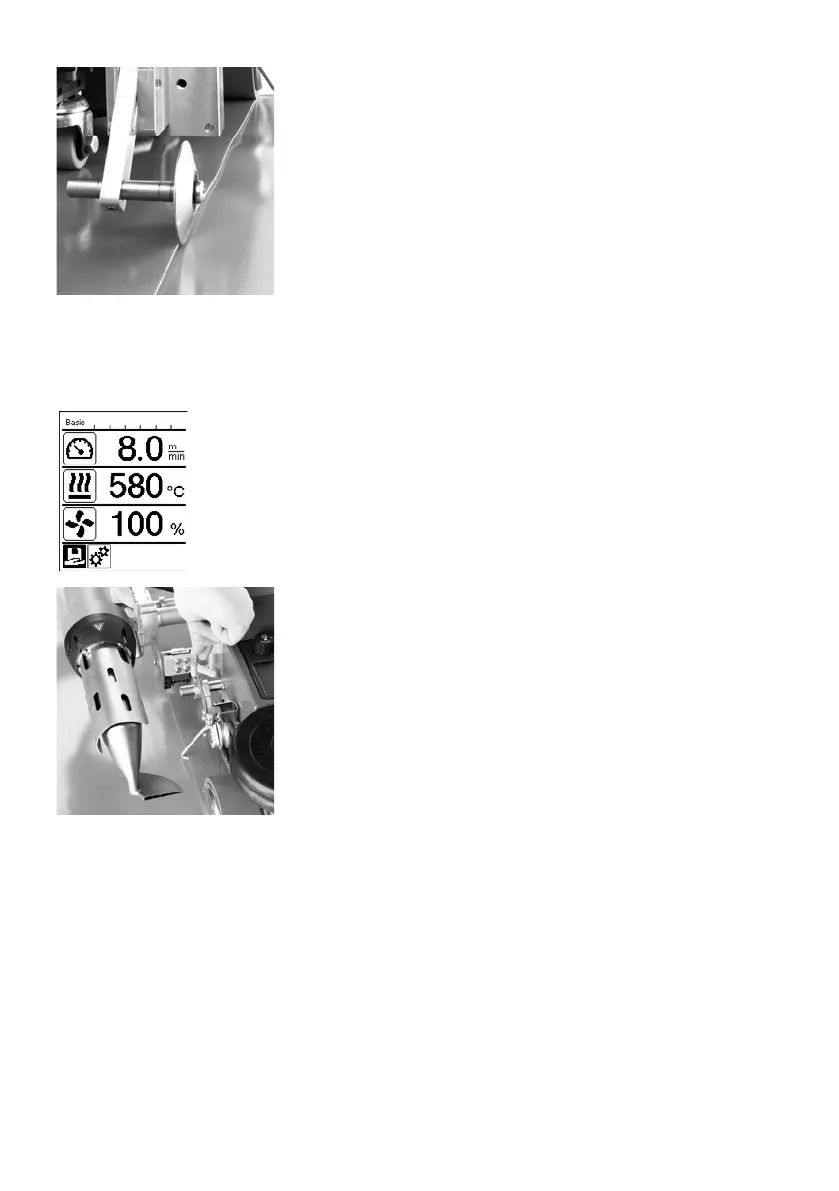
• Then put down the roller on the overlap guide (18).
• Make sure that the roller on the overlap guide (18) is in line with the
outer edge of the contact pressure roller (6).
Welding Preparation
• As soon as you have turned on the heater, you will see a dynamic
display of the current air temperature with progress bar (setpoint and
actual values).
• Make sure that the tool has reached the appropriate welding tem-
perature before commencing work (the heat-up time is three − five
minutes).
• Now use the material lifting device (5) to lower the hot-air welder into
the working position.
• Slightly lift the material behind the automatic welder and pull the mate-
rial lifting device lever (19) towards the hot-air blower until the material
rests against the lever. This ensures that the nozzle can be inserted
between the two pieces of material.
•
Commencing welding
• Press the lever to engage the nozzle (10); the hot-air blower (9) is lowered automatically and the welding
nozzle is inserted between the two pieces of material.
• The material lifting device (19) is automatically activated when the nozzle is engaged and triggers the lever.
• The drive motor automatically starts as soon as the hot-air blower (9) is engaged.
You can also start the device manually with the Drive On/O key (29).
Welding sequence

 Loading...