27
Check the parameters whilst welding is in progress
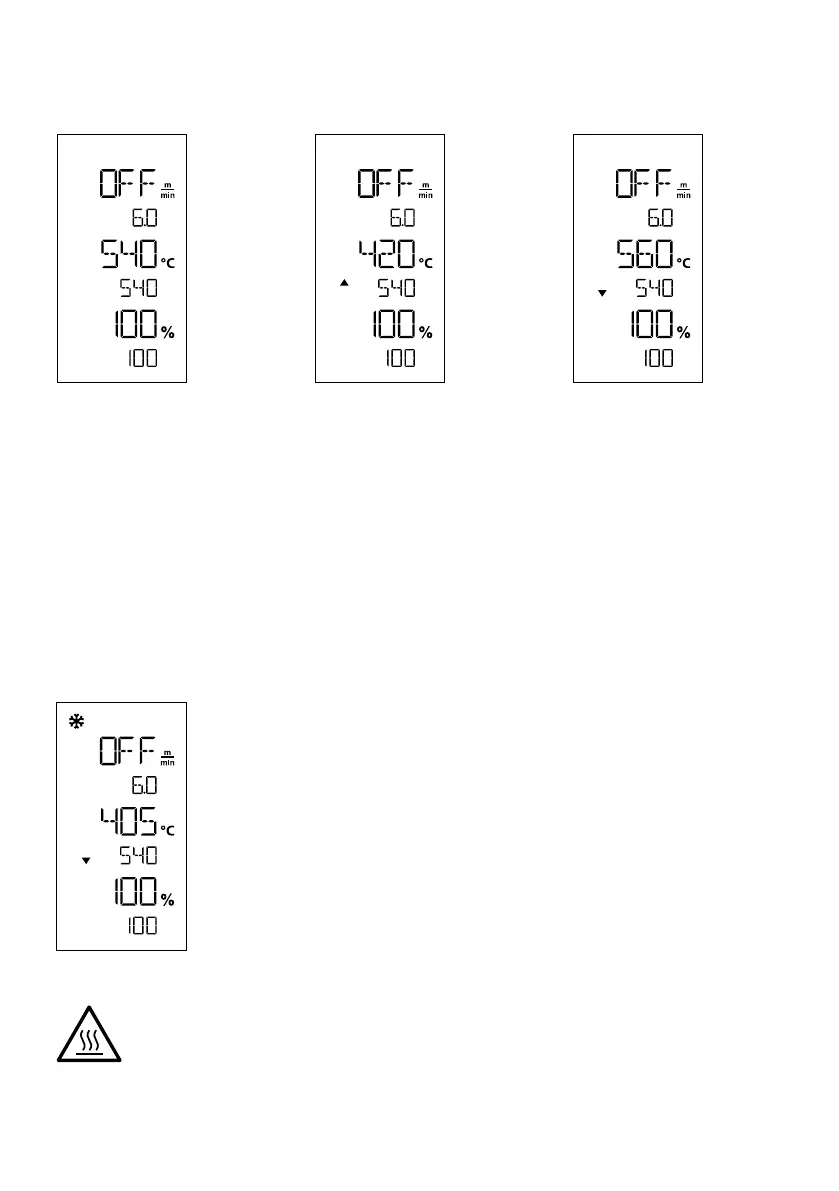
Welding speed, air temperature and air flow range are monitored continuously. If an actual value deviates from the
selected settings, this will be shown in the Work display (44).
Actual value corresponds to the
setpoint.
The air temperature actual value
is lower than the setpoint. The
heat-up process is signaled by
flashing; the arrow is pointing
upwards.
The air temperature actual value
is higher than the setpoint. The
cool-down process is signaled
by flashing; the arrow is pointing
downwards.
Finishing welding
Once welding has been completed, remove the nozzle, using the lever (10). This will retract the hot-air blower
(9) and stop the drive.
Then place the overlap guide roller (18) in the upwards position and use the lifting device (5) to remove the
hot-air welder from the ground.
Turning off the device
Use the heating on/o key (40) to turn o the heating. The device switches to cool
down mode and the blower switches o automatically after approx. five minutes.
Now turn o the device with the main switch (11) and disconnect the power supply
cord (3) from the electrical network.
• Wait until the device has cooled down.
• Check the power cord (3) and plug for electrical and/or mechanical damage. Damaged plugs
and the extension cables must not be used, due to risk of an electric shock.
• Use a brass wire brush to clean the welding nozzle (8).
 Loading...