ASSOCIATION screen. A list of
controllers included in Step 2
that support association will be
displayed.
Scroll to and press the center
button to select the controller
you wish to associate an area or
areas to.
The CONTROLLER ASSOC
screen will display with the
selectionboxaround1. Button
prompting you to select the
button on your controller that
you wish to associate an area to.
Use side arrow buttons to
toggle if applicable.
Scroll to 2 Area and choose an area you wish to
associate to the button you've selected. This will
allow the button on the chosen controller to control
the desired area.
Selecting
3. Area ON/OFF allows you to set an
AREA ON/OFF or SCENE command to that button
on your controller (for SCENE commands refer to
Advanced Settings).
Once you are done press the right soft key
(Save) to complete. You will be prompted to
continue setting associations or to proceed to the
NEXT STEP by pressing the right soft key .
Security
NOTE: The INSTALL
CHECKLIST screen will appear
withtheselectionboxaround
STEP 6 - Security when NEXT
STEP is chosen from STEP 5.
Press the center button to
bring up the SECURITY screen.
Press the center button to
select 1. Setup Password.
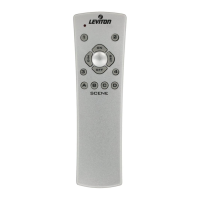
Enter password using four of the
eight buttons on the VRCPG
(1 ON, 1 OFF, 2 ON, 2 OFF etc.)
NOTE: The password you
choose MUST be 4 characters
long.
11