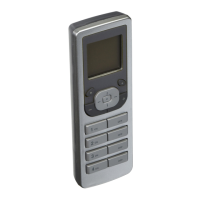
Include Dimmers/Switches
Pressing the center button
to select Include Dim/Swch will
bring you to the INCLUDE DIM/
SWCH screen and put the VRCPG
into Inclusion Mode. You will be
prompted to press a button on your
Dimmer or Switch. These devices
require a simple one step process
(button press) to include into
the network (refer to individual device instruction
sheet). Once the button is pressed on your Dimmer,
Switch or Plug-In Module, the VRCPG will go through
a communication process and assign the node
information for that device. The TEXT EDITOR will
display. You can now name your device.
NOTE: The VRCPG is by default assigned node #1.
STEP 1
Leviton provides the Installation Checklist as a step
by step tool to setup your Vizia
RF +
TM
network and
recommends following these steps in order, specifically
if you are a first time user. System design will impact
performance, so it is necessary to include and update
your devices in a specific order to ensure overall system
performance and reliability. The Installation Checklist
steps are shown below. When a step is completed,
simply press the right soft key to select NEXT
STEPandtheVRCPGwillbringyoutothenextscreen.
NOTE: Installation checklist can be accessed any time
using option 7. System Setup on the Main Menu.