Repair information 4-39
7011-2xx / 3xx
5. Remove three screws (A) that secure the printhead to the cross brace, and lift the printhead out.
Note: Notice the alignment of the printhead at each screw before removing the screws.
Note: Printer registration must be set after replacing the printhead. See “Registration” on page 3-3.
Note: If you are replacing printhead part number 40X5776, you will also need to perform the electronic
printhead adjustment prodedure. See “Printhead assembly electronic adjustment” on page 3-14.
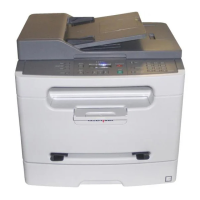
Note: If you see this printhead when the top cover is removed, the replacement printhead part number is
40X5776.

 Loading...