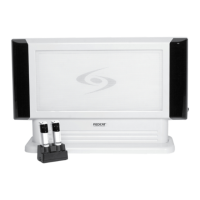
REDCAT User Manual
19 | REDCAT User Manual
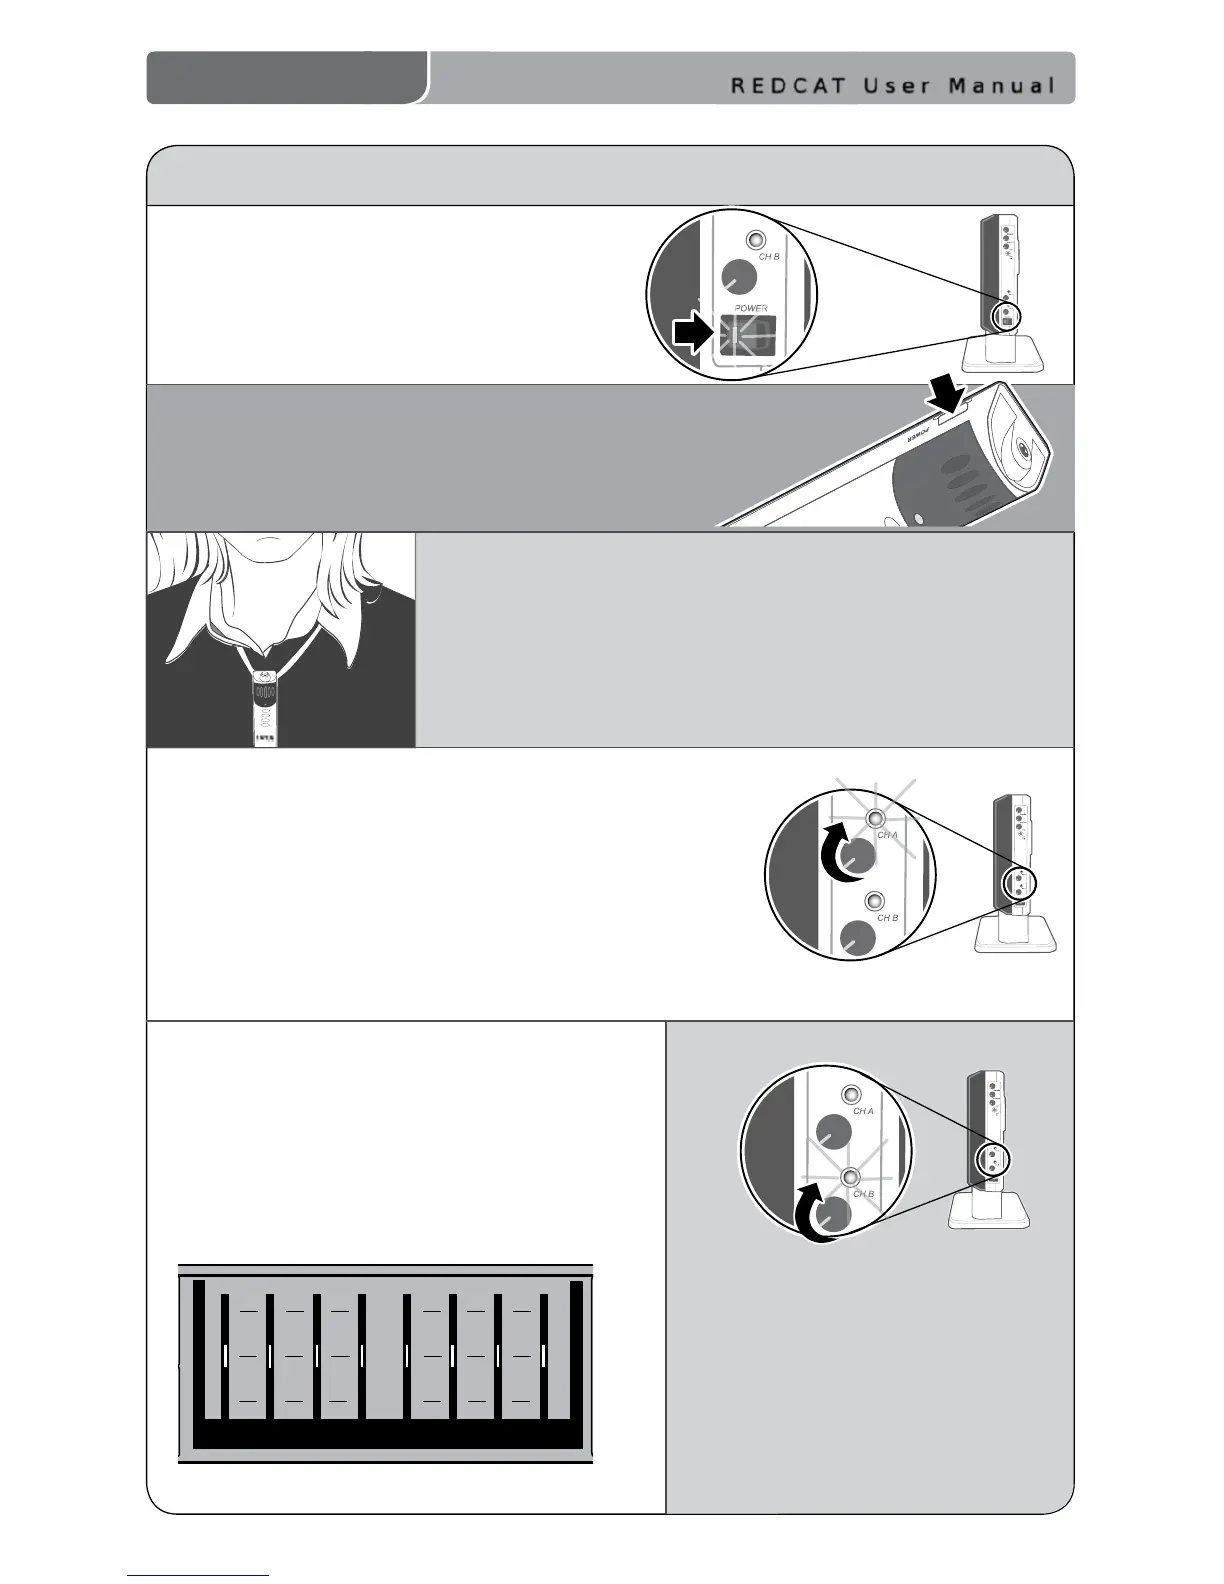
3. Slip the REDMIKE with lanyard around the neck
and position the top of the microphone just below
the collarbone. NOTE: Positioning of the REDMIKE is
critical for proper volume adjustment.
4.
While speaking in a normal voice slowly increase the
volume of the corresponding channel on the REDCAT
until your voice is barely audible. REMEMBER:
This equipment supplements user’s voice so they
are able to speak in a conversational tone. Having
the volume set too high will result in feedback and
listener fatigue.
INITIAL SET-UP: REDMIKE
5. Once initial volume level is set, walk
around the room and listen for audio
dropout and overall audio quality.
Fine-tuning the audio is accomplished by
making minor adjustments to the 8-Band
Graphic Equalizer on the back panel of
the REDCAT.
See page 4 for hints on setting the EQ.
1. Turn the REDCAT switch to the ON
position. The RED LED on the switch
will glow.
2. Turn on the REDMIKE. The CH A/B GREEN LED on
the REDCAT will light to indicate an IR signal is being
received.
6. If a second REDMIKE was
purchased, repeat steps 2-4.
NOTE: Each REDMIKE has its
Channel pre-set to either A or
B. No further adjustment is
necessary.