User Manual
LogicS-2 / LogicS-3
Page 10/33
2. Mounting Instructions LogicS
Mount the LogicS motor control on the bottom surface of the desk top.
Following tools are needed for installation:
• 1 screw driver for recessed head screws
• 1 pencil
• 1 drill machine(to pre-drill the holes)
• 4 screws (slotted pan head screw DIN7981 3.9x22mm recommended for wooden
table plate)
Caution: Unplug the power cord while mounting the LogicS control box!
To install the control box proceed as follows:
Note: We recommend to use the drill template to carry out the
installation quickly. You find the drill template on page 32. If you choose
not to use the drill template, carefully follow the mounting instructions.
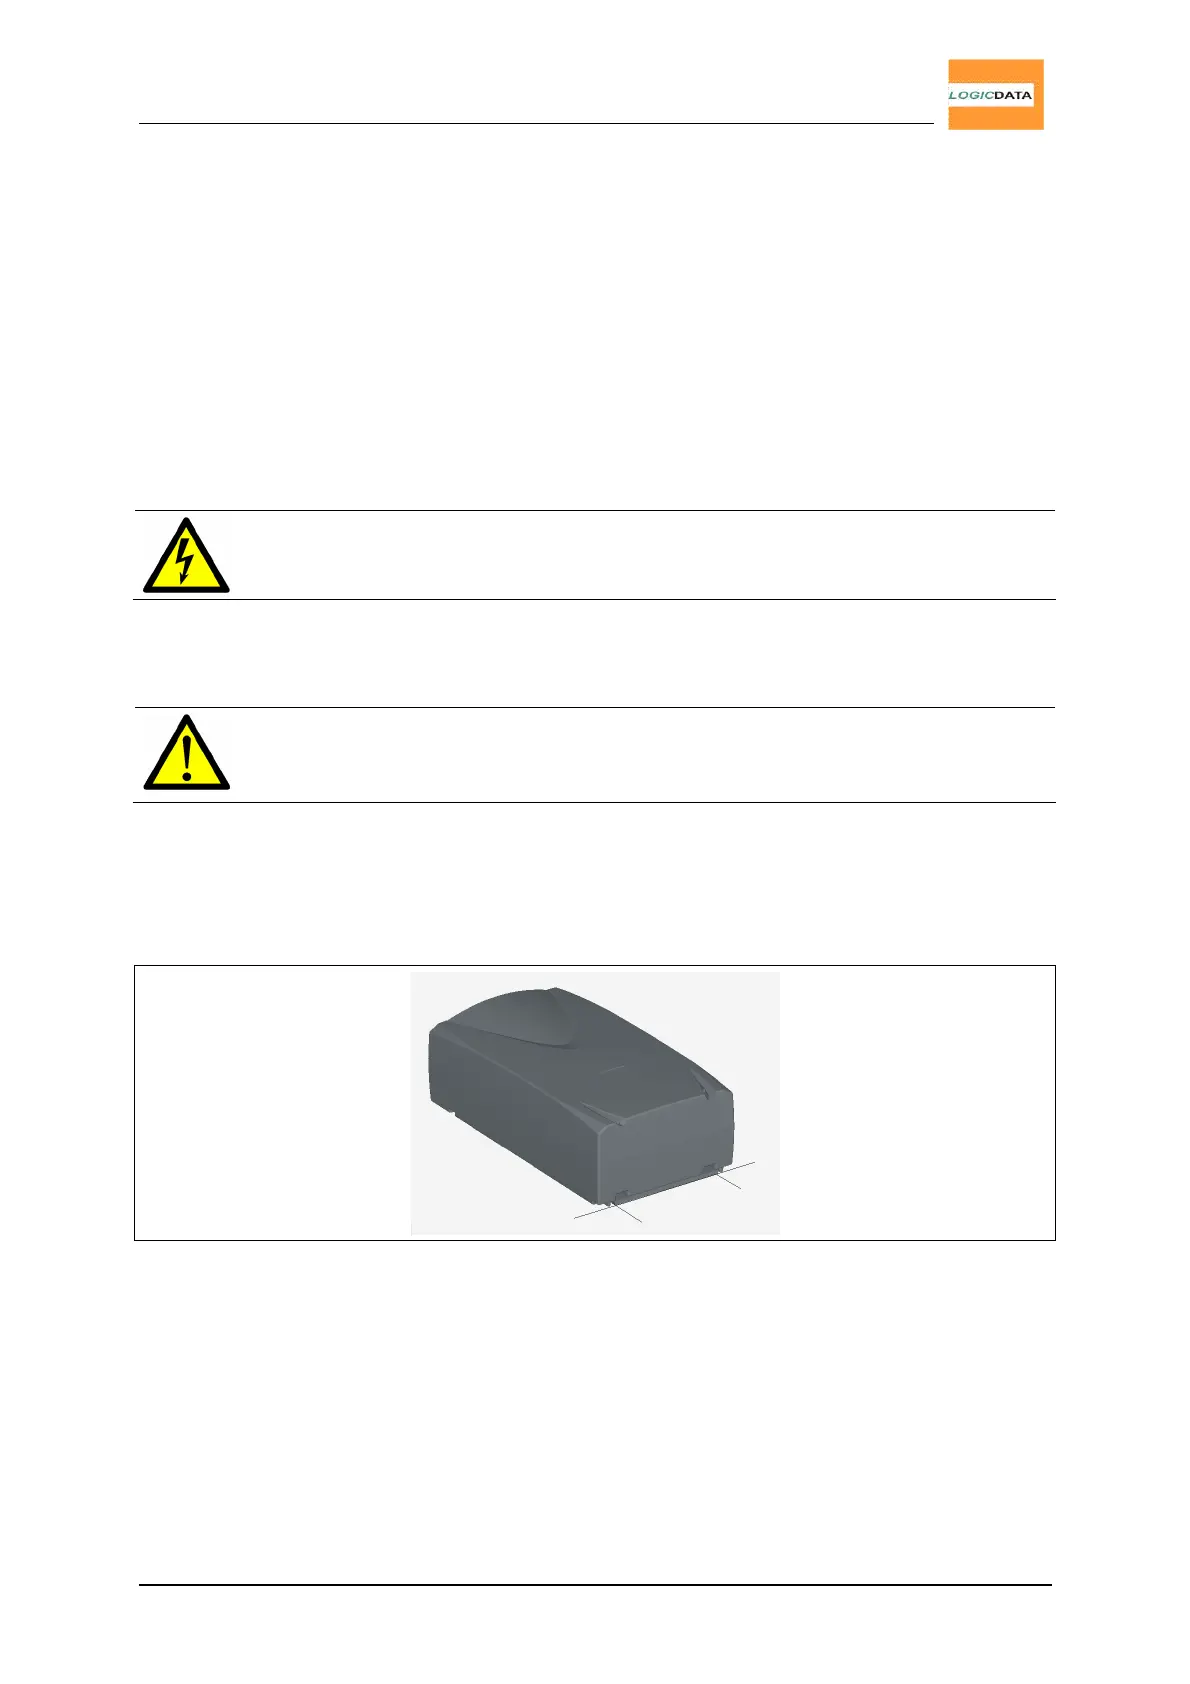
1. Position the control box with attached mounting plate on the desk top where you
want to install it.
2. Mark the edge of the mounting plate with a pencil.
Fig. 2 - Step 1
3. Detach the mounting plate.
4. Align the mounting plate with the pencil line and mark the two drill holes with a
pencil.
5. Pre-drill these 2 holes.