User Manual
LogicS-2 / LogicS-3
Page 20/33
4.2.5. Activation of the End Position Alignment Procedure
Activating the end position alignment procedure lies within the scope of initial
operation carried out by a service technician.
Note: Whether the "S7" function is available or not depends on the
configuration of the control box.
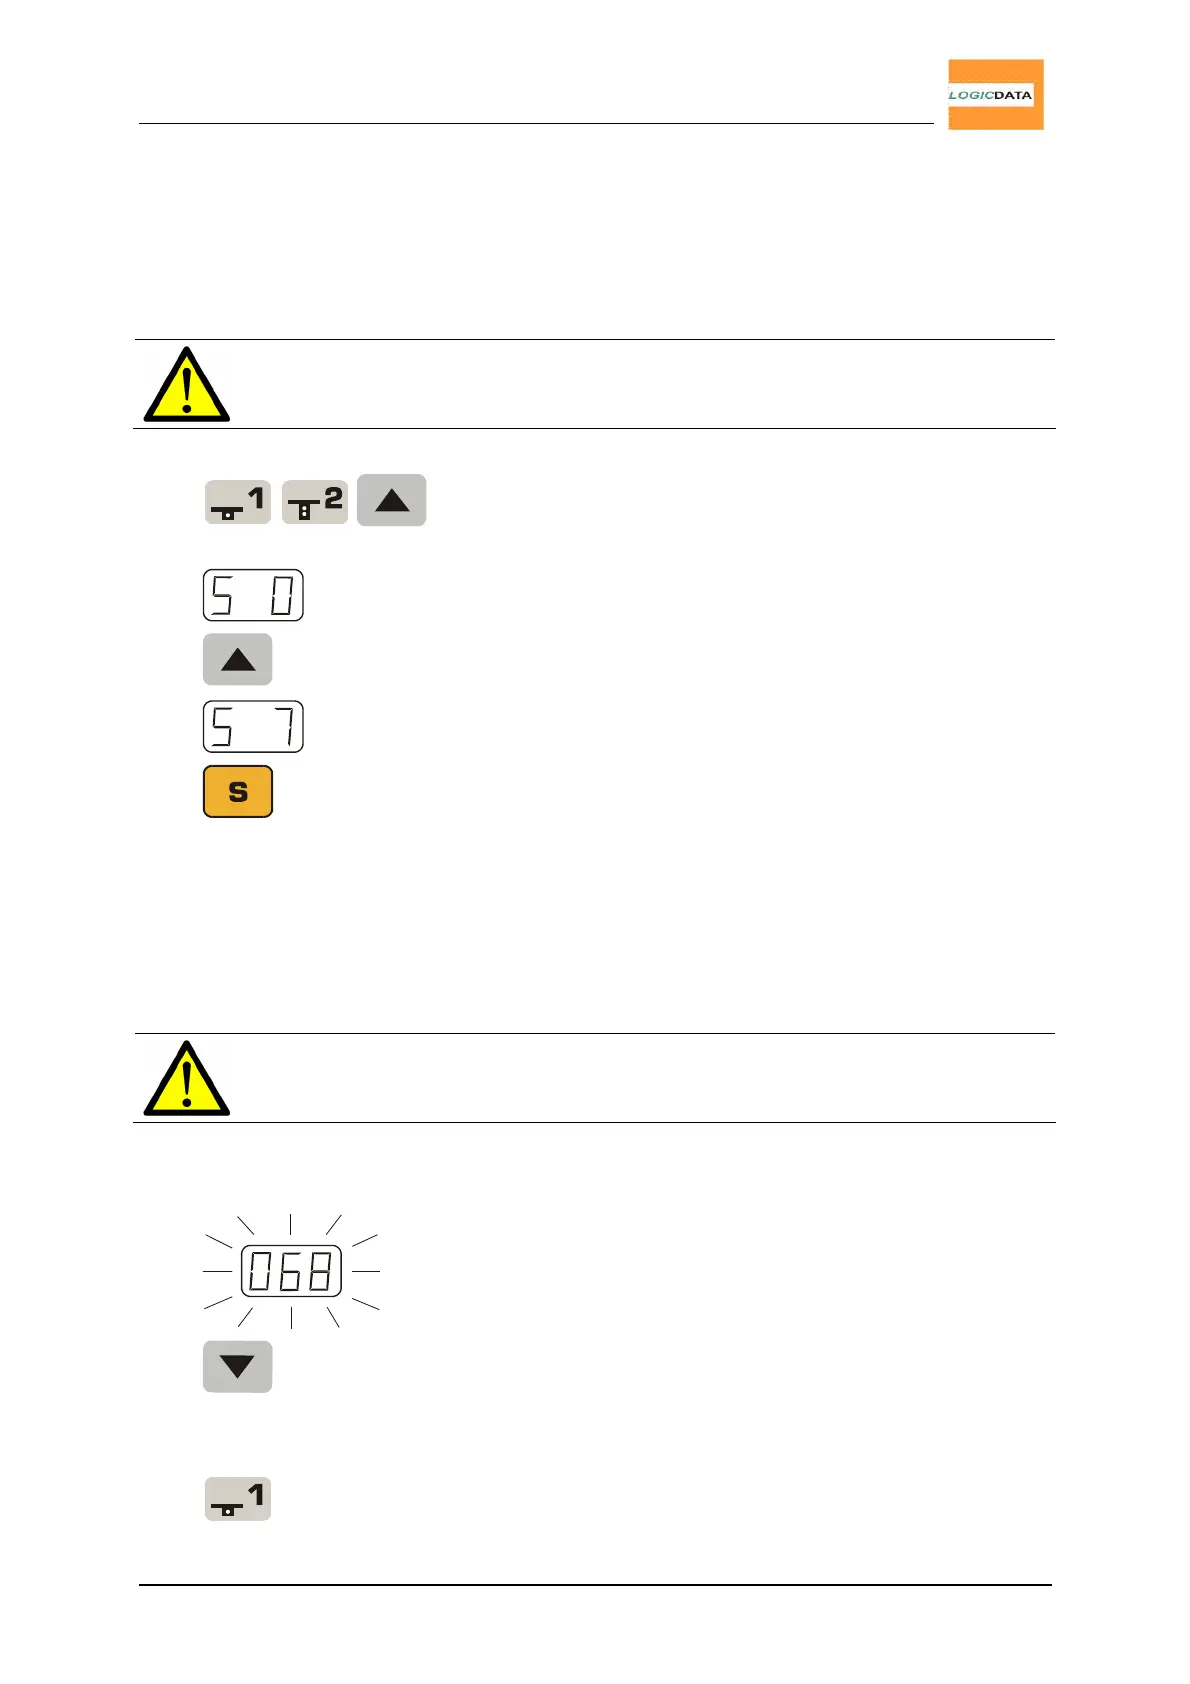
1.
Press keys T1, T2 and desk up simultaneously.
Keep holding this key combination for about 10
seconds. Release the keys.
The display reads S 0.
2.
Press and hold key desk up until the display reads
S 7.
The display reads S 7.
3.
Press the S key.
4.2.6. End Position Alignment
The end position alignment procedure has to be carried out on initial operation
after the control box has been installed correctly.
Note: Selectively, all configurations needed for initial operation can be
factory-made.
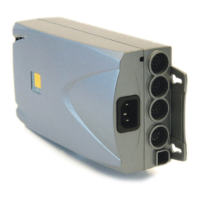
To align the end positions, proceed as follows:
1.
068 is flashing on the display.
2.
Press and hold key desk down until the desk has
reached the lower end position.
3. Adjust the display according to the actual height of
the desk.
Press key T1 to increase the displayed height
(driving in any direction is locked).