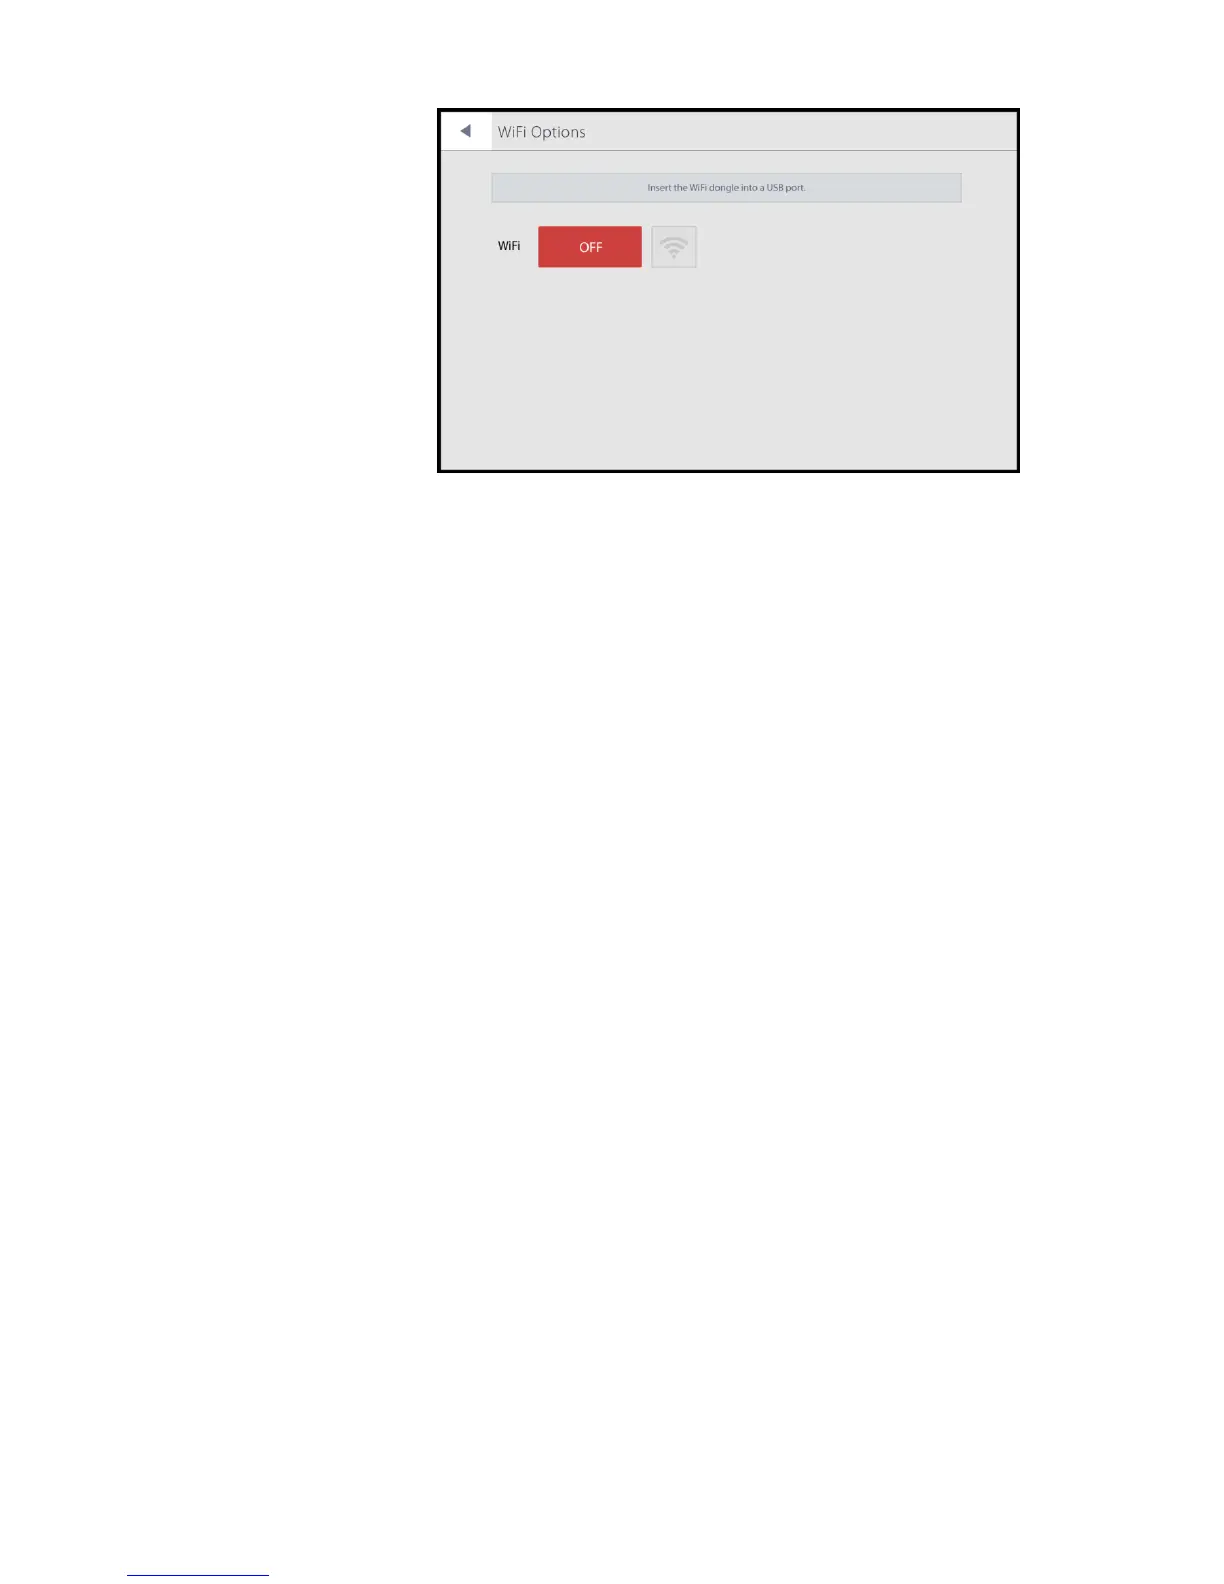
Turn on the WiFi. Log in to a WiFi network. An IP address will be generated. Make note of
this IP address to enter into the recommended FTP freeware.
Once connected, users can access files saved to the QUANTOM Tx
™
SSD drive (pg. 14).
Background calibration is a prerequisite for the successful detection of cells. As the
QUANTOM Tx
™
is calibrated before shipping, recalibration before use is unnecessary.
Recalibrate the background after each software update.
To perform background calibration, follow the following directions.
1. Mix 10 µL QUANTOM
™
Calibration Beads and 10 µL QUANTOM
™
Cell
Loading Buffer I. Mix well by pipetting or vortexing vigorously.
2. Load 5-6 µL of the mixture into a new QUANTOM
™
M50 Cell Counting
Slide.
3. Centrifuge at 300 RCF for 10 minutes in the QUANTOM
™
Centrifuge.
4. Press Calibration in the Settings screen.
5. Insert the slide face up and sample-side first into the slide port.
6. Press OK. Do not remove the slide or turn off the instrument.
7. Once complete, the calibration value and date will update automatically.
Logos Biosystems continually provides software updates to ensure optimal performance.
The existing version of software is displayed in the startup screen and the Settings screen.
1. Download the most recent version from the Logos Biosystems website
(www.logosbio.com) into the root directory of a compatible USB drive.
2. Press Software Update in the Settings Screen.
3. Insert the USB drive with the downloaded file into the USB port.
4. Press Start. Do not turn off the QUANTOM Tx
™
during the update.
5. Perform background calibration.
The QUANTOM Tx
™
uses a 24-hour clock and is preset to Korean Standard Time. Adjust
the settings to the local date and time for accurate record keeping.
Select the desired field to delete the existing value. Input the desired values. Press Apply
to save changes.