Unpack the QUANTOM Tx
™
and QUANTOM
™
Centrifuge. Place them on a clean, level,
and sturdy surface.
Avoid vibrations from other devices.
Leave sufficient space around the instruments to allow proper ventilation and
prevent overheating.
Do not expose the instruments to intense ultraviolet light.
Connect the instruments to electrical outlets using the supplied power cords and AC
adapters.
Make sure the power cords are appropriate for your region.
Always use power cords and AC adapters provided or approved by Logos
Biosystems. If appropriate cords are not used, the electrical safety of the
instruments cannot be guaranteed.
(Optional) Connect the supplied WiFi dongle to a USB port.
(Optional) Connect a LUNA
™
Printer (P10001) to a USB port.
Turn on the centrifuge.
Press RPM/RCF once for RPM and twice for RCF. Use the < > arrows to adjust the RCF
to 300 RCF. The RCF may need to be adjusted according to microbe size.
Press TIME once for minutes and twice for seconds. Use the < > arrows to adjust the time
to 10 minutes.
For detailed instructions, refer to the QUANTOM
™
Centrifuge user manual.
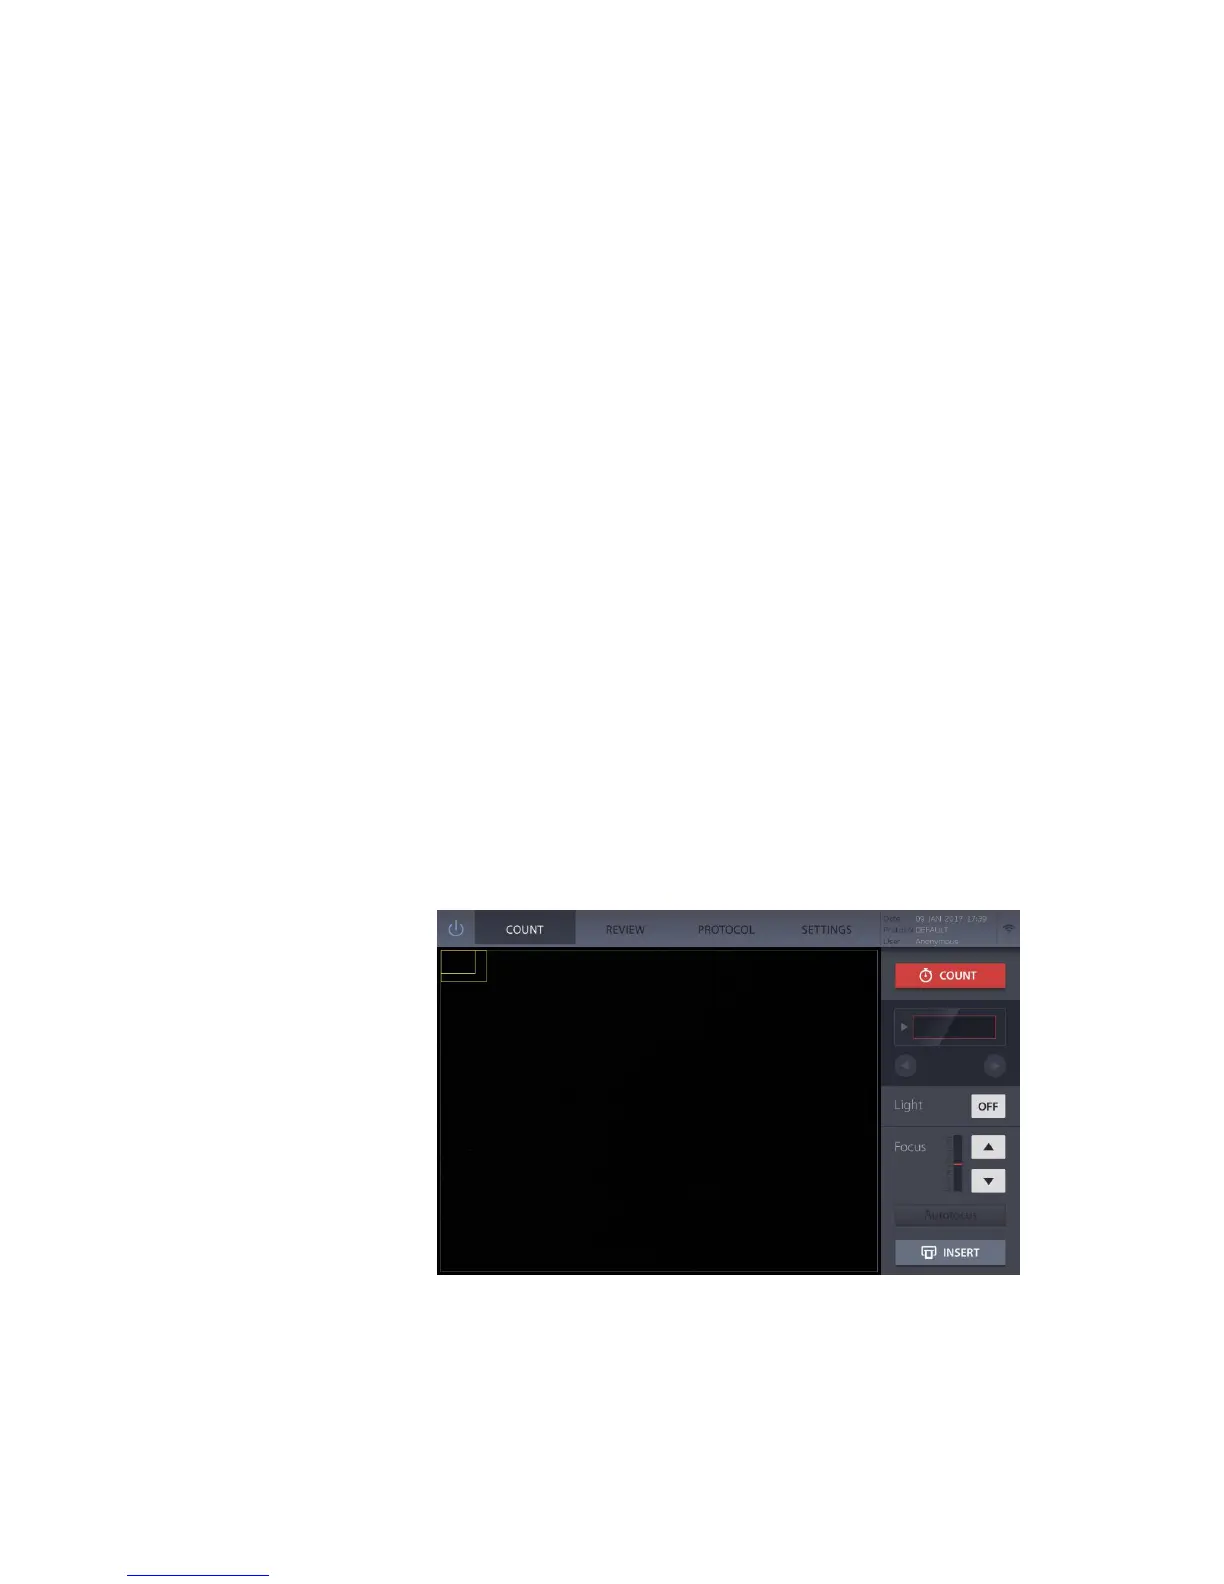
Push the QUANTOM Tx
™
power button for at least three seconds.
The instrument will turn on, the COUNT screen will appear, and the slide port will eject.
From this screen, you can begin counting immediately by inserting a slide or select the
following options from the menu bar.
REVIEW Select to review/export count results (pg. 13).
PROTOCOL Select to adjust the counting protocol (pg. 15).
SETTINGS Select to adjust instrument settings (pg. 17).