45
EN
A
B
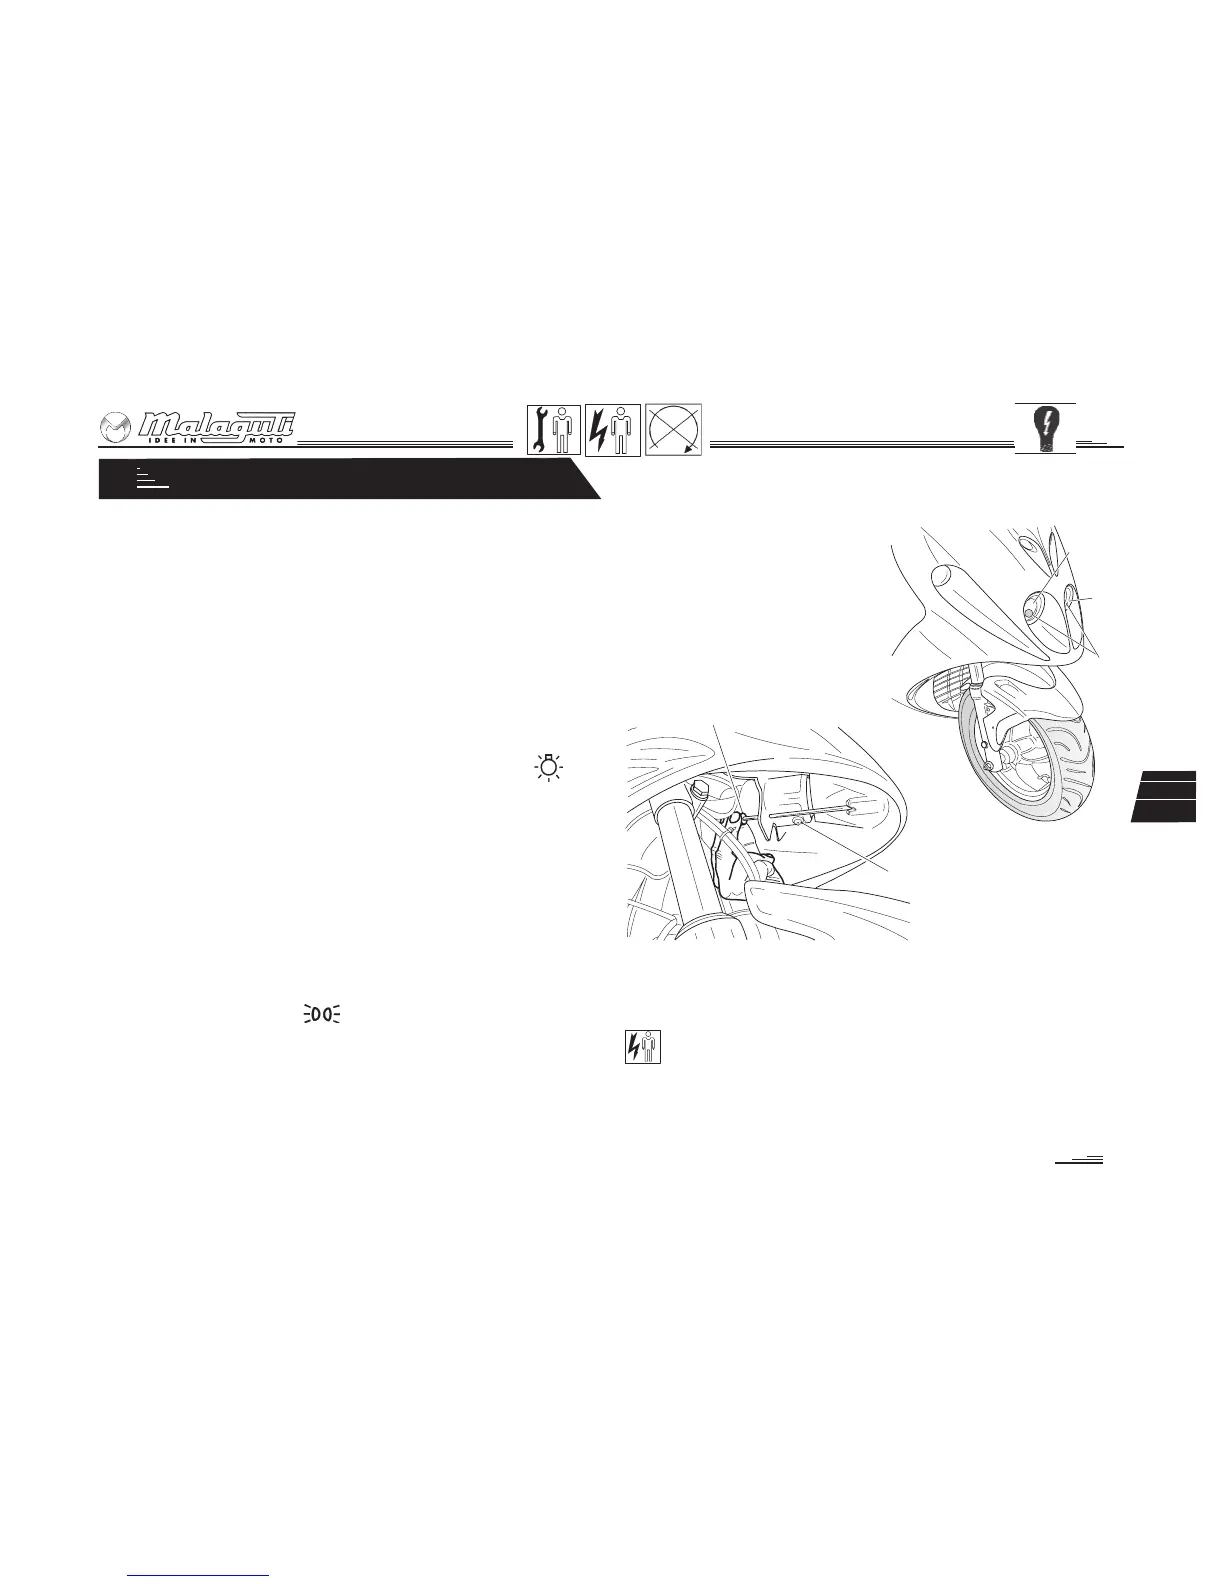
Fig. 35
A1
Fig. 35a
B
P
INTRODUCTION
In most cases, it is no longer possible to replace lamp bulbs
without previously disassembling some scooter components.
To do this, special know-how and appropriate tools are required.
Therefore, we recommend having bulbs replaced by an Author-
ised Malaguti Service Centre.
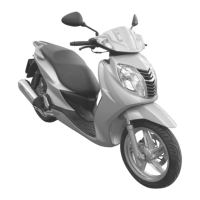
6.1 HEADLIGHT
• The front headlight features two lights: the low beam (A - fig.
35) and the high beam (A1 - fig. 35). To select the low or high
beam, first turn the right-hand light switch to position and
then press the left-hand light button.
• Low beam headlight (Pos. A – Fig. 35)
Halogen lamp, 12V – 65W HB3
• High beam headlight (Pos. A1 – Fig. 35)
Halogen lamp, 12V – 55W H3
• Two parking lights (Pos. B – Fig. 35)
Lamp, 12V – 3W
• The parking light is switched on when the right-hand light switch
is in the central position . The parking light is located in the
section of the light, which is not used either for the low beam or
high beam.
Note: we advise you to check if the replaced bulb works properly
before refitting the headlight unit definitively.
ELECTRICAL EQUIPMENT
6
6.2 BEAM ADJUSTMENT
Have the beam of the headlight periodically checked by an
Authorised Malaguti Service Centre.
The height of the lights can be adjusted by means of the knob
under the lamp (P - fig. 35a); tighten the knob to raise the lamp
or loosen it to lower the lamp.