34 53D0419
LOG PLACEMENT
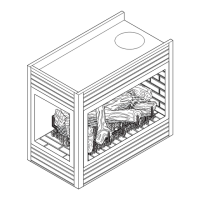
INSTALLING LOGS AND ROCK WOOL (EMBER MATERIAL) IN FIREBOX
1. Remove glass frame. See Glass Frame Removal, page 31.
2. Carefully remove logs from wrapping.
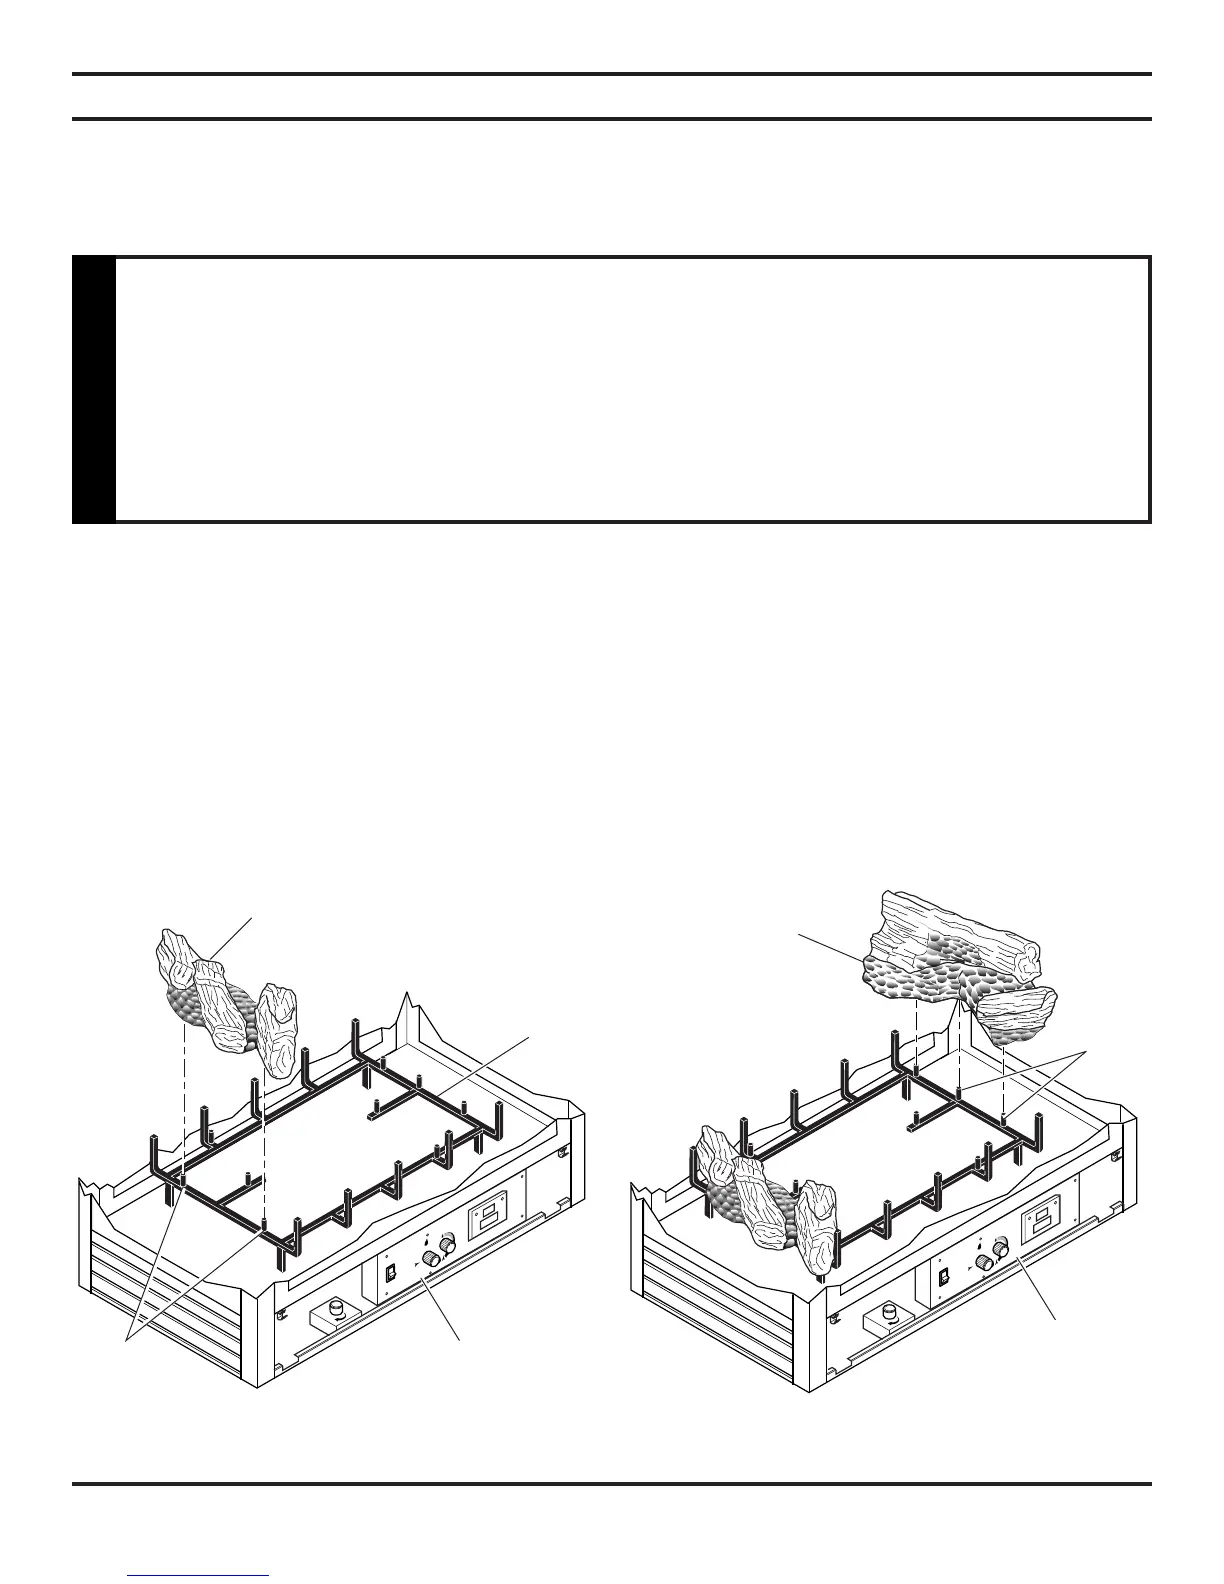
3. Place left log (#1) on left end of grate. Line up two (2) pin holes in bottom of log with two (2) pins on grate. Log #1 will
always be to the left of the control panel. See Figure 43.
4. Place right log (#2) on right end of grate. Line up three (3) pin holes in bottom of log with three (3) pins on grate. See
Figure 44.
Figure 43 - Installing Left Log (#1)
Before you begin — This unit is supplied with eight ceramic ber logs. Do not handle these logs with your bare hands.
Always wear gloves to prevent skin irritation from ceramic bers. After handling the logs, wash your hands gently with
soap and water to remove any traces of bers.
The positioning of the logs is critical to the safe and clean operation of this heater.
Excessive sooting and other problems may result if the logs are not properly and firmly
positioned in the appliance. Never add additional logs or embellishments such as pine
cones or vermiculite to the heater. Only use the logs supplied with the unit.
Failure to position the parts in accordance with diagrams below or to use only
parts specifically approved for this heater may result in property damage or
personal injury.
WARNING
Figure 44 - Installing Right Log (#2)
Left Log (#1)
Right Log (#2)
Grate
Pins
Pins
Control Panel
Control Panel
 Loading...