PIPETTOR REASSEMBLY
10 /
Autoclaving
Reassembly
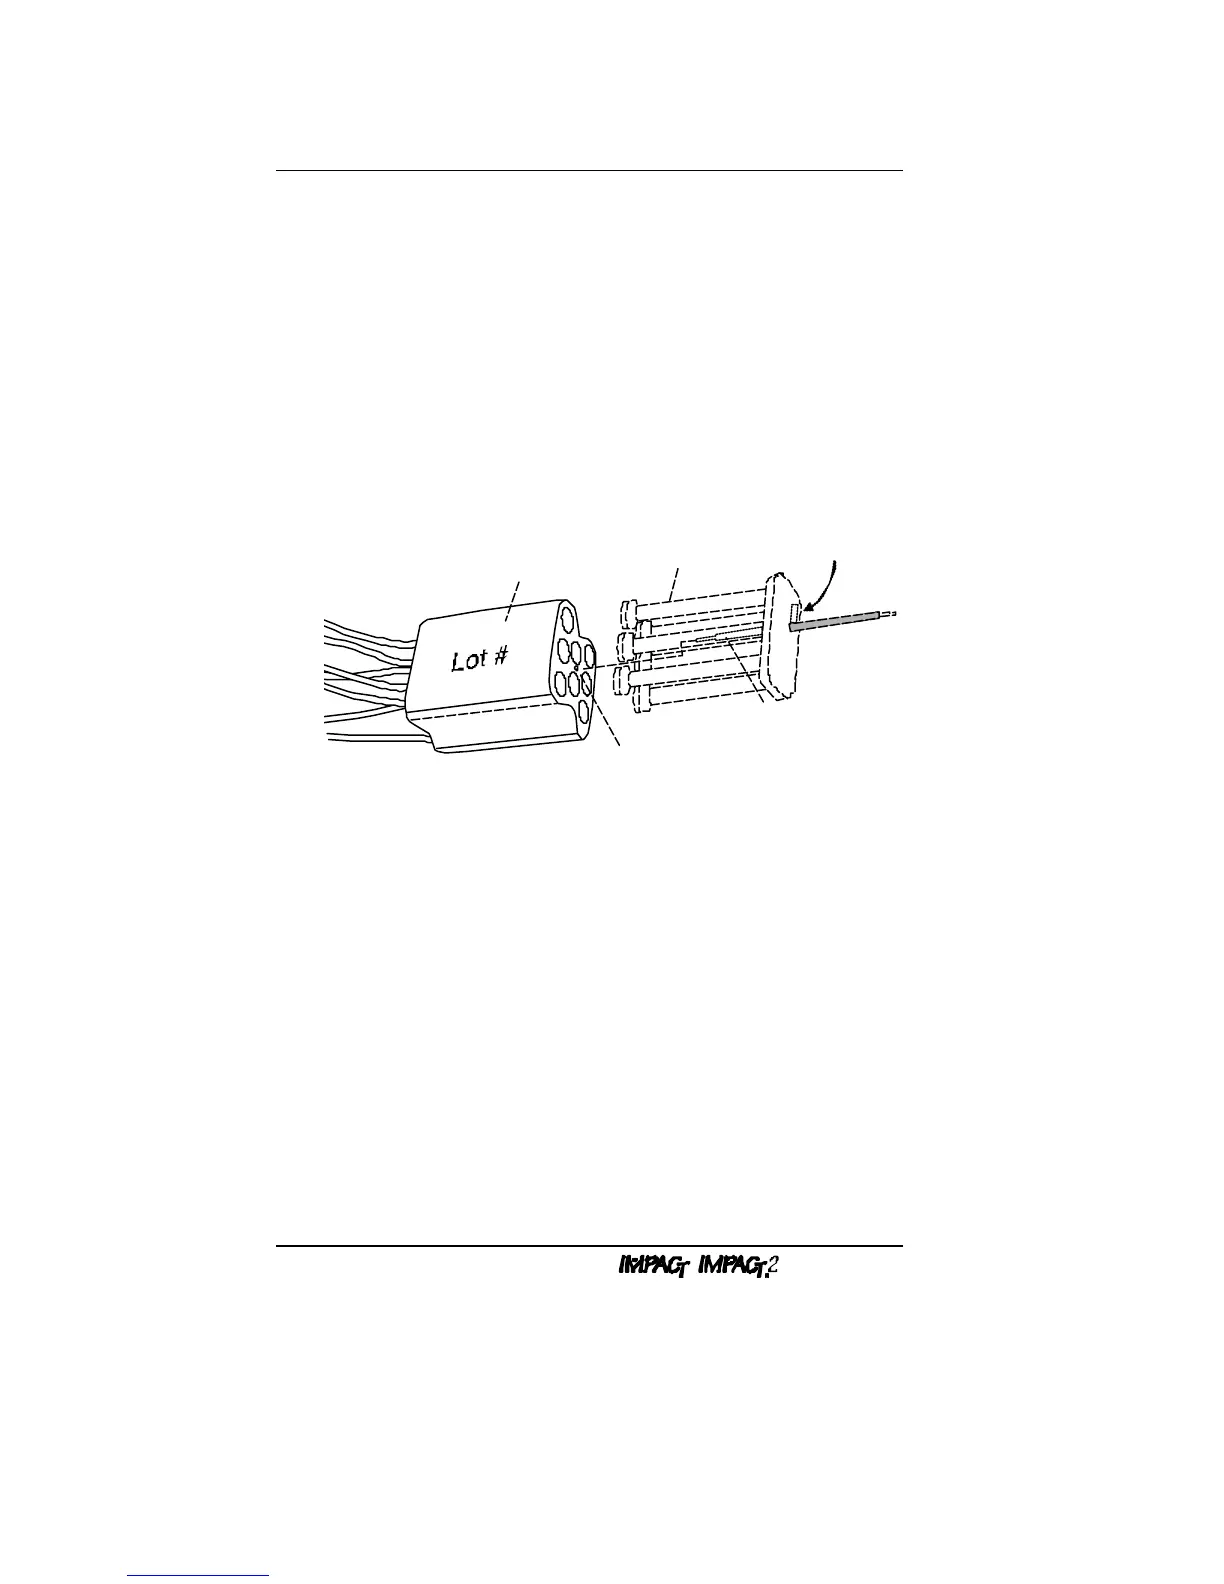
1. Reinsert the piston assembly into the lubricated cylinder.
Ensure that the motor screw engages into the hole in the
center of the cylinder (see Figure 9).
NOTE: To correctly orient the piston and cylinder assembly,
ensure that the lot number of the cylinder is facing up and the
painted section of the piston backplate is facing down. Also,
care should be taken to keep the o-rings from being pinched
when inserting the pistons into the cylinder.
Cylinder
Motor Screw Hole
Piston Assembly
Motor Screw
Piston Backplate
(painted section)
Figure 9: Assembling Piston and Cylinder
2. Carefully insert the flat end of the motor screw into the hole of
the motor coupling. This can be accomplished by holding the
piston/cylinder assembly at a slight angle while inserting the
motor screw into the hole of the motor coupling (see Figure 10).