PIPETTOR REASSEMBLY
/
Autoclaving
11
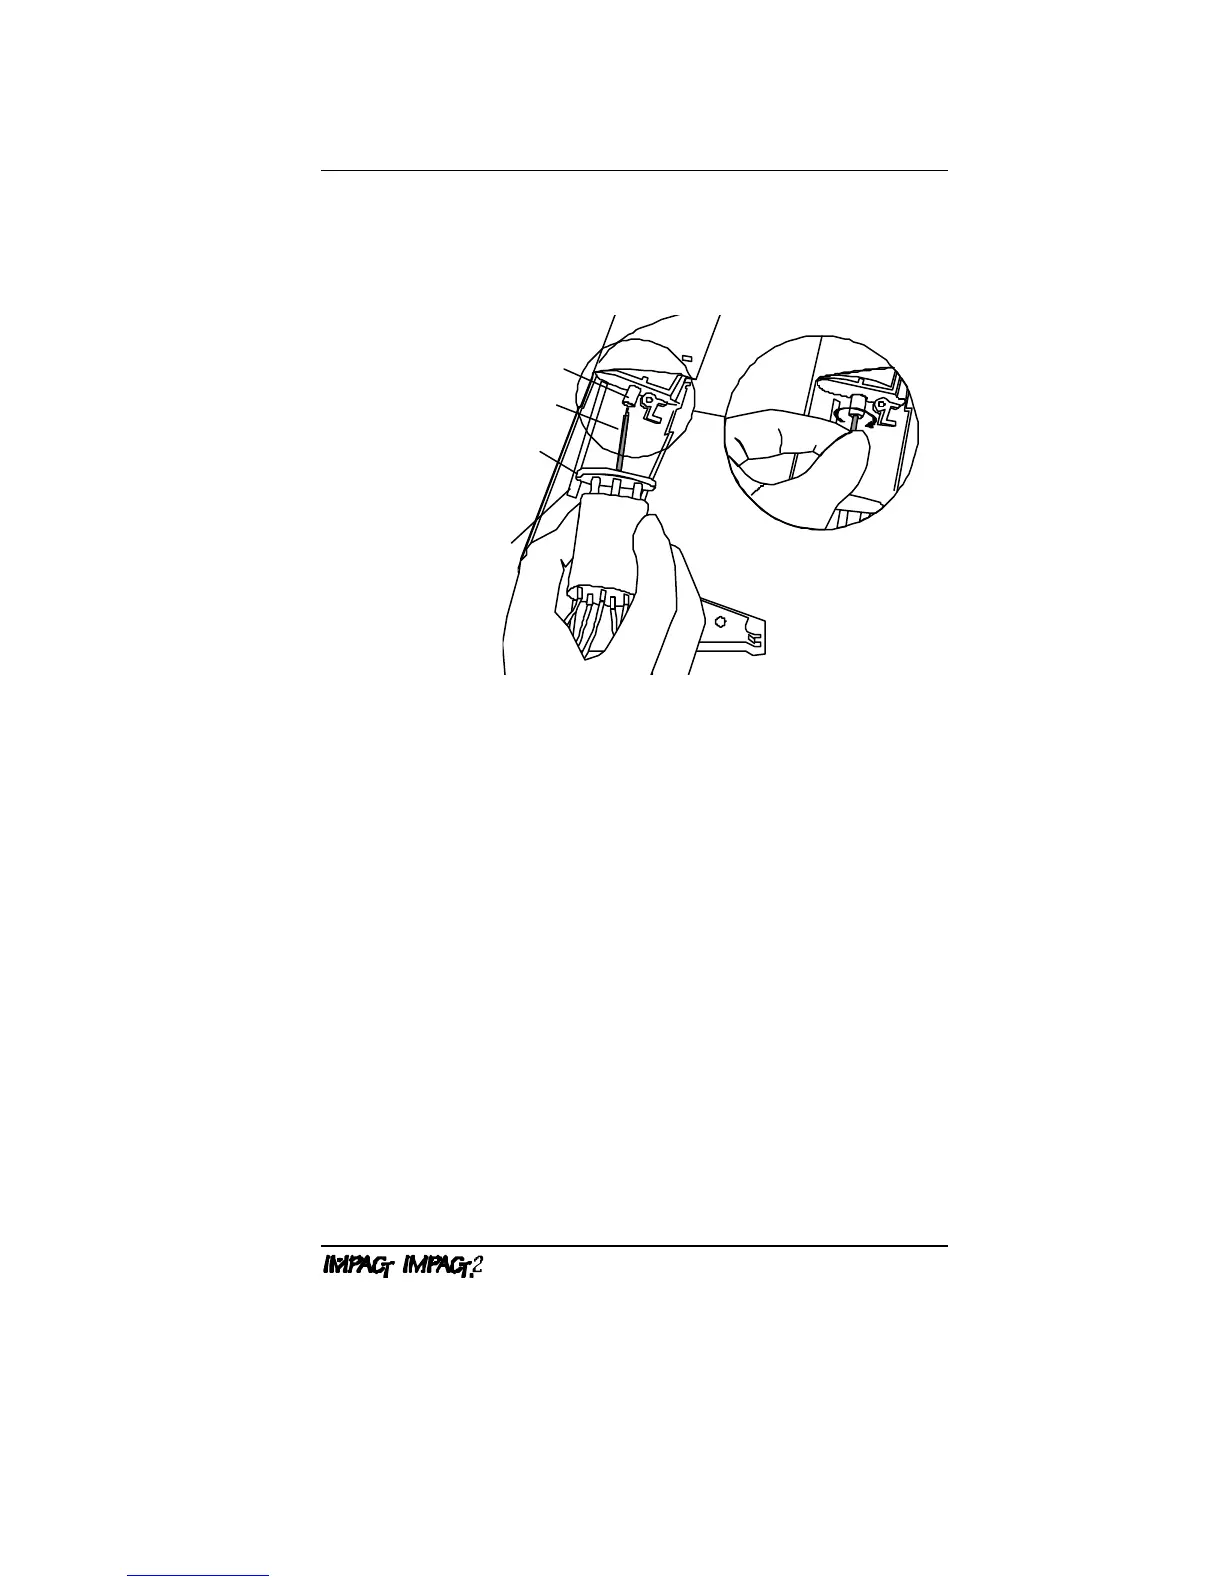
Slowly spin the motor screw until the flat end of the motor
screw is fully engaged into the motor coupling hole (see Figure
10). The cylinder can now be seated between the plastic ribs
in the main housing.
Motor Coupling
Motor Screw
Photosensor
Piston Backplate
(painted section
facing photosensor)
Lot #
Figure 10: Installing Piston/Cylinder Assembly
NOTE: The lot number on the face of the cylinder should
be facing toward you and the painted section of the piston
backplate should be facing the photosensor. The painted
section is used by the photosensor to track the location of
the pistons.
3. After installing the piston/cylinder assembly, install the
manifold assembly into the main housing.