Basic Operation and Installation
Rev 3.4
Mellanox Technologies
26
6. Copper InfiniBand Cable Connecting/Disconnecting
7. Rack Mounting and Servicing
8. Equipment Installation
9. Equipment Disposal
10. Local and National Electrical Codes
11. Do Not Use The Switch As A Shelf Or Work Space.
3.6.2 Mechanical Installation
The procedure for installing the switch in a full rack while bringing the power cord across along
side of the switch can be found in
See “Passing the Power Cord From the Connector Side to the
Power Side” on page 61.
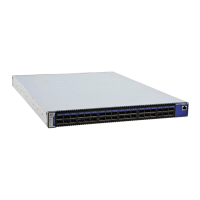
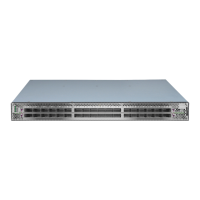
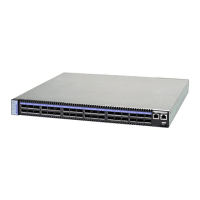
The switch platform can be rack mounted and is designed for installation in a standard 19” rack.
The power side of the switch includes a hot-swap power supply module, a blank cover for an
optional second PSU for redundancy, and a hot-swap fan tray. There are two possible air flow
directions. Be sure that the switch air flow direction is compatible with your system, rack, and
Copper InfiniBand cables are heavy and not flexible, as such they should be carefully
attached to or detached from the connectors. Refer to the cable manufacturer for spe-
cial warnings and instructions.
When this product is mounted or serviced in a rack, special precautions must be taken
to ensure that the system remains stable. In general you should fill the rack with equip-
ment starting from the bottom to the top.
This equipment should be installed, replaced, or serviced only by trained and qualified
personnel.
Disposal of this equipment should be in accordance to all national laws and regula-
tions.
This equipment should be installed in compliance with local and national electrical
codes.
Caution: Slide/rail mounted equipment is not to be used as a shelf or a work space.
 Loading...