4000 MPC GEN II PISTOL GRIP REMOTE CONTROL INSTALLATION INSTRUCTIONS
Page 14 / 22 90-8M0103111 FEBRUARY 2015
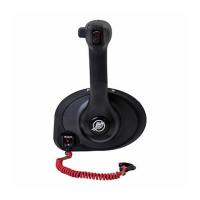
IMPORTANT: Do not use air driven tools to install the control handle retaining screw.
NOTE: As an aid for installing the control handle retaining screw, use the throttle only button as a tool to align the threads
to the control. Once the screw threads are started, remove the throttle only button and complete the installation. Tighten
the retaining screw to the specified torque.
a - Handle assembly
b - Throttle only button
c - Control handle retaining
screw
Tube Ref No. Description Where Used Part No.
7
Loctite 271 Threadlocker Control handle retaining screw threads 92-809819
Description Nm lb‑in. lb‑ft
Control handle retaining screw 17 150 –
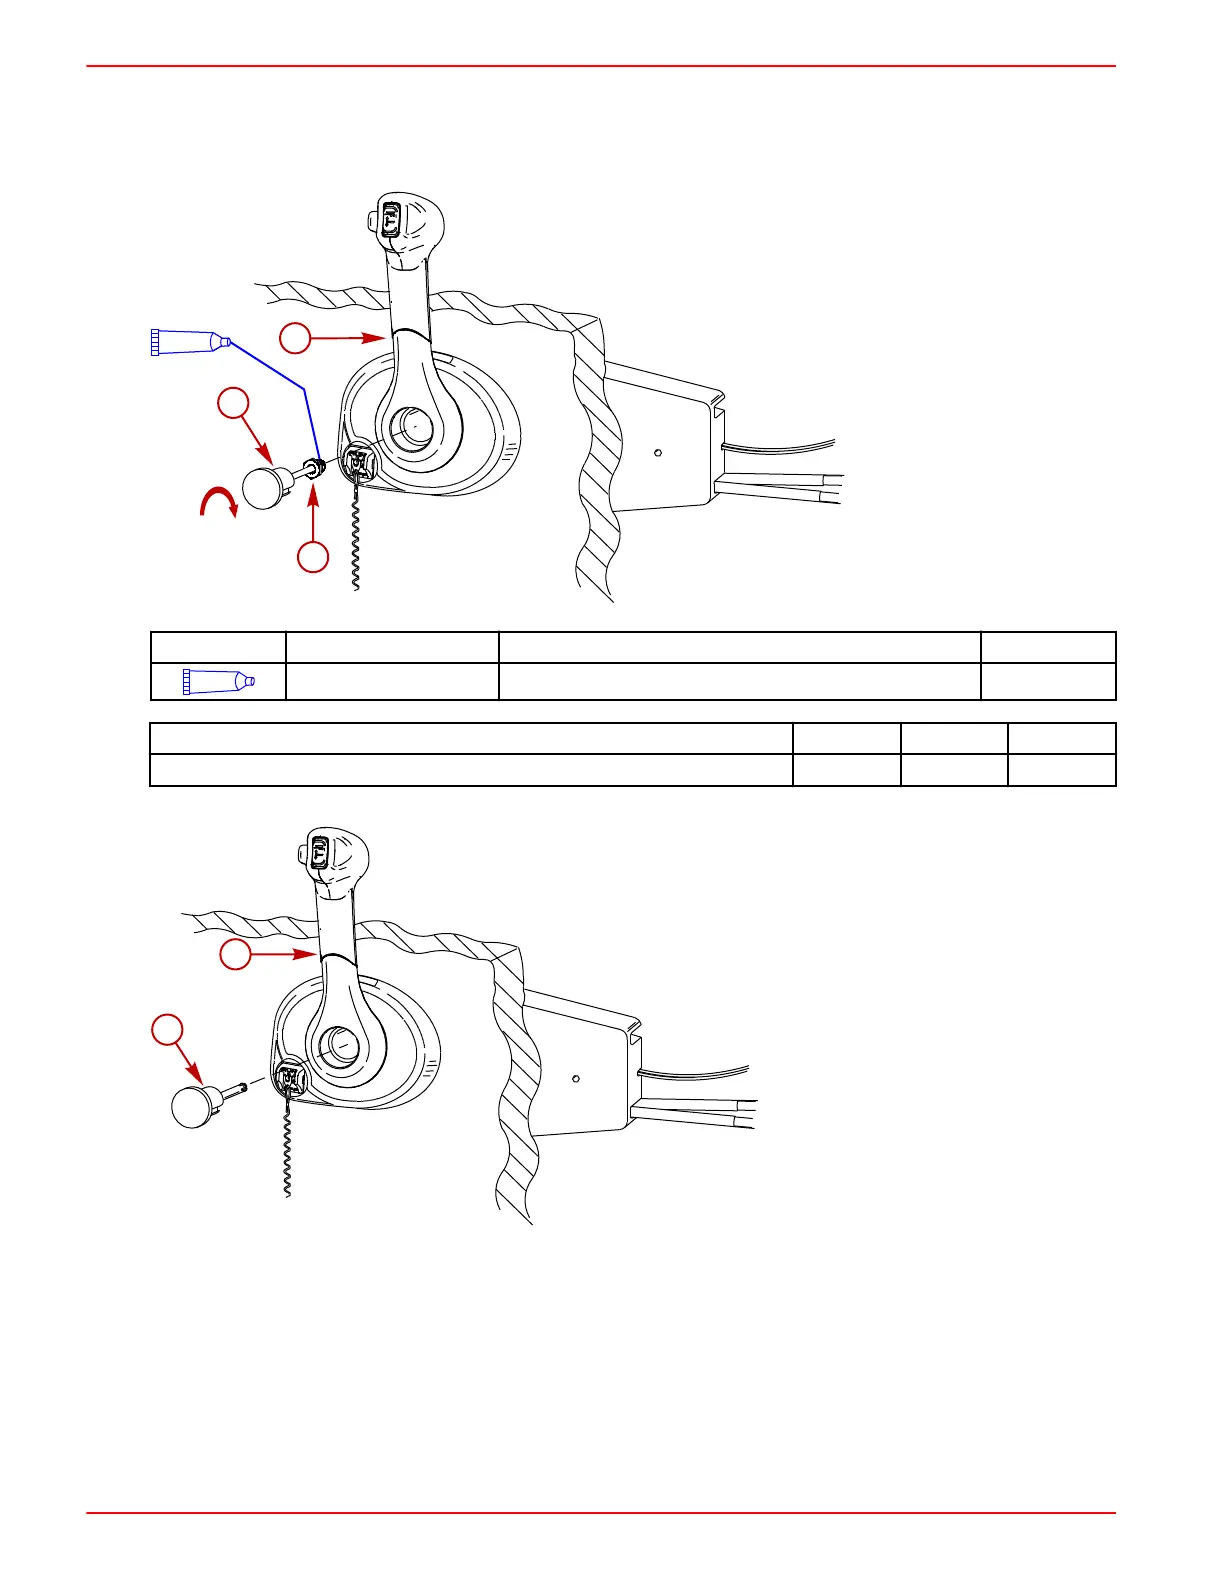
10. Install the throttle only button. Push the throttle only button in completely.
a - Handle assembly
b - Throttle only button
IMPORTANT: The trim harness must be loose behind the panel. Do not use cable ties near the control module. The trim
switch leads must be free to move with the full range of the control handle motion.
11. Connect the remote control module assembly neutral start safety switch leads to the wire harness.
 Loading...