Page 41 of 64
4.7 The Drive Motor
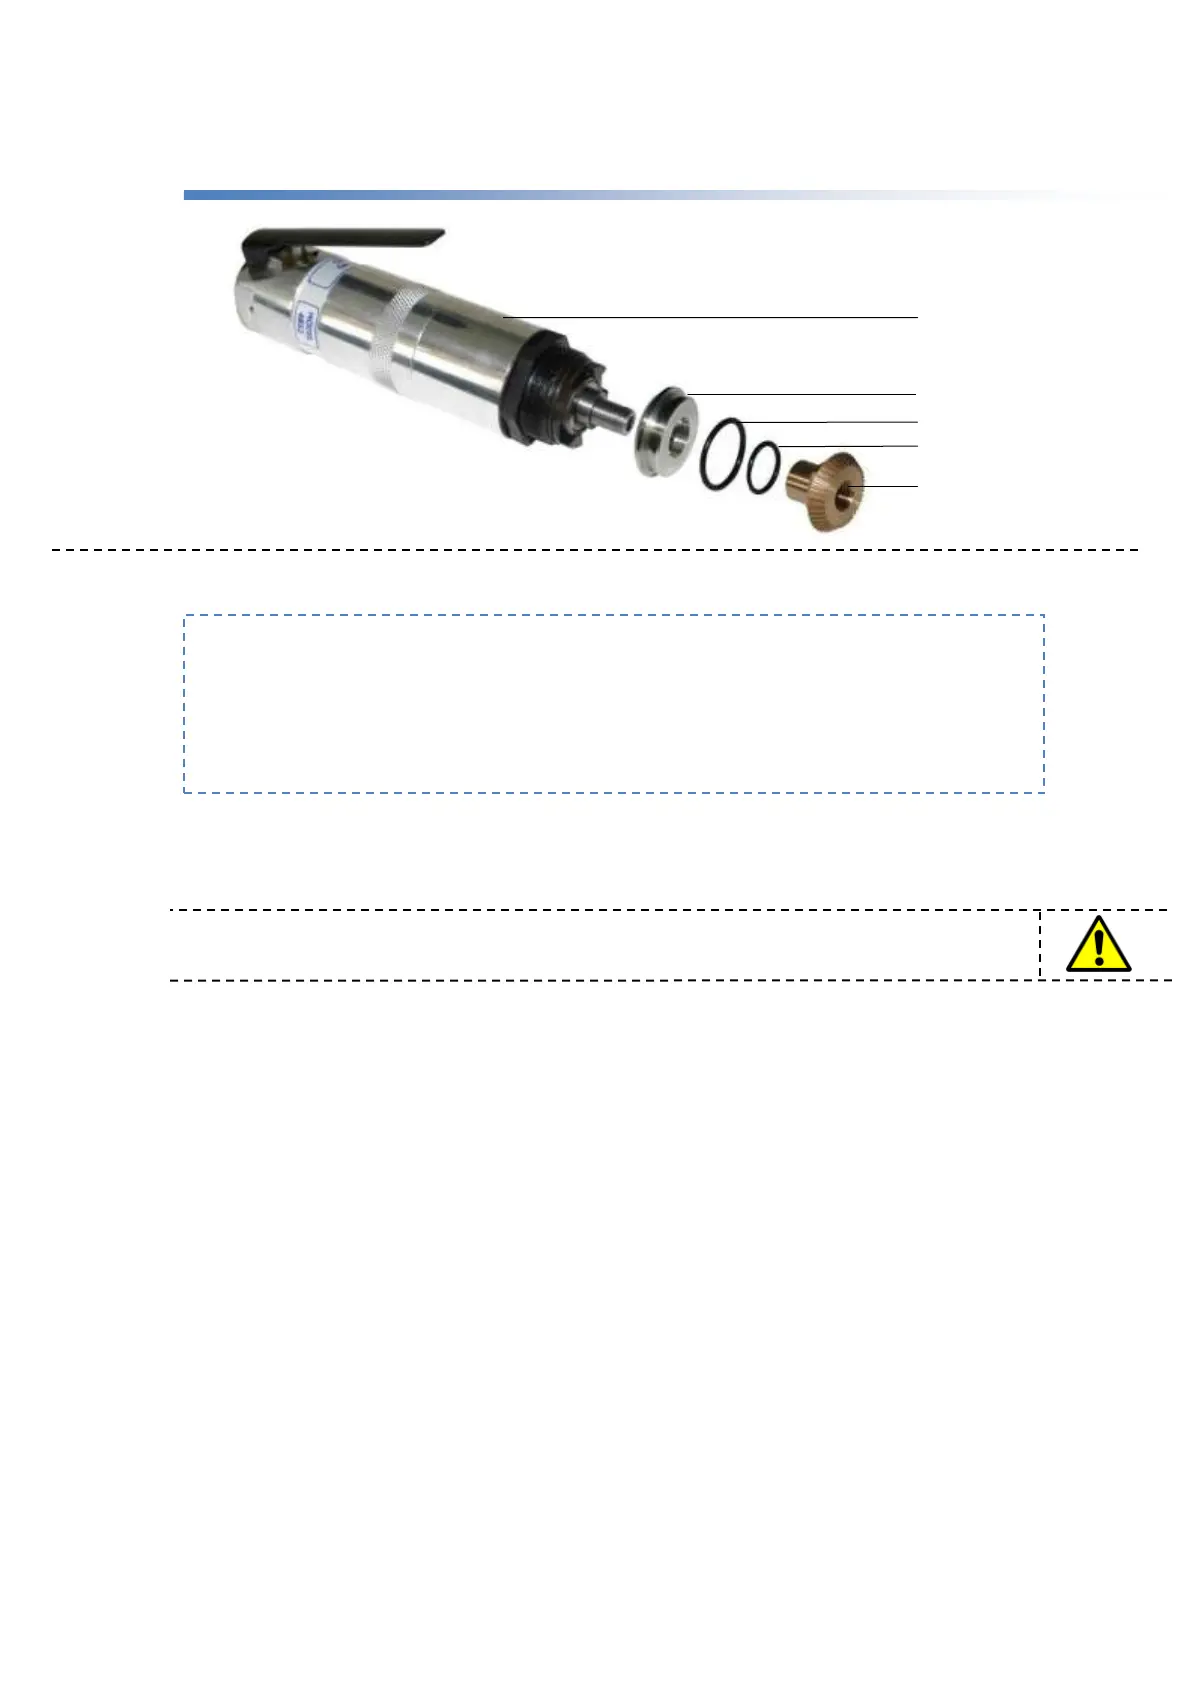
4.7.1 Dismantling the Drive Motor
Screw the Motor (A) out of the body (left hand thread) using a suitable spanner from the
Toolkit provided (part no. TKG73)
NOTE: Never clamp the motor directly in a vice.
Unscrew the Bevel Pinion (E) from the motor output shaft using a suitable spanner and
Allen key, and then separate the Seal Housing (B) from the Bevel Pinion (E).
Discard both the inner and outer ‘O’ Rings (C & D) and inspect Bevel Pinion for wear.
4.7.2 Re-Assembling the Drive Motor
Fit new ‘O’ Rings (C & D) to both the inner and outer grooves of the Seal Housing (B).
Lightly grease using Metallisation Grease (part no. 21173) and slide the Seal Housing (B)
onto the boss of the Bevel Pinion (E).
Screw the Bevel Pinion (E) and Seal Housing (B)onto the Motor Shaft, boss first and lock.
Screw the motor completely into the body (L/H thread) using the appropriate tool, taking
care to avoid damaging the seal ‘O’ Ring.
The Trigger Control (where fitted) should be located towards the front of the pistol (but
where it is comfortable to operate).
Run motor freely and check oil feed in the Air filtration Regulator.
WHEN & WHY?
The Drive Motor Assembly should only be dismantled when it is absolutely necessary.
For example:
There is no wire drive.
Strip down of Gearbox indicates there is wear to the Bevel Gear.
There is evidence of air pressurising the Drive box i.e. there is greased pushed out around the Rollers.