Next, place the drive shaft (3) back in the housing
(1) and lubricate the drive shaft teeth well before
installation (Unirex S2 or similar). Add plenty of lubri-
cant to the coupling plate side of the drive shaft
(EJ10, 12 & 14). It is important to observe the correct
position when attaching the drive shaft. Reassem-
bling is easier when using markings applied during
the dismantling stage. If markings have not been
made, proceed as follows:
The drive shaft has a chiseled mark which must be in
the position shown in Figure 21. It is located in the
middle of the threaded holes in the mounting interface
when the actuator gear rod is forced to its extreme
position by the compression spring. This will be the
case if the stop screw of the actuator has been adjusted
according to the Y dimension shown in Figure 21.
Push the drive shaft (3) into position using a suitable
press. When you have made sure that the drive shaft
is correctly installed, lock it in position with the guid-
ance ring (16), which is pushed into position with a
suitable press.
Next, attach the coupling plate (15) with cross rec
head screws (27) to the actuator shaft (3). Use screw
lock.
Next, test the function of the actuator using com-
pressed air (see Figure 5). Observe the safety meas-
ures in Section 1.5.
Finally, install the actuator valve, the optional actuator
positioner, and attach the air connections as de-
scribed in Section 3.
5 OPERATION FAILURES
Table 4 lists the failures that may occur as a result of
prolonged use or the influence of external factors.
6 REQUIRED TOOLS
Hex key set
Box key set
7 ORDERING SPARE PARTS
NOTE:
Use only original parts. This ensures that the actuator
works as intended.
When ordering parts, provide the following information:
The actuator type (shown on the ID-label and in the
actuator documentation).
Part list number, name and quantity or
Number of this manual, part number, name and
quantity
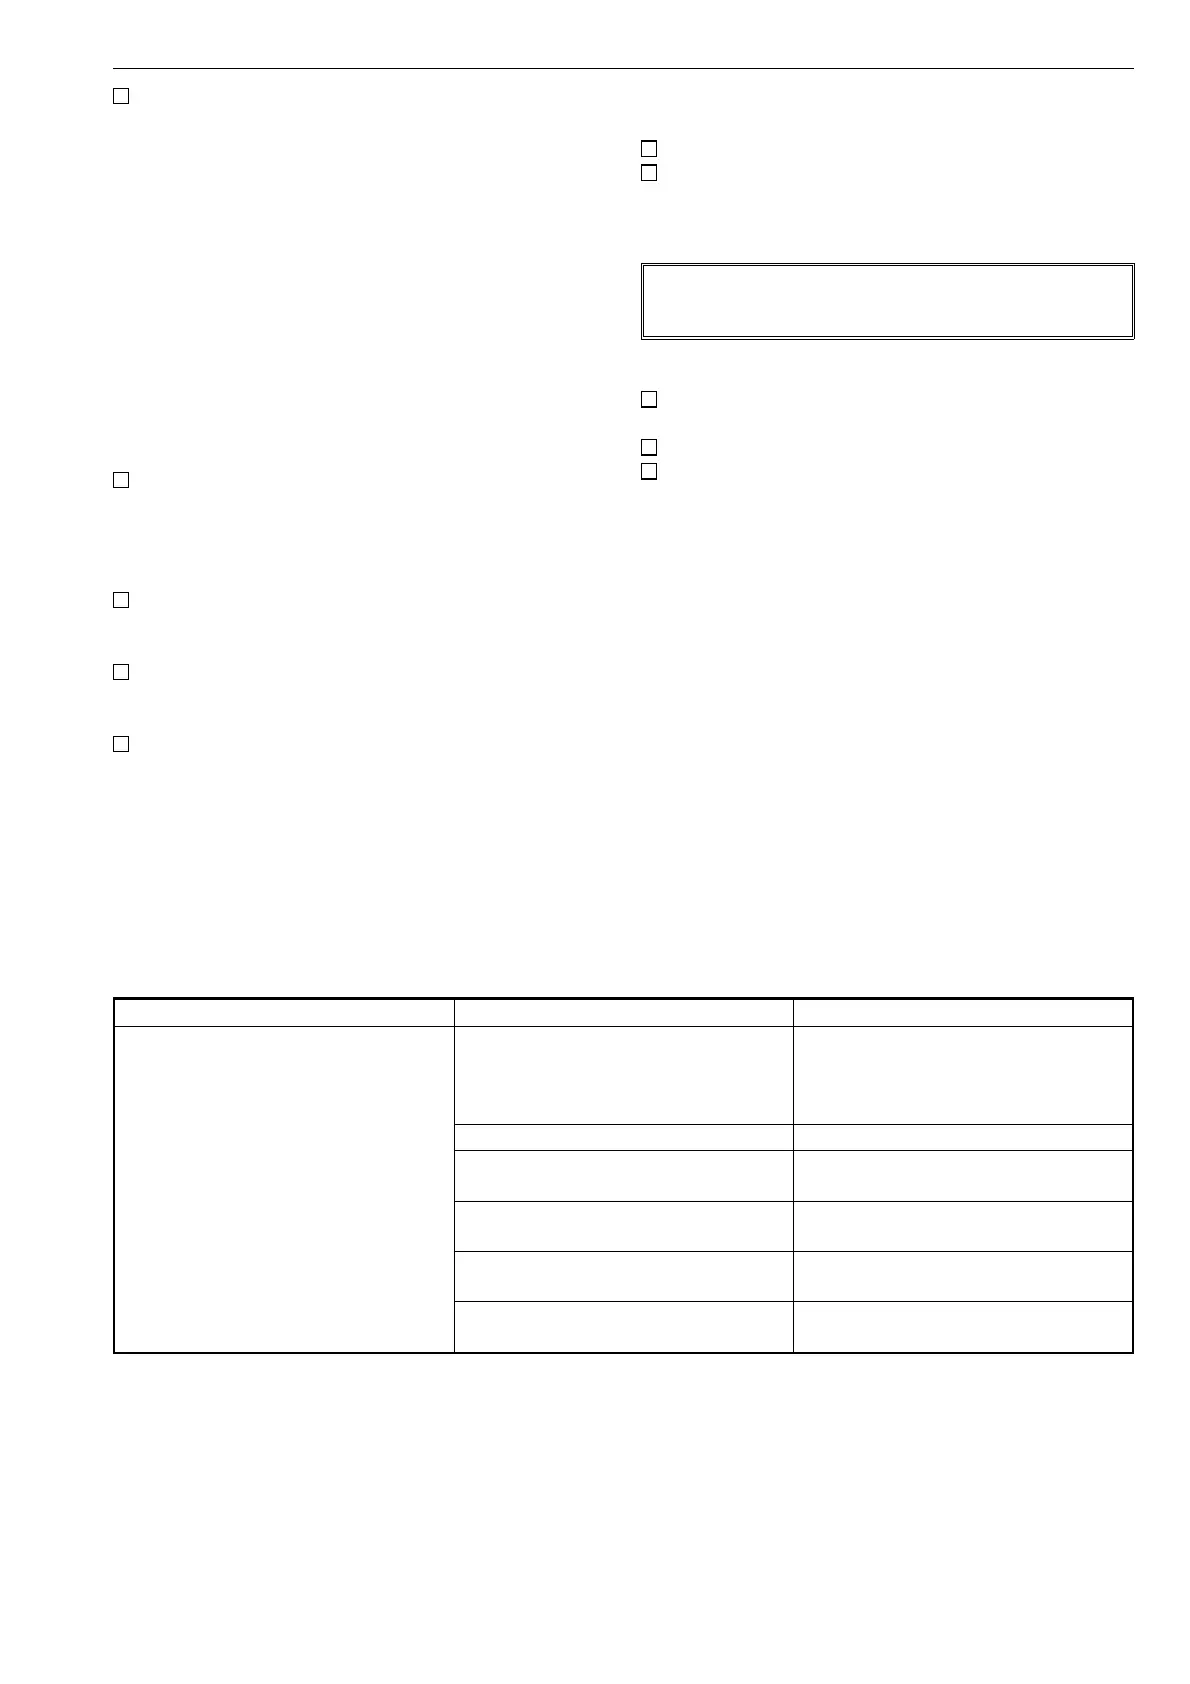
Occurrence Possible reason Measures
Operation is irregular and slow Air supply pressure is too low Check that the air supply pressure
corresponds to the minimum torque
required by the valve. Check that the
air supply tubes are large enough.
Positioner failure Check the function of the positioner
Valve failure Check that the valve works properly
without the actuator
Incorrect actuator size Check the sizing with the
manufacturer.
Rolling diaphragm leak Replace the rolling diaphragms. See
Section 4.2.
Backlash in the connection between
the device and the valve.
Replace the required parts.
Table 4. Operation failures
11