8.3 Setting the Time
The time is in 24-hour format: “HH:MM” (Hour: Minute).
OK
NEXT
-
+
DD/MM/YY HH:MM
01/02/12
12:00
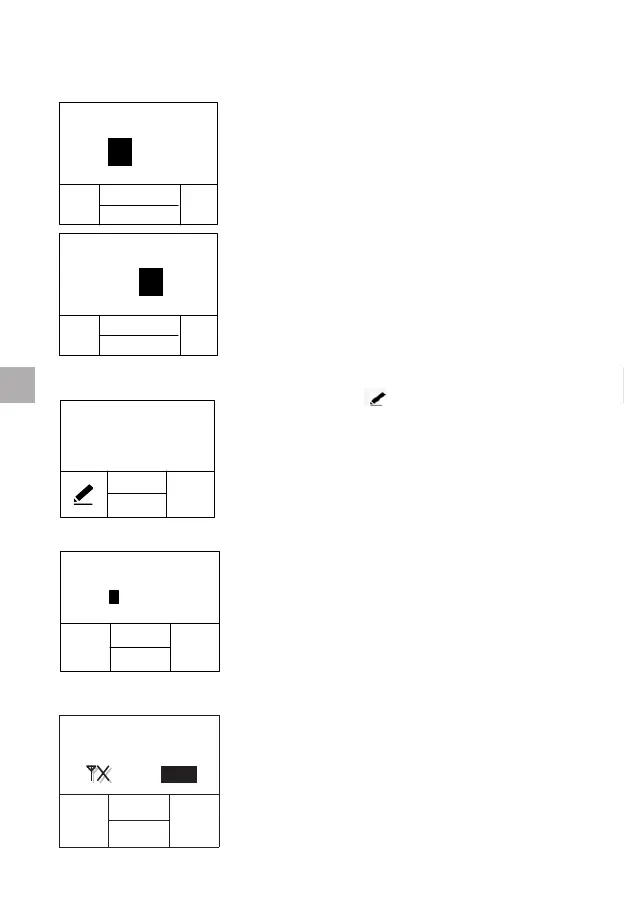
After setting the day, the setting option will
prompt you to the hour setting mode. The
hour will be highlighted on the display. Use
“+” and “-” functional buttons to adjust the
hour. Press “NEXT” functional button when
you have the correct hour on the display.
OK
NEXT
- +
DD/MM/YY HH:MM
01/02/12
12:00
The minute will be highlighted on the display.
Use “+” and “-” buttons to change the
minute. Press “NEXT” to switch between
Date and Time. Press “OK” to save the
setting and return to “SETTINGS” screen.
8.4 Entering Patient ID
You can press “ ” to enter a new patient
ID or change the saved patient ID. Press
“BACK” to return to the “SETTINGS” screen,
press “OK” to close the setting and return to
the “SETTINGS” screen. To distinguish the
sources of data that uploaded into the centre
database, the patient ID you input will be
saved into every test record automatically.
PATIENT ID
NEXT
OK
-
+
----------
A000
-
The Patient ID can be composed of numbers
or letters, with a length of no more than 16
digits. Use “+” and “-” buttons to change
the highlighted digit. Press “NEXT” button to
accept and advance to next digit. If the input
of the Patient ID is completed, press “OK”
button to accept.
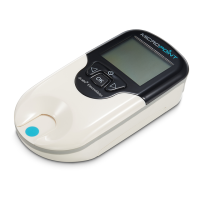
8.5 Bluetooth Settings
BLUETOOTH
OFF
-
BACK
+
OK
Press “+” or “-“ buttons to turn on/off the
bluetooth. When the Bluetooth function is
on, the user can use optional Bluetooth
dongle to connect the meter to the user
management software.
Please refer to the Data Manager manual for
Bluetooth driver installation and usage.
12
EN