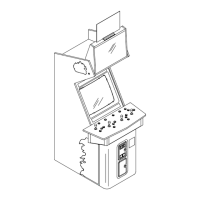
Servicing 5-6
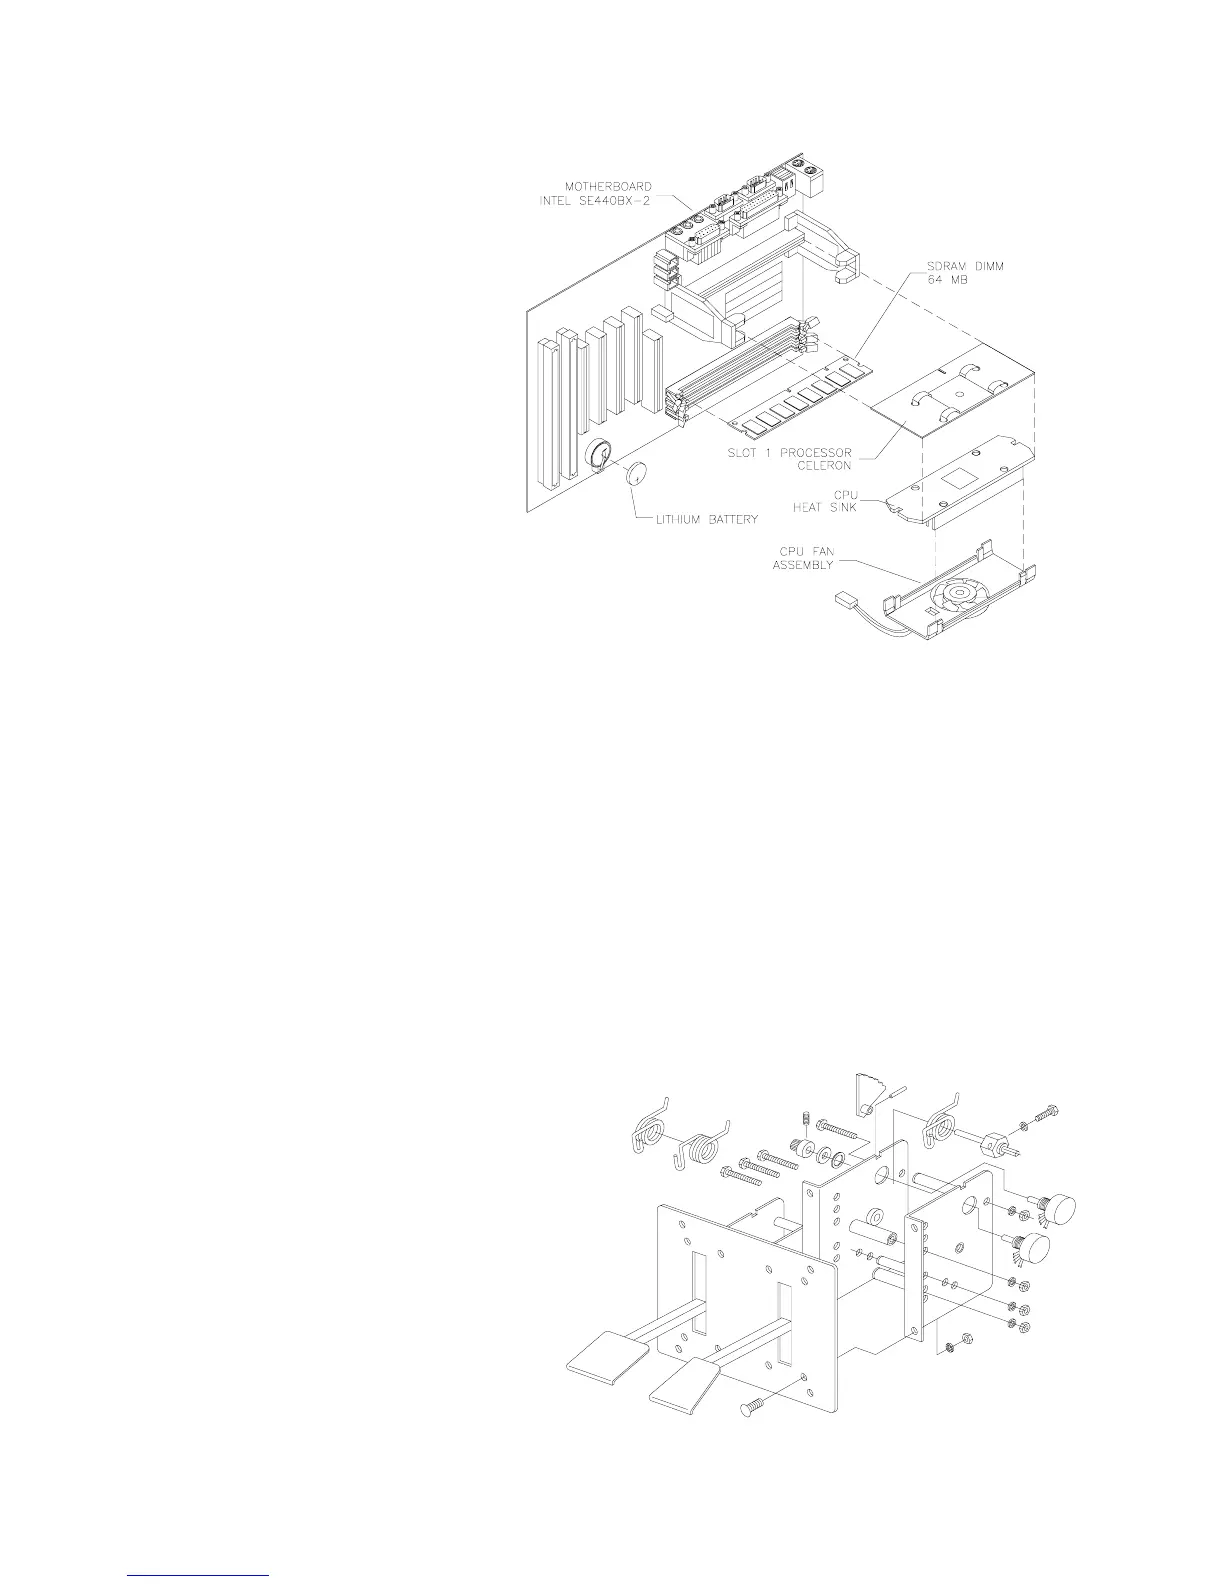
MICROPROCESSOR FAN.
Dis-
connect the DC power cable from
the floppy drive. Unplug the
ribbon cable from the floppy
drive. Leave the other end of the
cable attached to the CPU Board.
Unscrew and remove the circuit
board retention bars. Remove the
drive bracket mounting hardware.
Remove the bracket and drive.
Disconnect the fan’s power
harness. Remove the
microprocessor cartridge.
Squeeze the plastic end tabs on
the fan side of the cartridge.
While squeezing, carefully pry the
fan assembly away from the
heatsink. If the fan is bad, replace
the entire fan assembly with a
new one. Reassemble the
cartridge and insert it into the
computer. Then reconnect fan
power.
•
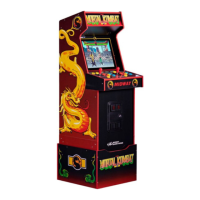
Floppy Disk Drive
Switch off power to the VGM. Unlock and remove the rear door. Remove the back of the Arcade
Computer. Disconnect the DC power cable from the floppy drive. Unplug the ribbon cable from the
floppy drive. Leave the other end of the cable attached to the CPU Board. Unscrew and remove the
circuit board retention bars. Remove the drive bracket mounting hardware. Remove the bracket.
Remove the drive mounting screws. Lift the drive off the mounting bracket. Save the mounting screws
for reuse in future floppy drive installations. When returning a floppy drive to your distributor, pack it in
an anti-static bag.
REINSTALLATION.
Mount the floppy drive in its bracket. Install the drive mounting screws. Reinstall
the bracket and drive in the Arcade Computer enclosure. Connect the drive’s ribbon and power
cables.
•
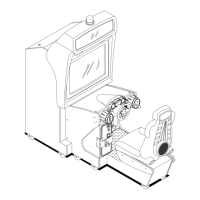
Gas and Brake Pedals
Switch off power to the VGM. Adjust the
seat to the maximum rear position.
Remove four outer mounting screws
from the front edges of the pedal plate.
Gently pull the pedal mechanism toward
the seat until the mechanism clears the
cabinet opening. Disconnect the pedal
cable from the wiring harness.
Disconnect the green / yellow safety
ground wire. Lift the pedal mechanism
up and away from the cabinet.