Servicing 5-8
•
Microprocessor
This VGM’s microprocessor is in a postcard-size cartridge that also includes cache RAM. The
cartridge is inside the Arcade Computer, near the DIMM sockets. Switch off power to the VGM.
Remove the cabinet rear door. Remove the back of the Arcade Computer. Unplug the ribbon cable
from the floppy drive. Leave the other end of the cable attached to the CPU Board. Unscrew and
remove the circuit board retention bars. Remove the floppy drive mounting bracket. Remove the
floppy drive. Disconnect the microprocessor fan power harness. Spread the locking retainers on each
side of the microprocessor cartridge. Pull the cartridge out of its socket. Take care not to touch the
copper traces on the socket.
To reinstall a microprocessor cartridge, orient the cartridge over its socket. Make sure that you’ve
positioned the keying notch properly. Push the microprocessor cartridge into its socket, so that the
cartridge snaps into place under the locking retainer on each side of the socket. Be sure that the
retainers mate tightly with cartridge notches. Don’t attempt to force a cartridge into its socket.
Reconnect the microprocessor fan harness.
•
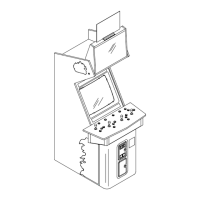
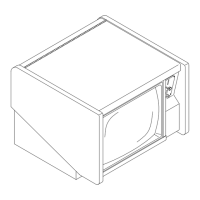
Monitor
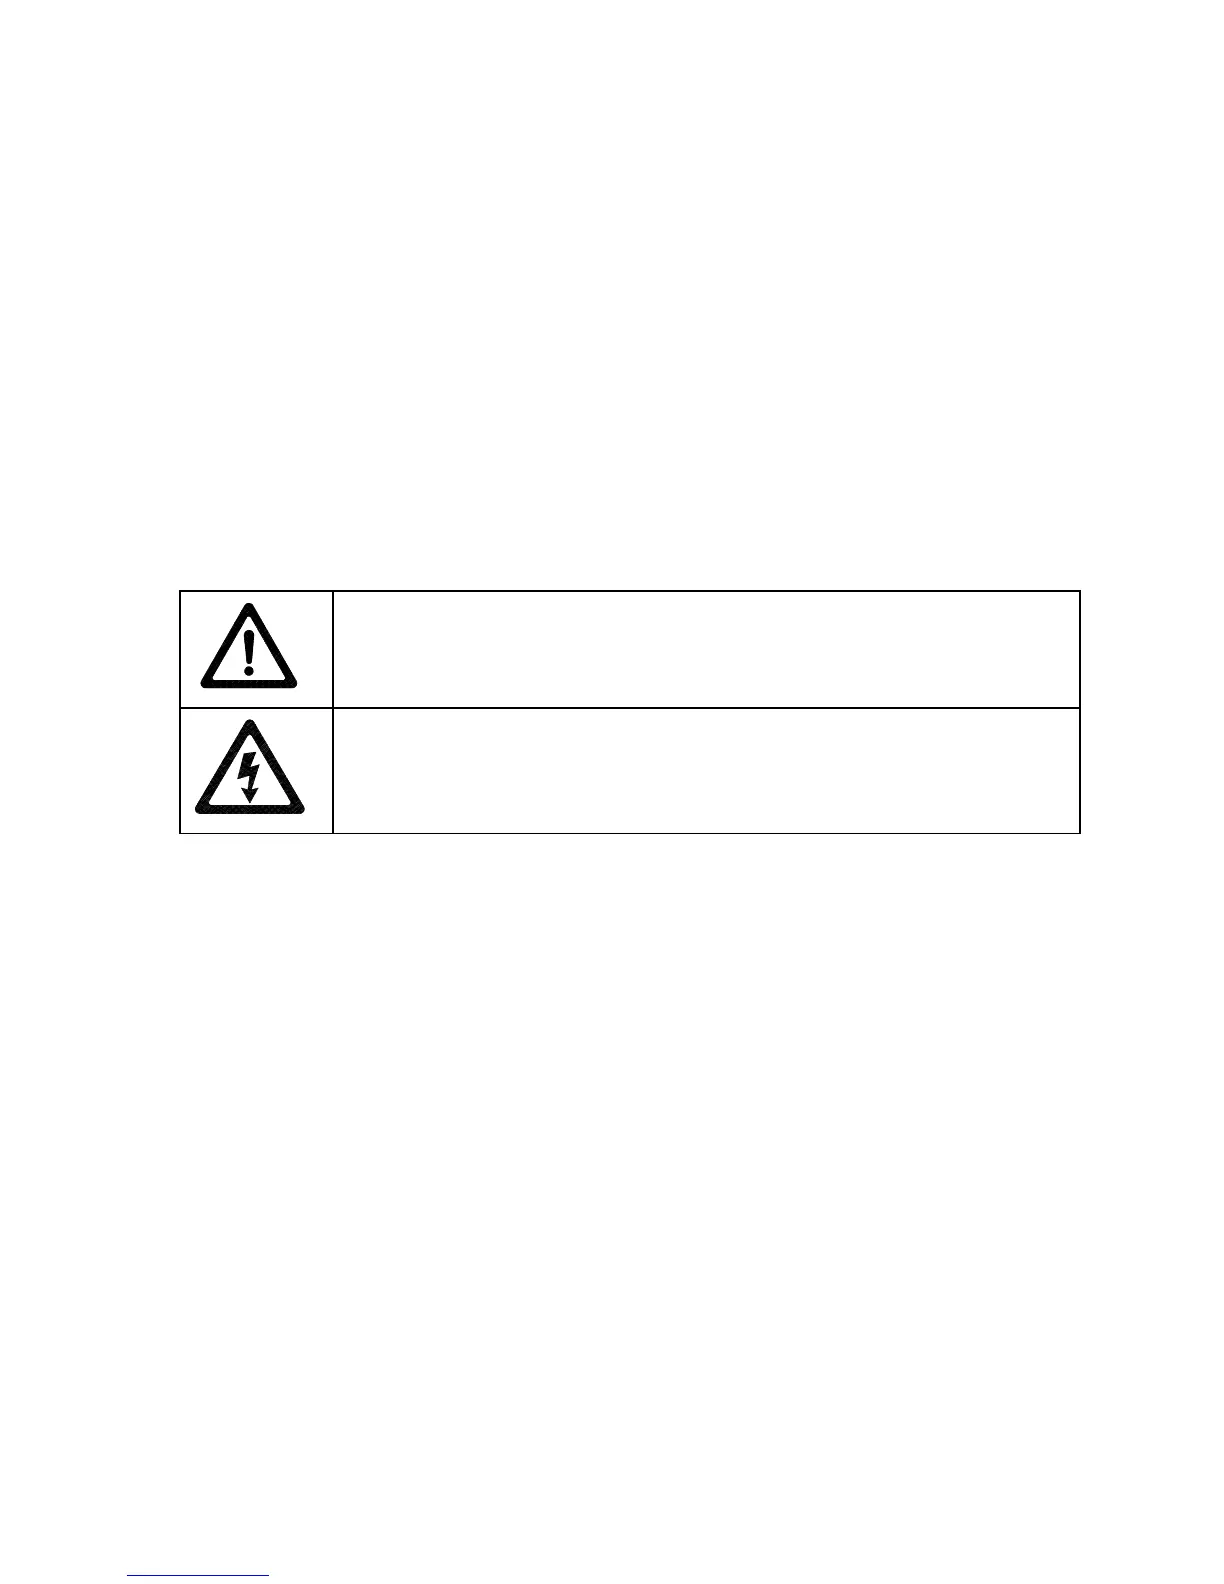
CAUTION:
The video monitor is heavy, with most of the weight toward the front of
the assembly. Support the monitor as you remove it from the cabinet.
WARNING:
The monitor doesn’t require isolation from AC line voltage during
normal VGM operation. When operating the monitor outside the cabinet, use an
isolation transformer. Connect the transformer between the monitor and line.
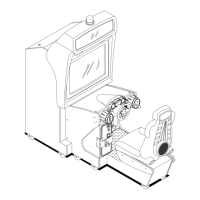
Switch off power to the VGM. Unlock and remove the rear door. From inside the cabinet, disconnect
the dash cables. Remove the top two dashboard mounting screws. Remove the dash bracket. Slide
the viewing glass upward. Lift the glass out of the cabinet. Disconnect cables from the speedometer
and tachometer. Remove the dashboard. Remove the monitor bezel. Disconnect the monitor from the
wiring harness, remote adjustment board, and ground wires. Remove the fasteners that secure the
monitor frame to its mounting panel. Carefully pull the monitor from the cabinet. Set the monitor in a
safe place. Remove the remote adjustment board from the cabinet and reconnect it to the monitor
before servicing or replacement. Clean the face of the CRT before reinstalling the monitor bezel.
The monitor is a medium-resolution type with a 25-kHz horizontal scan rate. Other monitors may look
as if you can use them for replacements. Yet the screens of different monitor types curve differently.
Use only Midway approved replacement parts.
•
Network Interface Board
Switch off power to the VGM. Unlock and open the rear door. Remove the back of the Arcade
Computer. Note the orientation of the cables. Loosen the header-mounting screw. Disconnect the
network cables from the board header connectors. Remove the circuit board retention bars. Remove
the board. As you remove the board, handle it only by its edges. Don’t touch the copper traces! If you
aren’t reinstalling the board, store it in an anti-static bag and protective container.
•
Power Filter Board
Switch off power to the VGM. Unlock and open the rear door. Remove the back of the Arcade
Computer. Loosen the header-mounting screw. Disconnect the cables from the board header
connector. Remove the circuit board retention bars. Remove the board. As you remove the board,