5-2 Image Optimization
2. Other application mode access: displays the available related application modes. Tap
to enter the modes.
3. Parameter adjusting area: displays the parameters in the current imaging mode or
function.
z Parameter magnitude setting: tap or to increase/decrease the value.
z ON/OFF setting: some of the parameters can only be set to ON or OFF. ON
activates the function, and when the function is activated the key is highlighted in
green.
z Page selection: if there is more than 1 page for the current mode, tap
to turn the pages.
z Functional item: tap to go to the corresponding function.
4. Knob-adjusting area: displays the knob-controlled parameters.
There are five knobs at the bottom of the touch screen. Their functions vary
depending on the current menu. Press or rotate the knobs to adjust the
corresponding parameters.
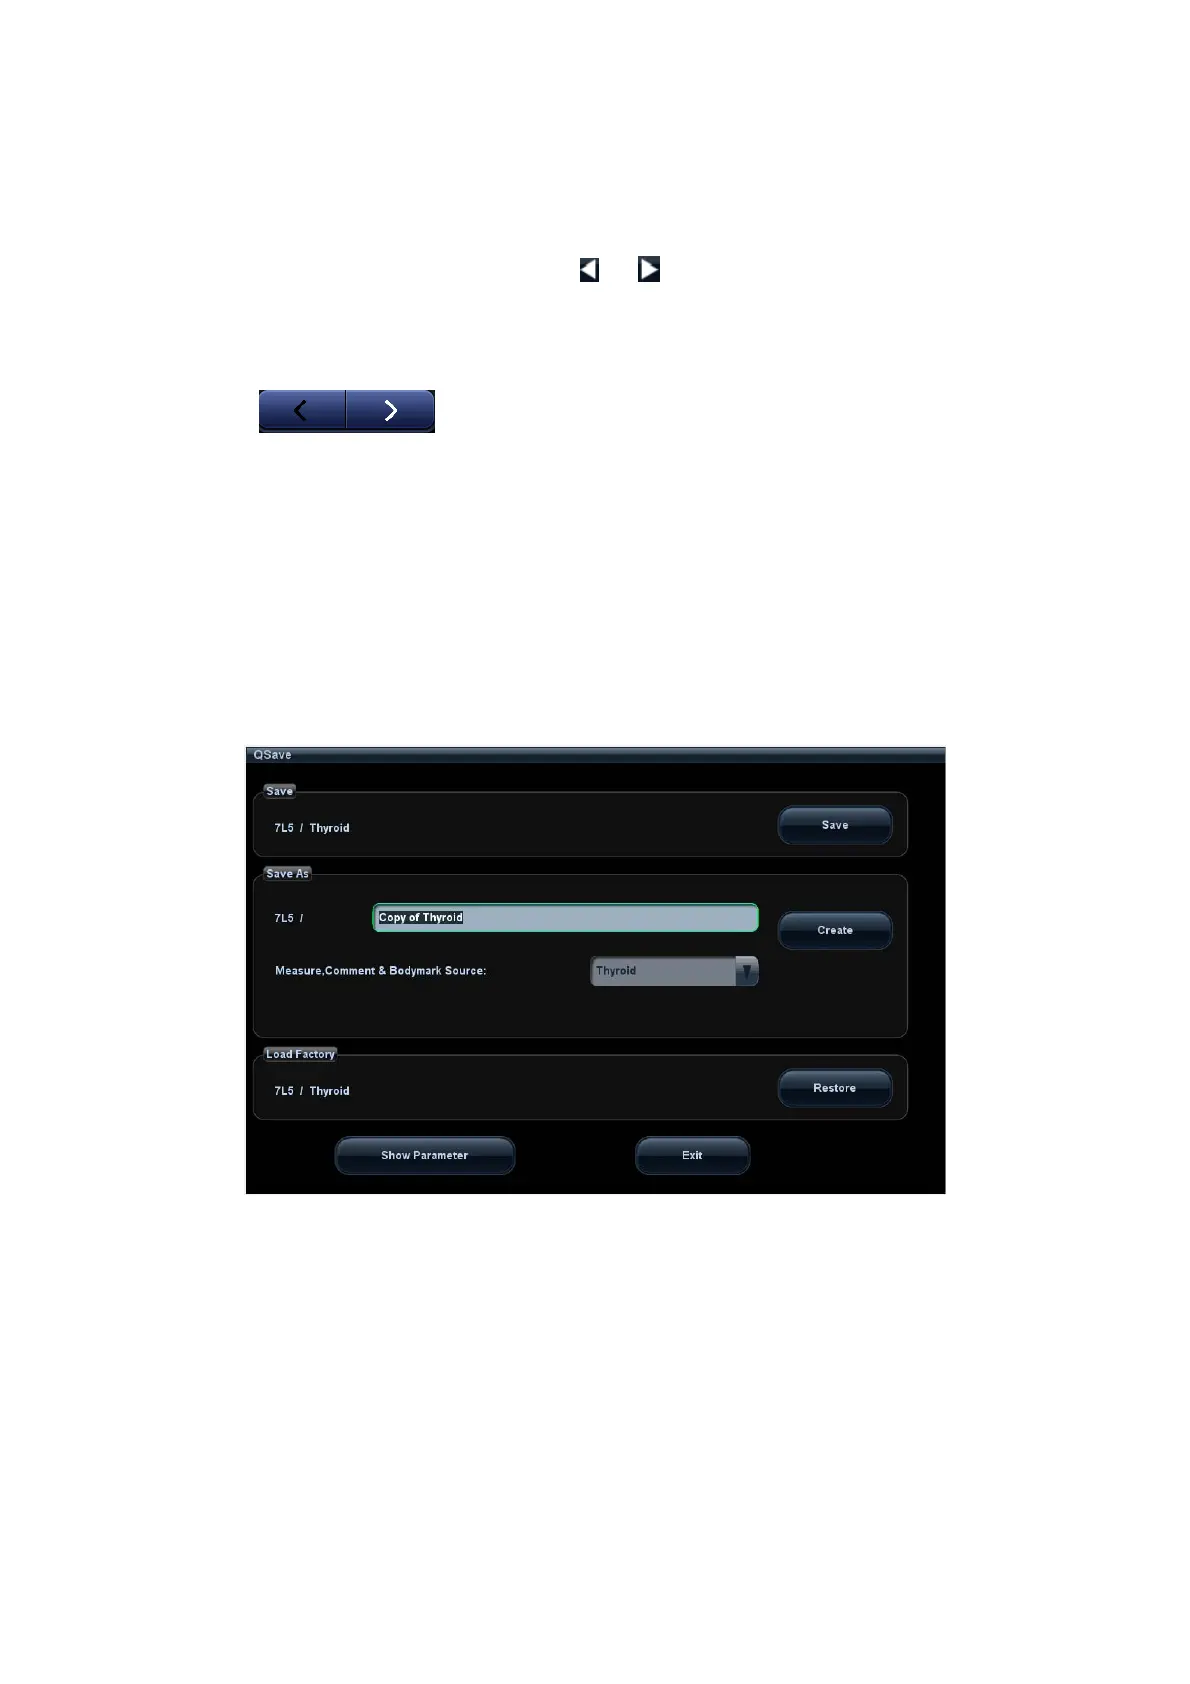
5.1.3 Quickly Saving Image Settings
Press <F7> or user-defined key for QSave to access the image data saving dialog box.
Save the image parameter adjustment:
Click [Save] to save the current image values for the current exam mode of the
particular probe.
Create new exam data (using the current image parameter settings):
Enter the name in the box after “Save As” to assign a name for a user-defined exam
mode, and click [Create] to save the current image parameters, measurements,
comments and body mark settings to the exam mode.
Restore the factory settings:
The settings of the current exam mode and the probe can be restored to factory data
by clicking [Restore].