INSTALLATION & SETUP
Mirage 2000/4000/6000 User’s Manual
2-31
Step 2
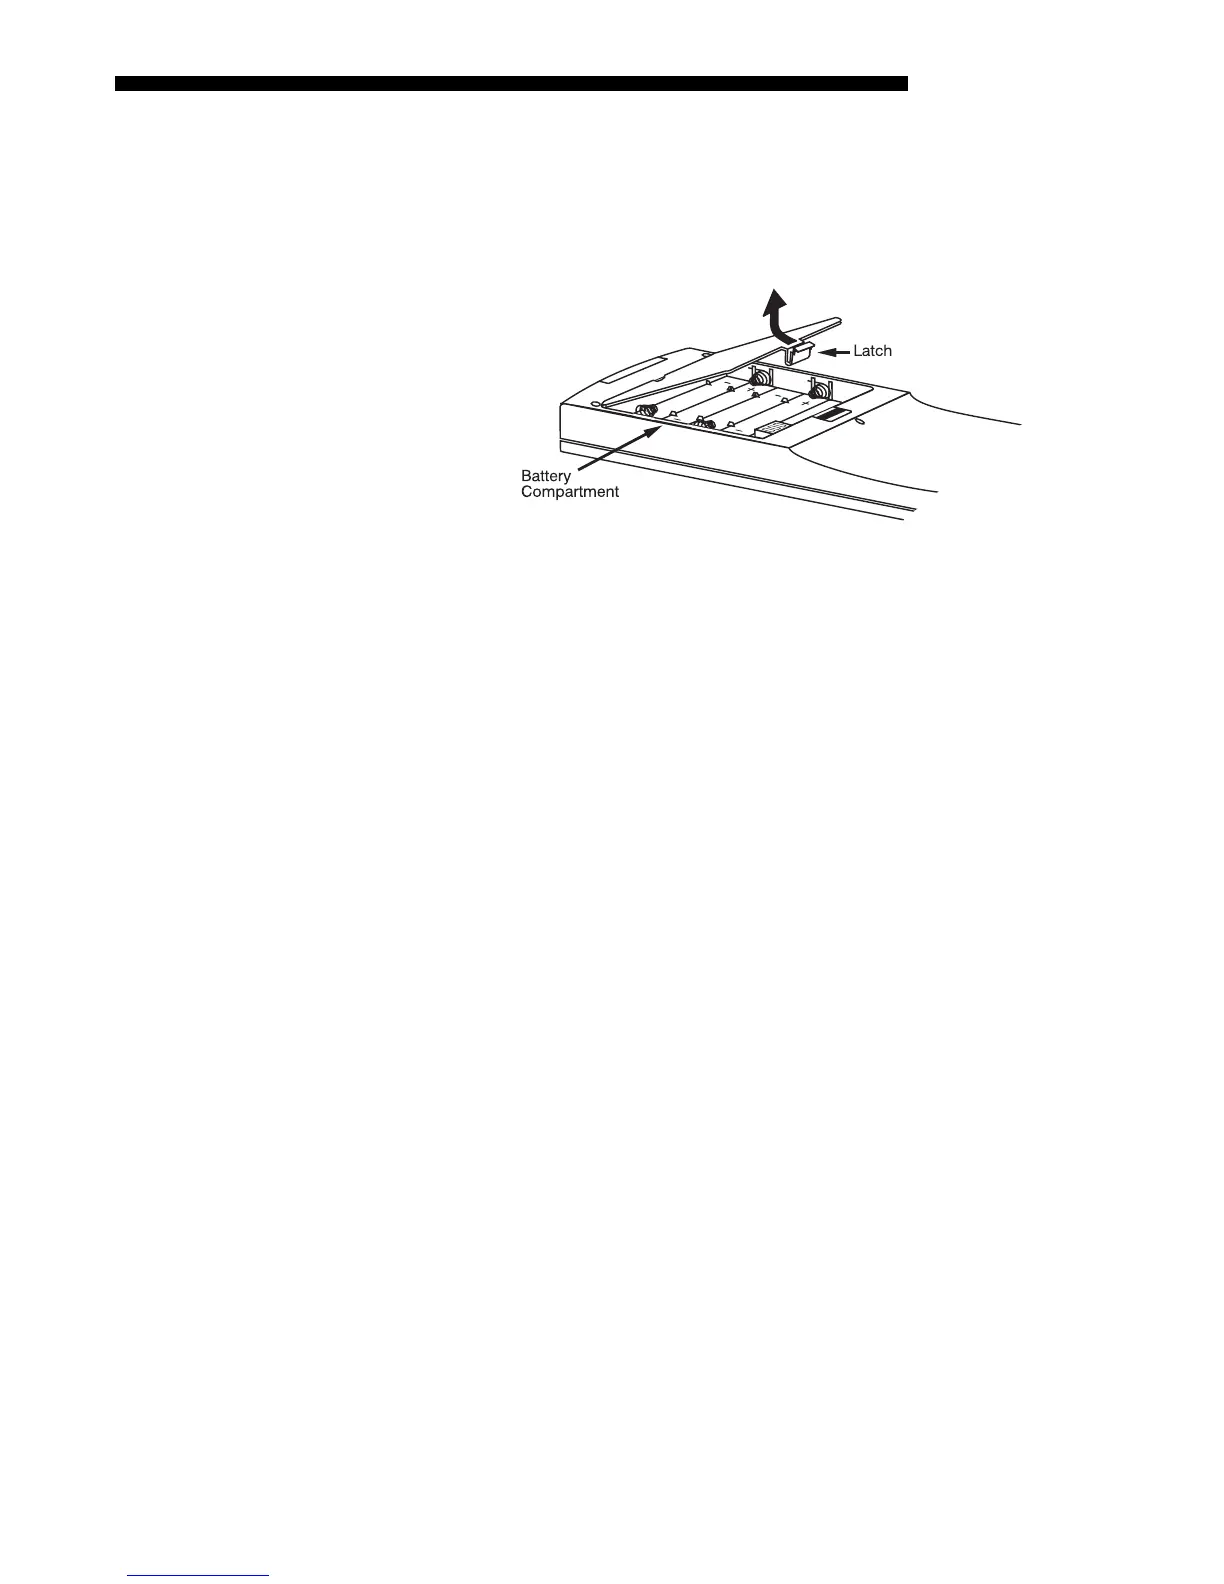
Unlatch and open the empty battery compartment on the back of the keypad as shown
in Figure 2.31.
NOTE: A wired keypad opens as shown, but a cable passes through the battery
compartment cover.
Figure 2.31. Opening the Keypad
Step 3
Find the 4 jumpers located along the latching side of the battery compartment. These
jumpers set the keypad protocol and other settings so that the keypad functions in a
certain manner.
Step 4: Set the Jumpers
Set the jumpers as shown in Figure 2.32. Take care to refer to the correct part of the
drawing — IR or wired (optional). Use tweezers or needle-nose pliers to remove and
replace each jumper as necessary.
•
J1 jumper: For either remote, set between pins 1 and 2 to set as Protocol “A”.
Set between pins 2 and 3 to set as Protocol “B”.
•
J2 jumper: For either remote, set between pins 2 and 3 as shown; otherwise, the
projector will not respond correctly to keypad commands.
•
J3
jumper: For the IR remote, make sure that the jumper is set between pins 2
and 3 as shown. For the wired remote, make sure that the jumper is set between
pins 1 and 2 as shown.
•
J4 jumper: For the IR remote, make sure that the jumper is set between pins 1
and 2 as shown. For the wired remote, make sure that the jumper is set between
pins 2 and 3 as shown.
Step 5
Replace battery compartment cover. Plug into projector (wired keypad only) and test.